If you’ve put hours into your audio project, the last thing you need is a disaster that puts your time and effort to waste. You can be prepared by adopting a good backup practice from day one.
This guide will take you through a secure method to back up your REAPER files. Keep your music projects safe and never worry about losing work again.
1. Create a Backup Folder
The first step to securing your REAPER files is to create a backup folder. While REAPER automatically saves your work in your project folder, it can be risky to have all of your work stored in one location. All it takes is an accidental deletion or hardware error and your work will be lost.
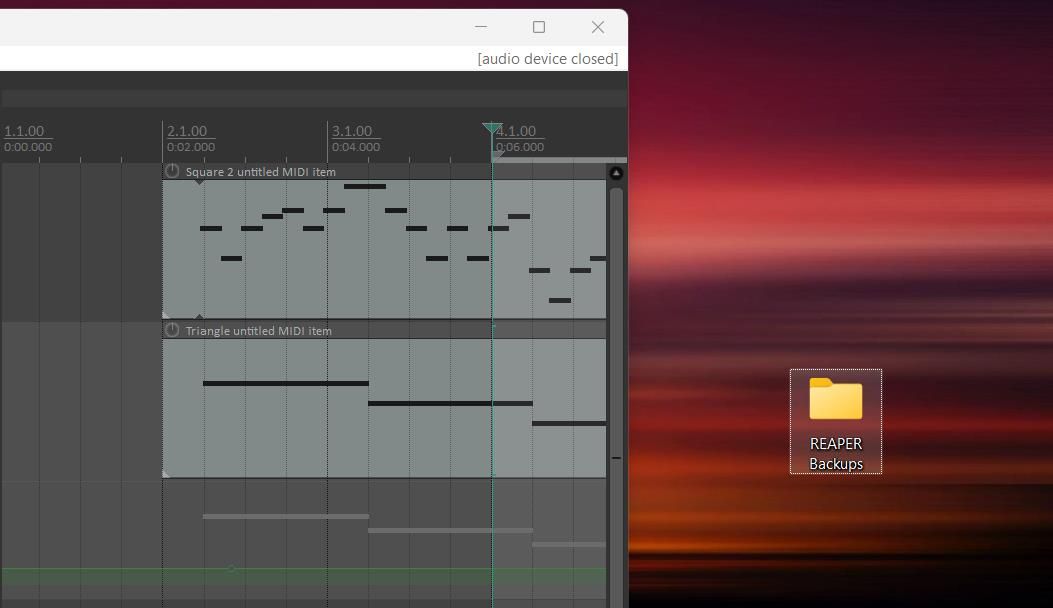
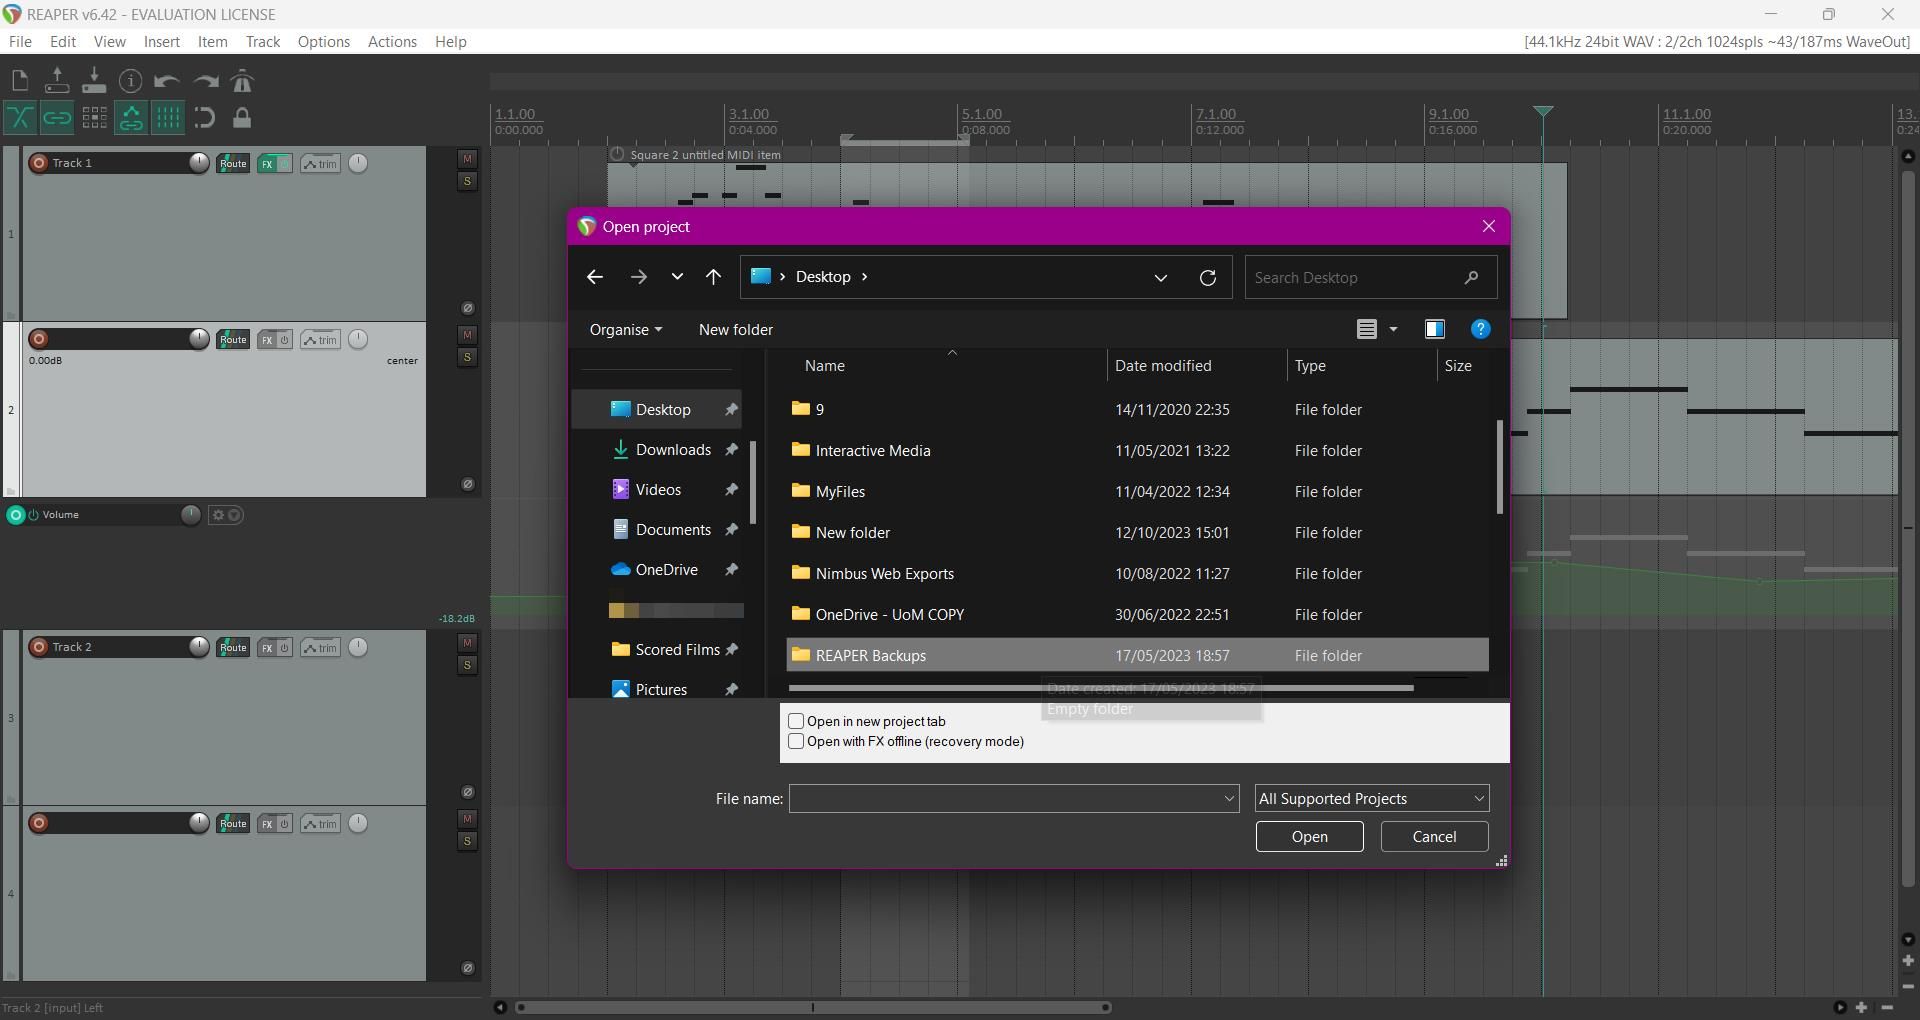
For this tutorial, we’ll be creating the backup folder on the desktop, but you can create the folder in any location. You can make use of an external hard drive by storing all your music files there. Add a new folder and name it “REAPER Backups.”
2. Enable Auto Save
REAPER’s auto save feature is essential for storing up-to-date versions of your audio projects. This is especially useful if you forget to save your work at frequent intervals. To enable this feature, you’ll need to head over to REAPER’s preferences. Use the shortcut Ctrl + P (Windows) or Cmd + , (Mac).
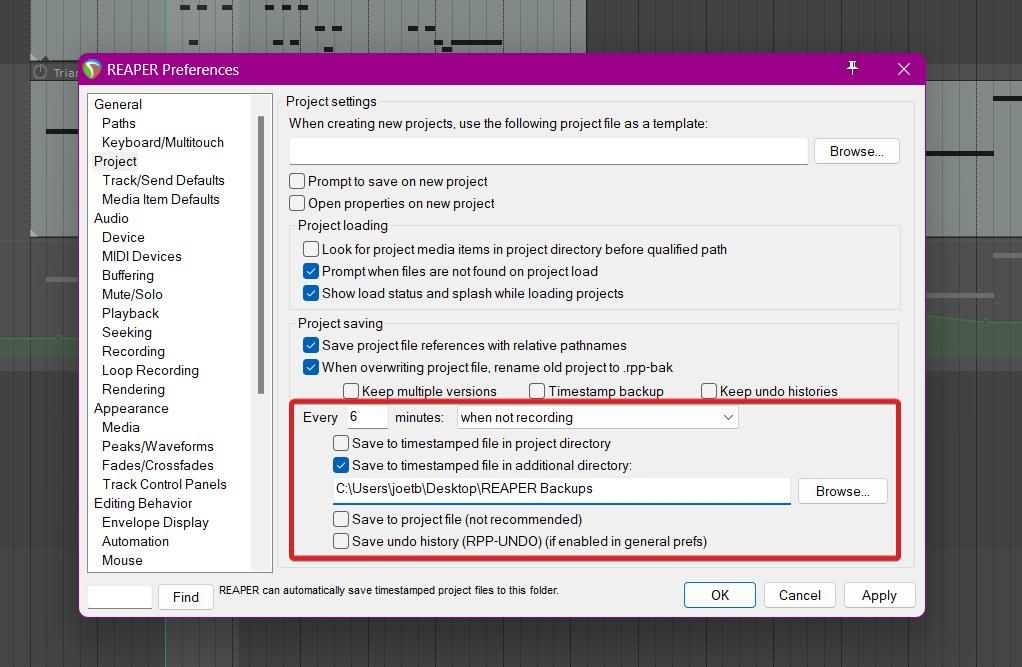
From the sidebar, hit the Project tab to navigate to your project’s settings. For all the essential backup options, we’ll be looking at the settings underneath the Project saving heading. Ensure the first two checkboxes are ticked, as shown below.
Ticking the second checkbox allows REAPER to store an up-to-date backup file every time your project is saved. It does this by assigning the previously saved version to the backup file while saving the newest version in your project directory.
Underneath the checkboxes, you’ll see the Every X minutes option. Enter how frequently you’d like your project to be saved and select an option from the dropdown menu. If you don’t want saving files to interrupt recording, select the when not recording option from the list.
3. Direct REAPER to Your Backups Folder
With auto save enabled, you can now direct REAPER to your backup folder to store up-to-date versions of your project files. Here’s how to tell REAPER where to save backup files:
- Underneath the auto save option, tick the box titled Save to timestamped file in additional directory.
- Hit Browse and select your backups folder to add the file path.
With these options enabled, REAPER can now save the latest version of your project as a backup file. Unless you’ve enabled Keep multiple versions, REAPER will replace the old backup file with the latest version of your project rather than storing multiple backup files.
4. Accessing Your Backup Files
If disaster has struck and you’ve lost an audio project, you can rely on your backup file to ensure nothing is lost. While there are a few ways to recover deleted files on Windows and Mac, these methods aren't guaranteed to work, so backups are your safest option.
Backup files have the extension .rpp-bak, separating them from REAPER’s regular files, which have the .rpp extension. Here’s how to load up your backup file:
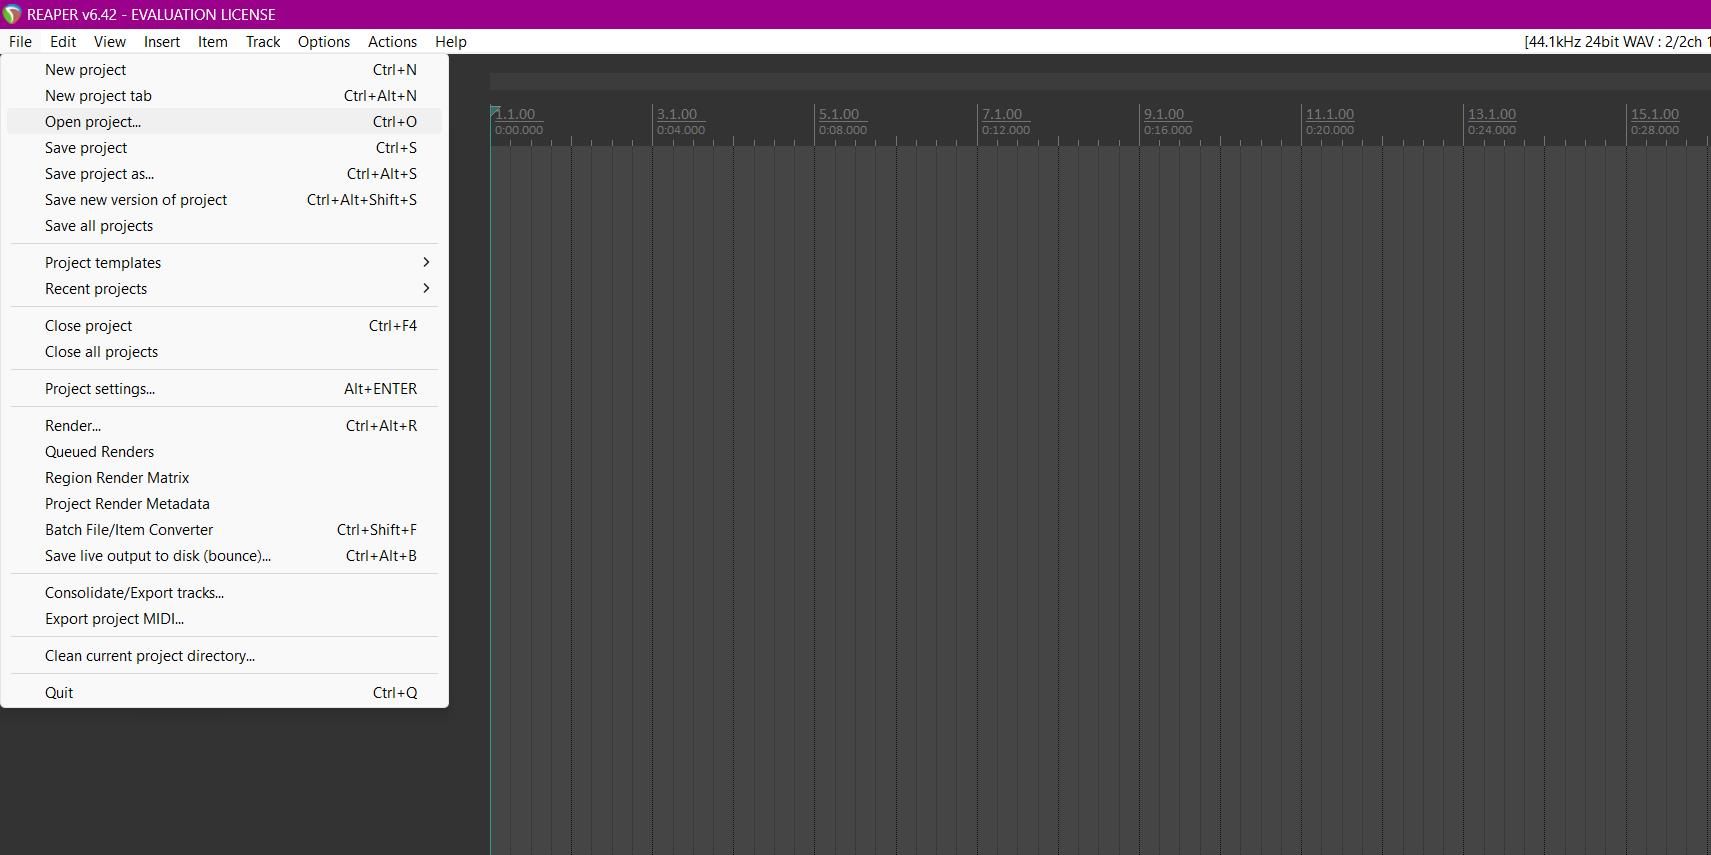
- Load REAPER and navigate to the File menu.
- Hit Open Project.
- Locate and double-click the backup file from your backup folder.
When loading a backup file, it will be unsaved at first, so it’s important to save the backup file as a regular REAPER project before doing any work. Hit Ctrl + S (Windows) or Cmd + S (Mac) to open up the save dialogue. Choose a location to store the .rpp file, then hit Save.
Safely Back Up Your Files to Avoid Losing Work
After following this guide, you’ll have a secure way of storing backup files for your music projects, so you don’t need to worry about losing precious work. And thanks to REAPER’s auto save feature, you’ll have no concern about backing up files manually.
Don’t wait for an error to happen before you start backing up your music files—commit to a good backup routine now and keep your files safe.

