S&Q, or Slow and Quick mode, is one of the most overlooked camera features for many budding video creators. It seems complicated at first, which is why most people avoid it. However, this article will demystify S&Q settings, so you can start shooting slow motion and timelapses with ease.
What Is S&Q Mode?
For a normal 30fps video project, a 120fps video file can be slowed down to 4x slow motion while remaining smooth. If recording at 120fps in video mode, you’d have to make this change manually when editing.
However, using S&Q mode, you can use a camera’s 120fps recording capabilities and simply output in 4x slow motion for a 30fps video file without any additional editing. This is a bit more complex than using your iPhone to shoot slow motion.
How to Set Up S&Q on Your Camera
This article will use the Sony ZV-1F as a reference, but similar steps will apply to other cameras that have S&Q capabilities.
Adjusting S&Q Settings
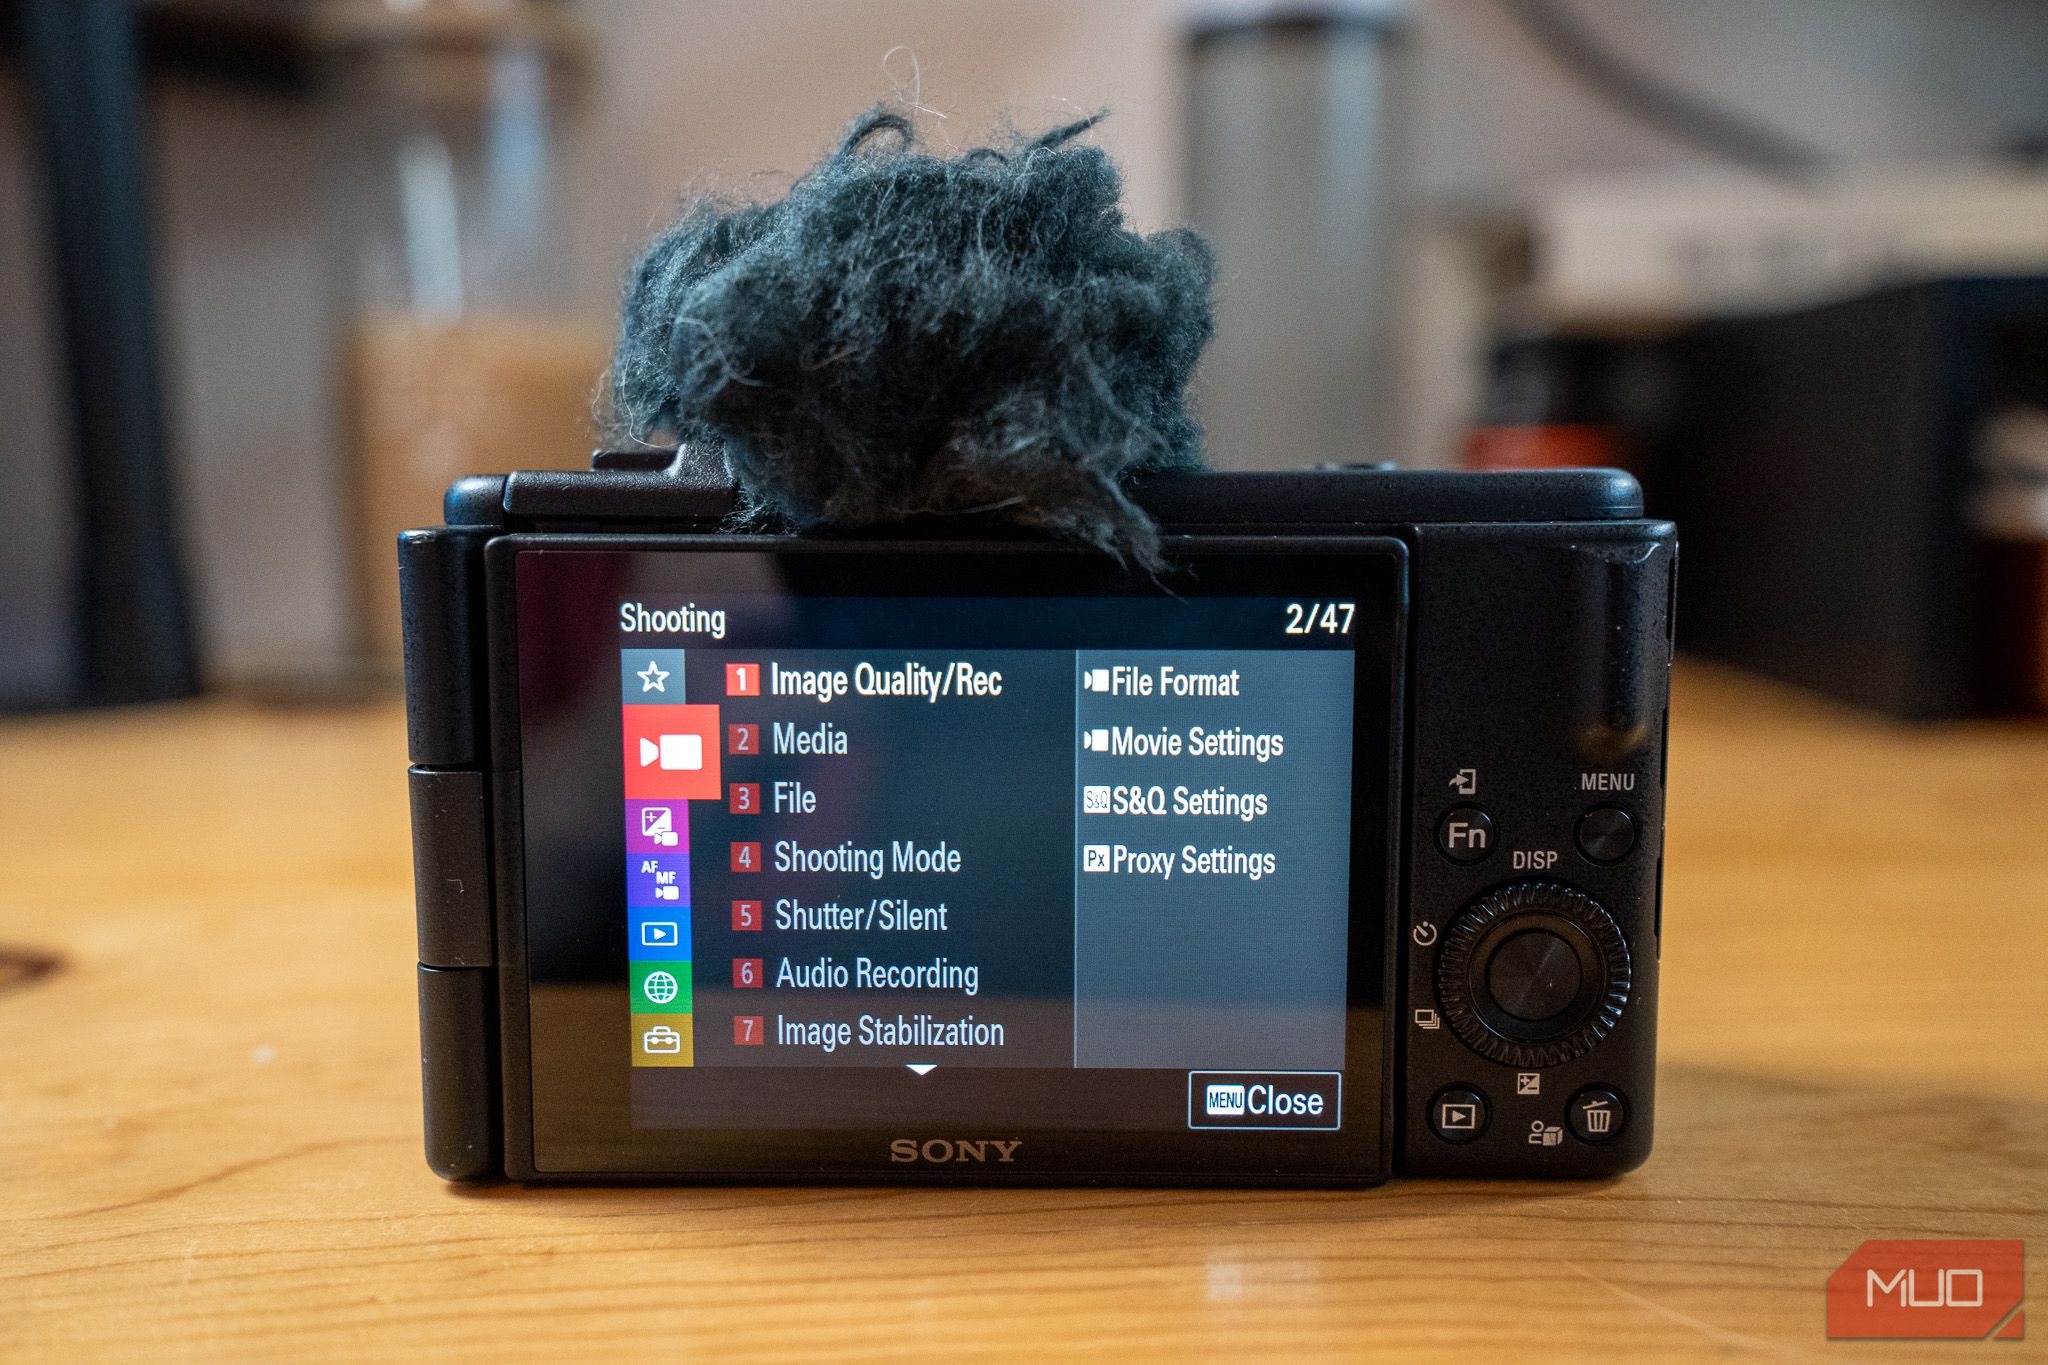
To find and adjust your camera’s S&Q settings, open the Menu. Tap the Camera icon for Shooting settings, select Image Quality/Rec, and select S&Q Settings.
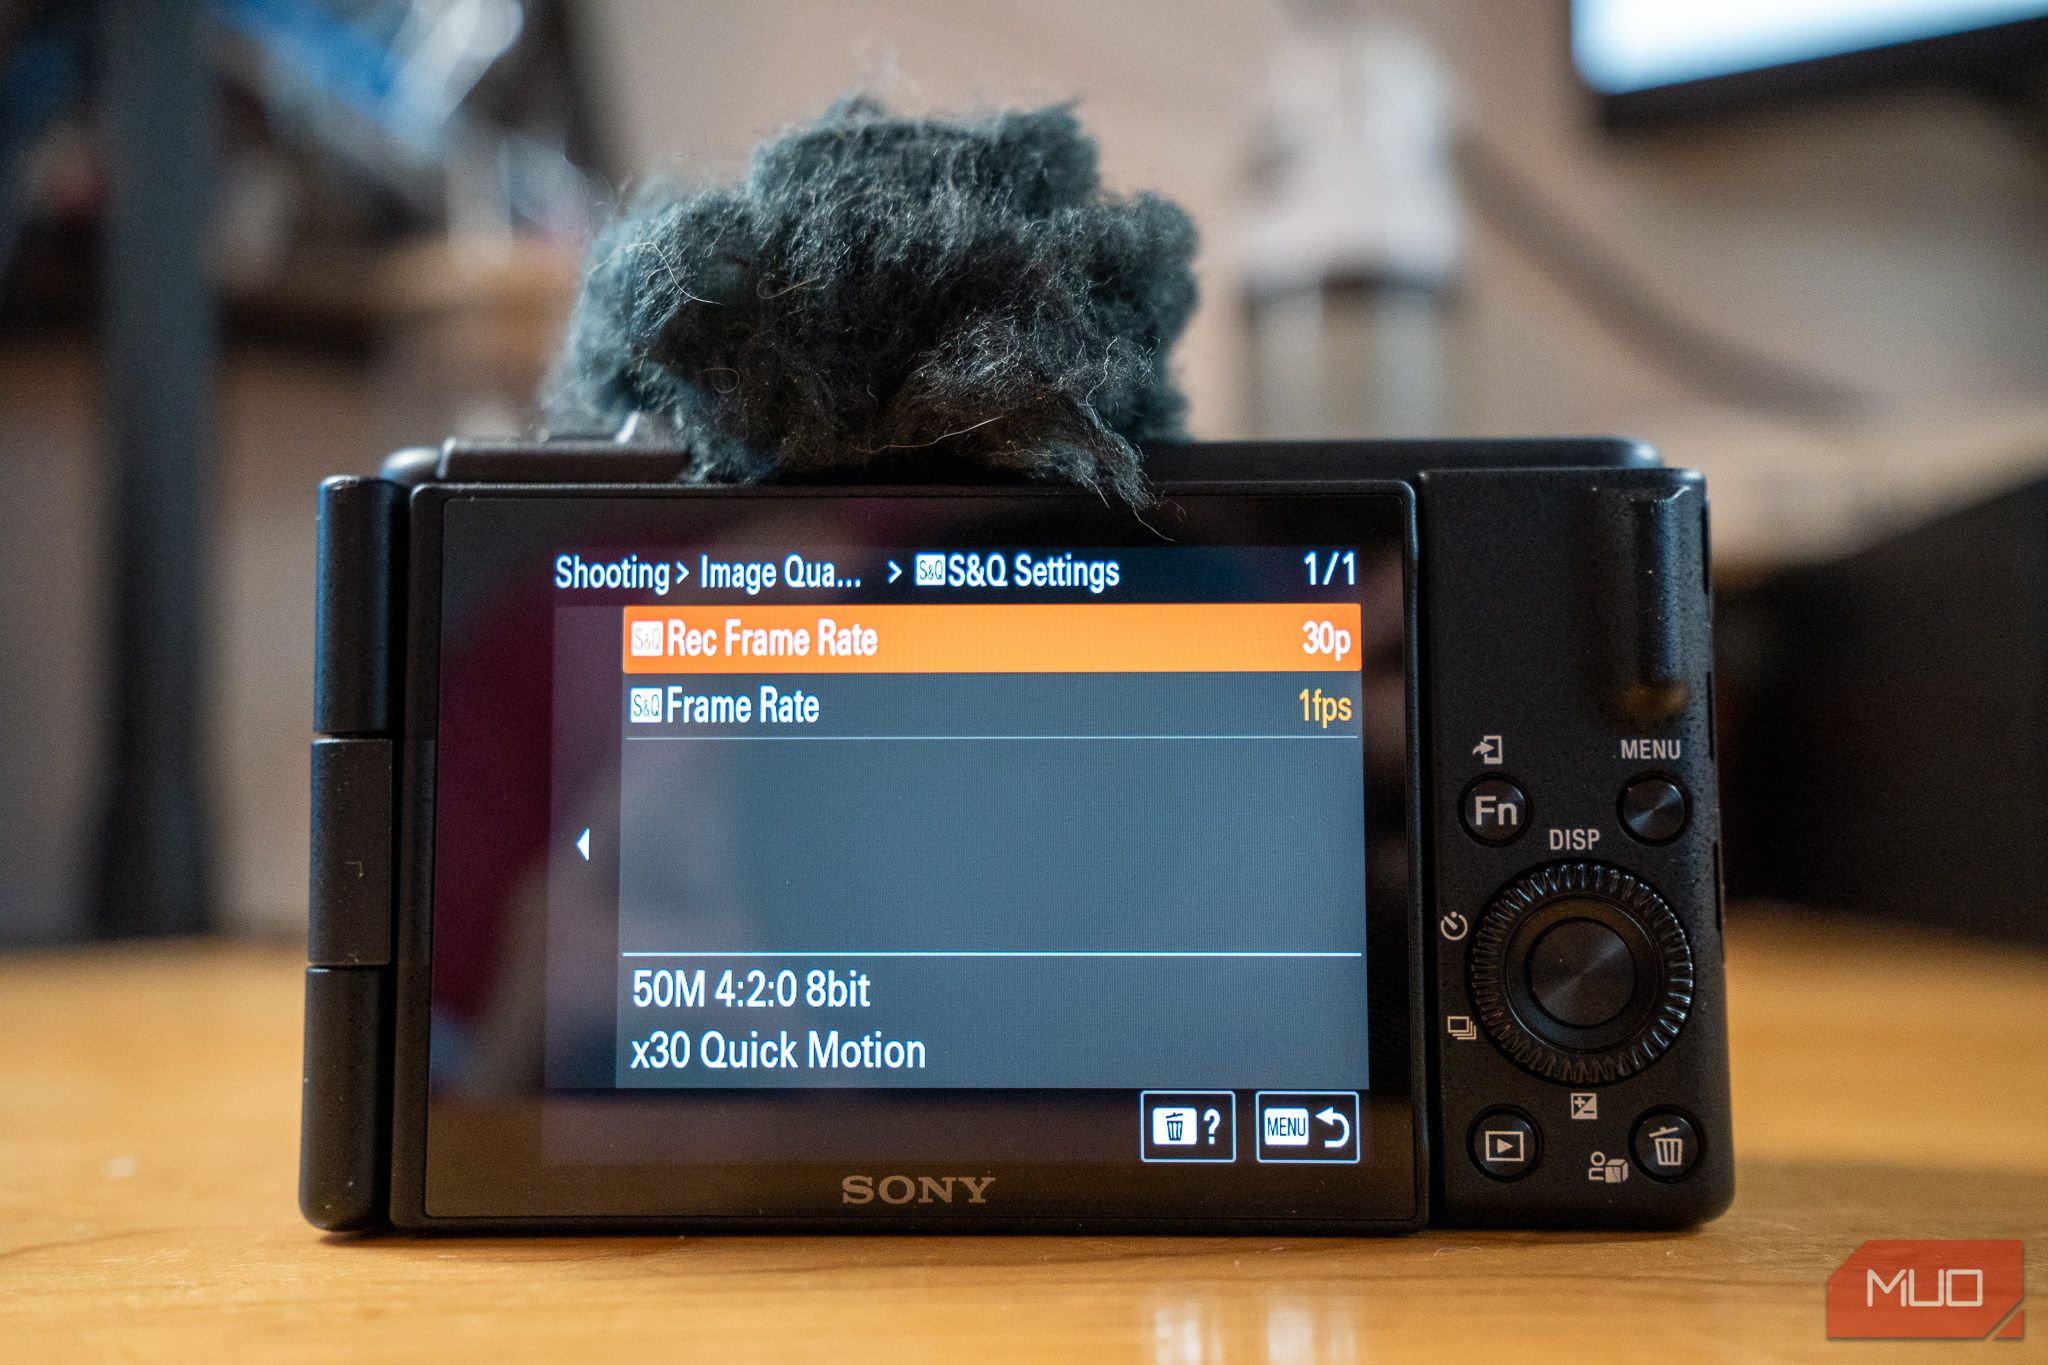
Your Rec Frame Rate of 24p, 30p, or 60p will be the actual frame rate of your file, while the Frame Rate ranging from 1fps to 120fps will be the rate of frame capture.
For 4x slow motion at 30 frames per second, your Rec Frame Rate should be 30 while your Frame Rate should be 120fps. Conversely, for a 30x quick motion timelapse, set your Rec Frame Rate to 30 and your Frame Rate to 1.
The ZV-1F’s S&Q settings are particularly intuitive, as you’ll see your exact slow or quick motion rate at the bottom of the screen upon setting your Frame Rate and Rec Frame Rate.
Filming Using S&Q
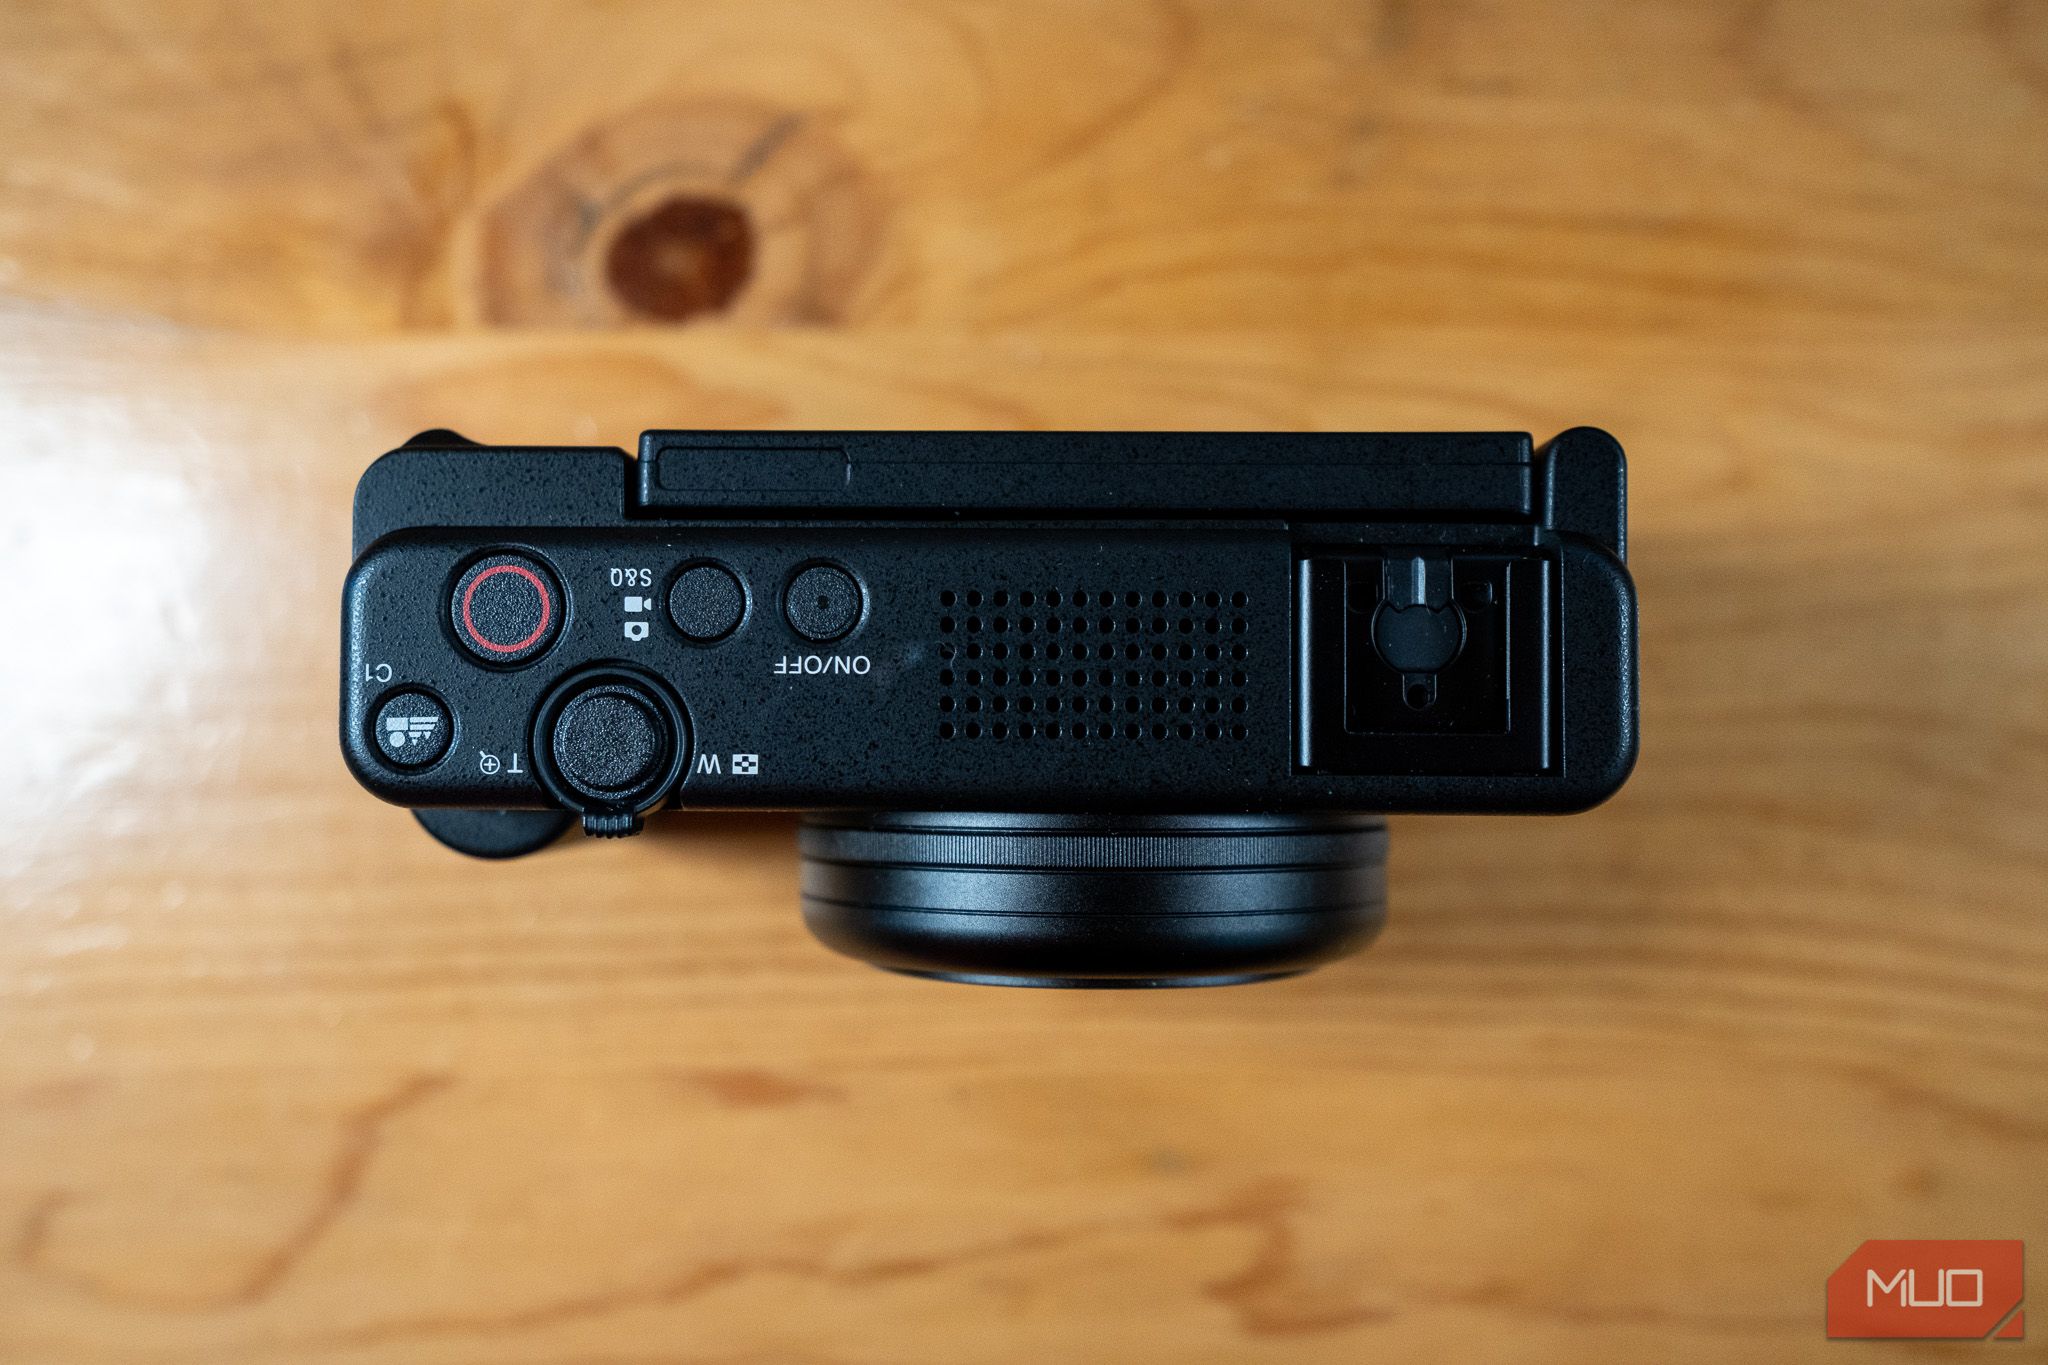
Next, to actually enable S&Q, adjust your camera’s Shooting mode to S&Q. On the ZV-1F, this is done via a button on the top, while other cameras will generally have a dial to rotate.
Now, if you’ve set up a 30x quick motion timelapse via your settings, when you hit the record button, you’ll capture one frame per second (60 frames per minute) and produce a 30fps timelapse file without audio.
The Benefits of Using S&Q for Timelapses and Slo-Mo
This setting is a bit complicated, and most of the effects you gain from it can simply be done in editing, so why use S&Q at all?
1. Save Editing Time
S&Q can allow you to save one or two steps in editing: since your original S&Q file is either in slow or quick motion, there is no need to manually change a video's speed in editing. Similarly, as S&Q removes audio from your recording, there’s no need for the additional step of muting your slow or quick footage in your editing timeline either.
2. Reduced File Size
A one-minute S&Q timelapse from 30 minutes of recording will be 30x smaller if recorded using S&Q instead of speeding up a 30-minute 30fps video. This reduction in file size is certainly more applicable to timelapses and “quick” motion than slo-mo, and it especially comes into play when considering how limited an SD card is. Make every remaining gigabyte count.
3. Prevent Frame Rate Mistakes on Videoshoots
You may always want your A-roll video shot at 24fps while using the occasional 2.5x slow motion with 60fps. You don’t want to accidentally shoot A-roll in 60fps, as it’ll appear choppy in a 24fps timeline. This is one of many things to be aware of when choosing your video's frame rate.
Instead of adjusting the settings for your video mode and risking a major mistake, set up your video mode at 24fps and S&Q with slow motion. This way, you can simply switch between modes instead of changing any settings in the midst of a shoot—just remember to switch out of S&Q for any normal shots needing audio.
The Drawbacks of Using S&Q
Ironically, S&Q’s benefits for many can be detrimental for others, depending on your use case.
1. Lost Audio
When recording in S&Q, audio is not captured in most cases. As such, if you want the option of including original audio alongside your slow motion, you may be better off recording a normal video file at a higher frame rate, then editing it to be slower.
2. Limited Options in Editing
In the same way S&Q can help streamline your editing process when including slow motion and timelapses, you also lose flexibility with the file. You may save a ton on file size when recording a timelapse via S&Q, but in addition to losing audio, you’ve also lost every other frame that you could have recorded.
When recording a normal video file, you have a choice in which exact frames you use for a timelapse.
Learn Your Camera Settings to Improve Your Craft
Many creators and videographers overlook the settings and modes they don’t actively use, such as S&Q. However, learning how to make full use of your camera might help you unlock new ways to express yourself in your craft. Dive into the S&Q settings, and get shooting!

