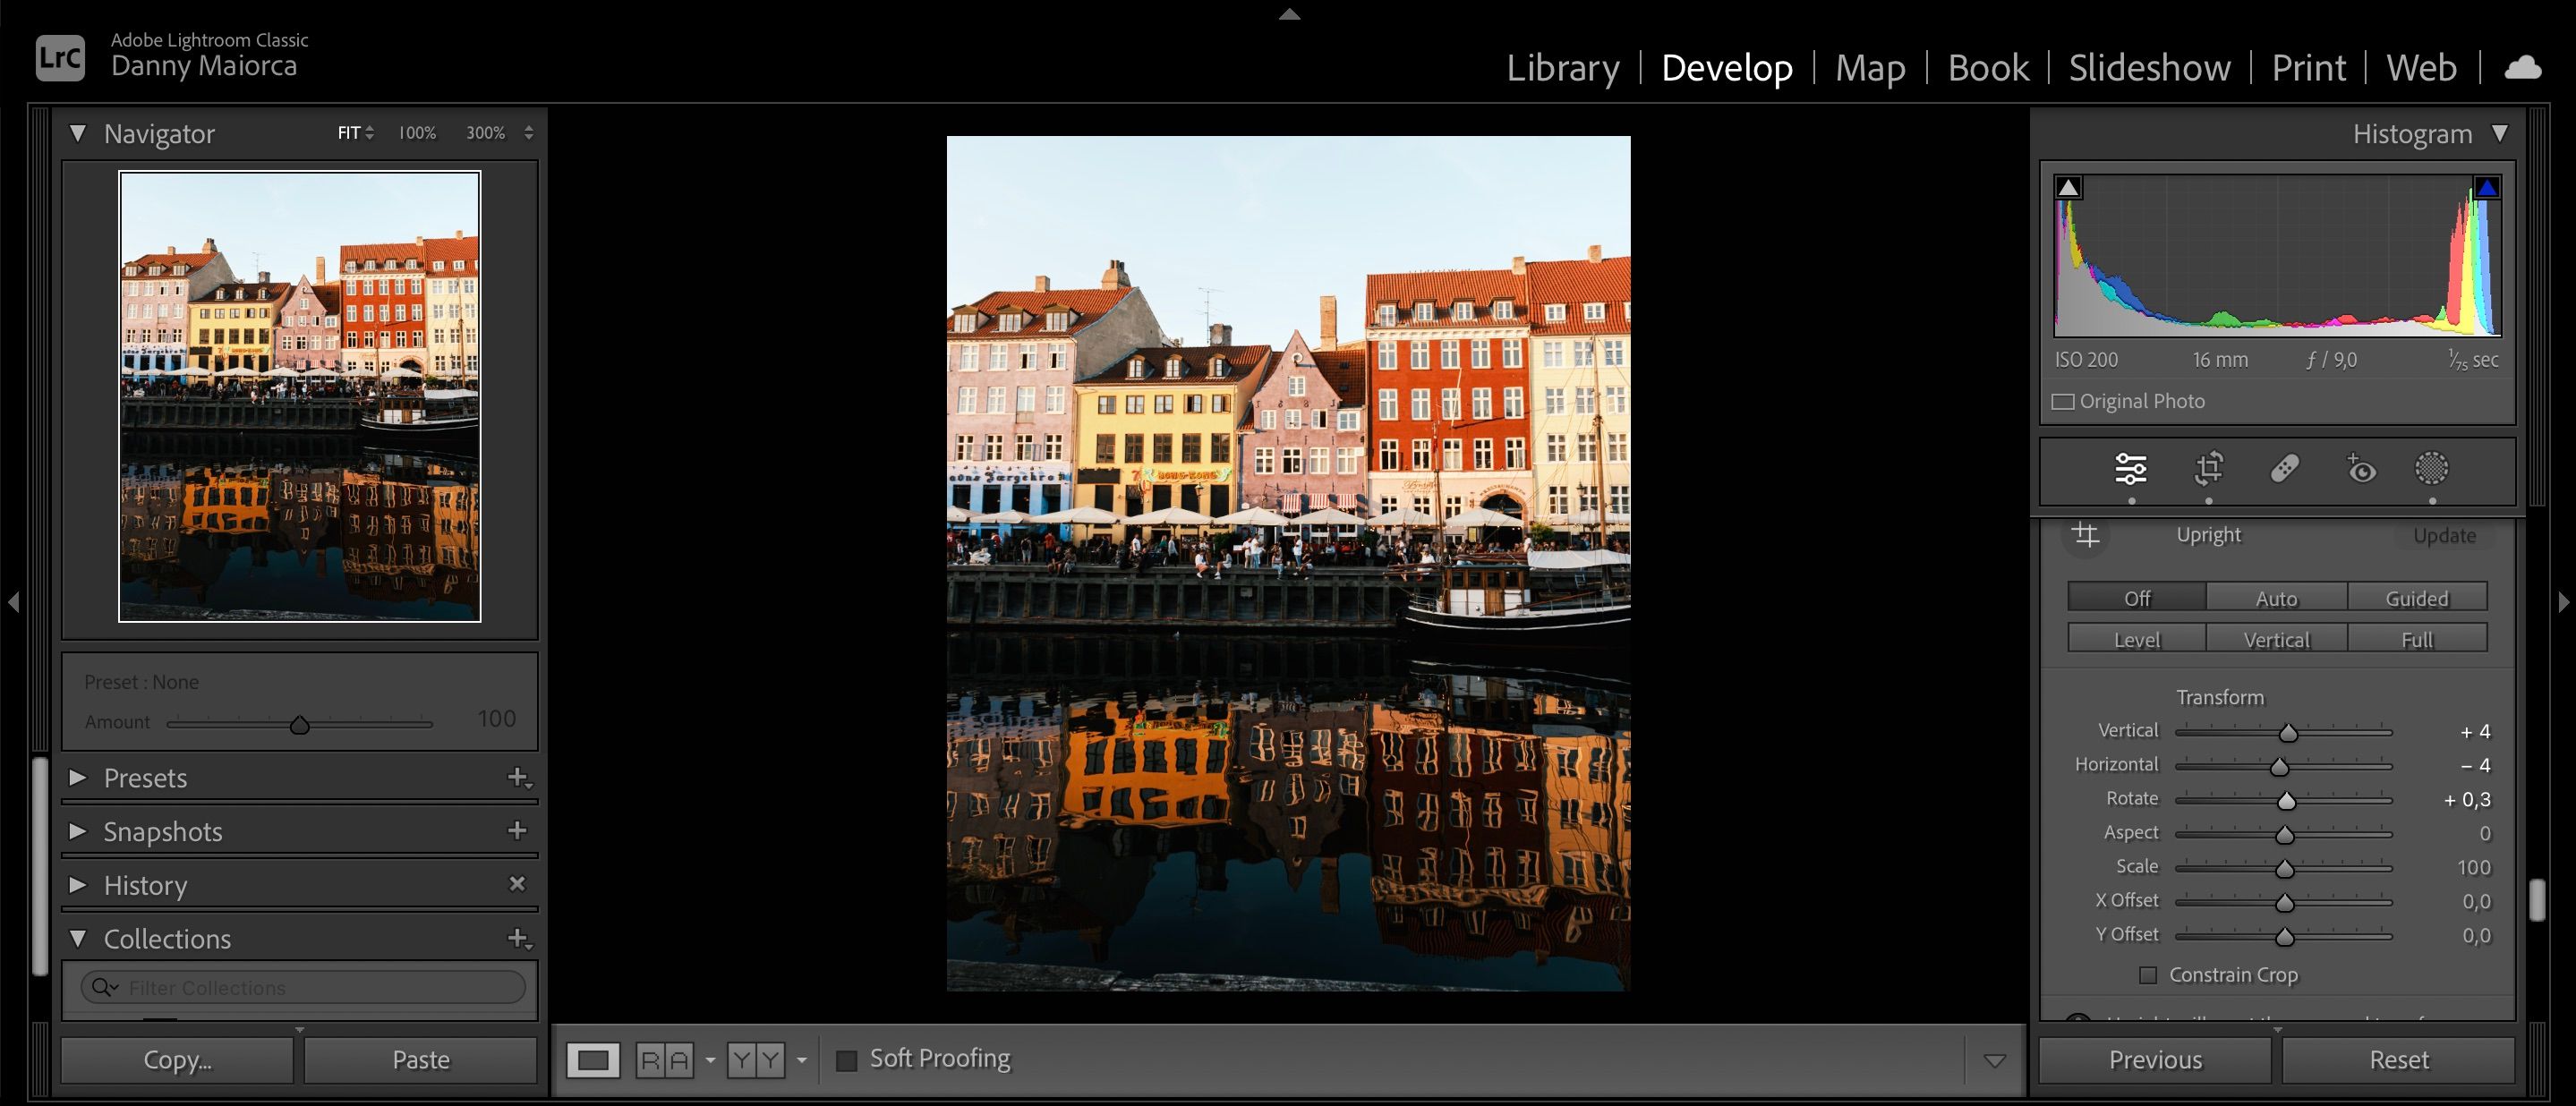
Many beginner Lightroom users first familiarize themselves with the basic slider tools like Saturation, Exposure, and Contrast. But as you become a more proficient photo editor, exploring the other tools in this program will help you finetune your images better.
Lightroom Classic has a series of Transform tools that can help you fix various discrepancies, such as perspective distortion. Today, we’ll show you how to use each of these sliders—and we’ll also discuss whether you can use the features in Lightroom CC.
What Is Transform in Lightroom?
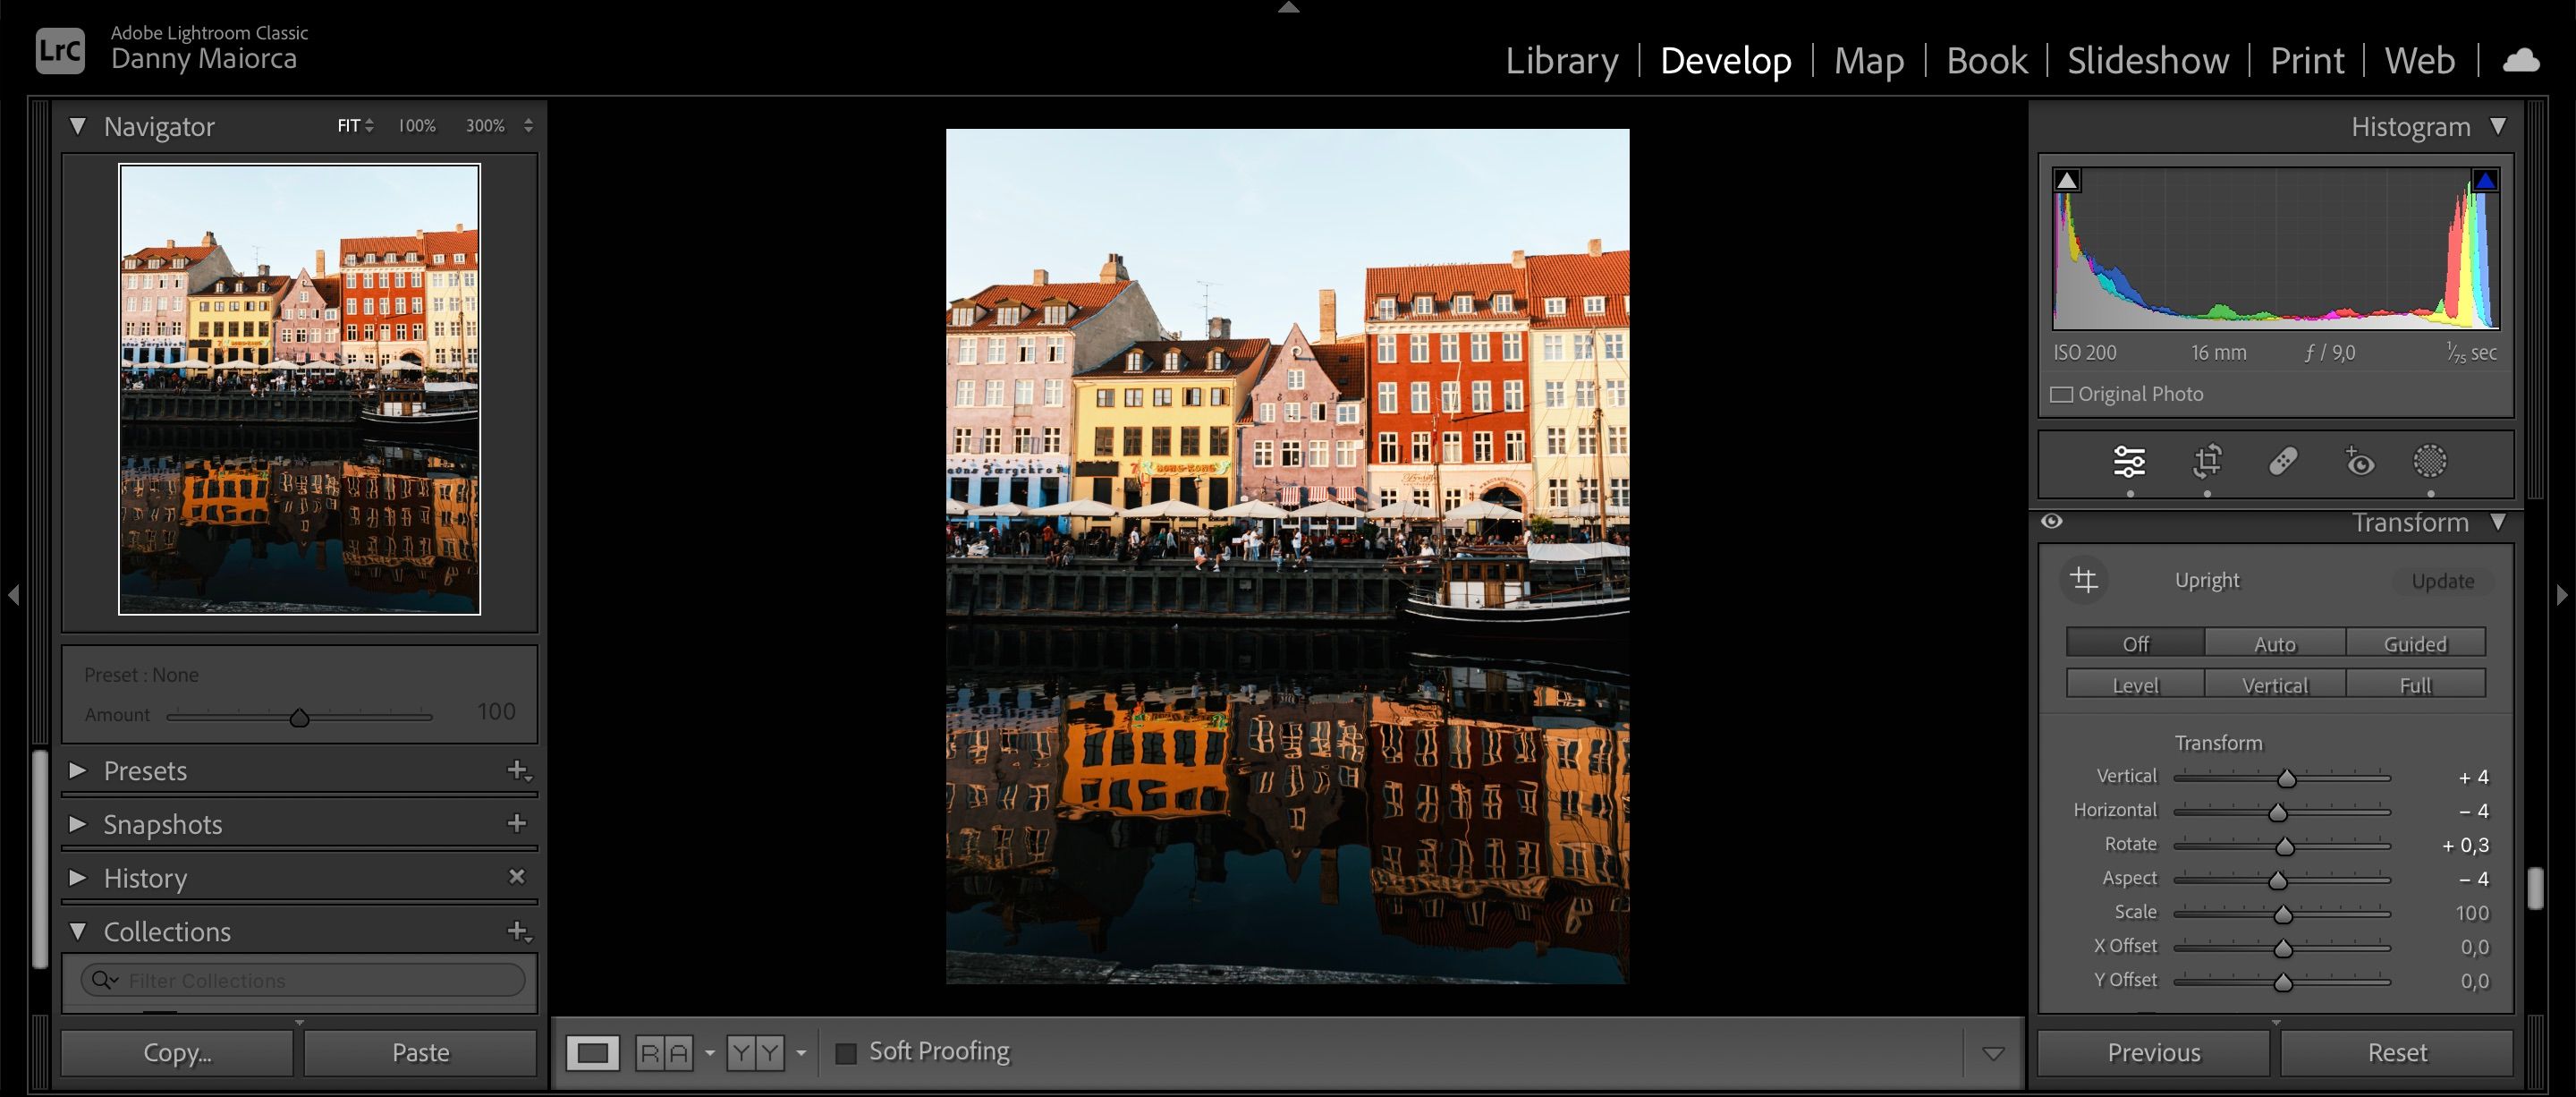
Transform is a section in Lightroom that includes a variety of sliders. Each of these is designed to help you improve the framing and correct the perspective of your photo, and they can be used in conjunction with other features.
With the Transform tools, you can move different aspects of your photo and also change the dimensions. It’s a good idea to change your background color to dark gray or black so that you can see what you’re doing more clearly. You can do that by pressing control + trackpad on a Mac and choosing your new color. On Windows, right-click instead.
In addition to Transform, consider checking out these essential Adobe Lightroom terms for beginners to know.
Are the Transform Tools Available in Lightroom CC?
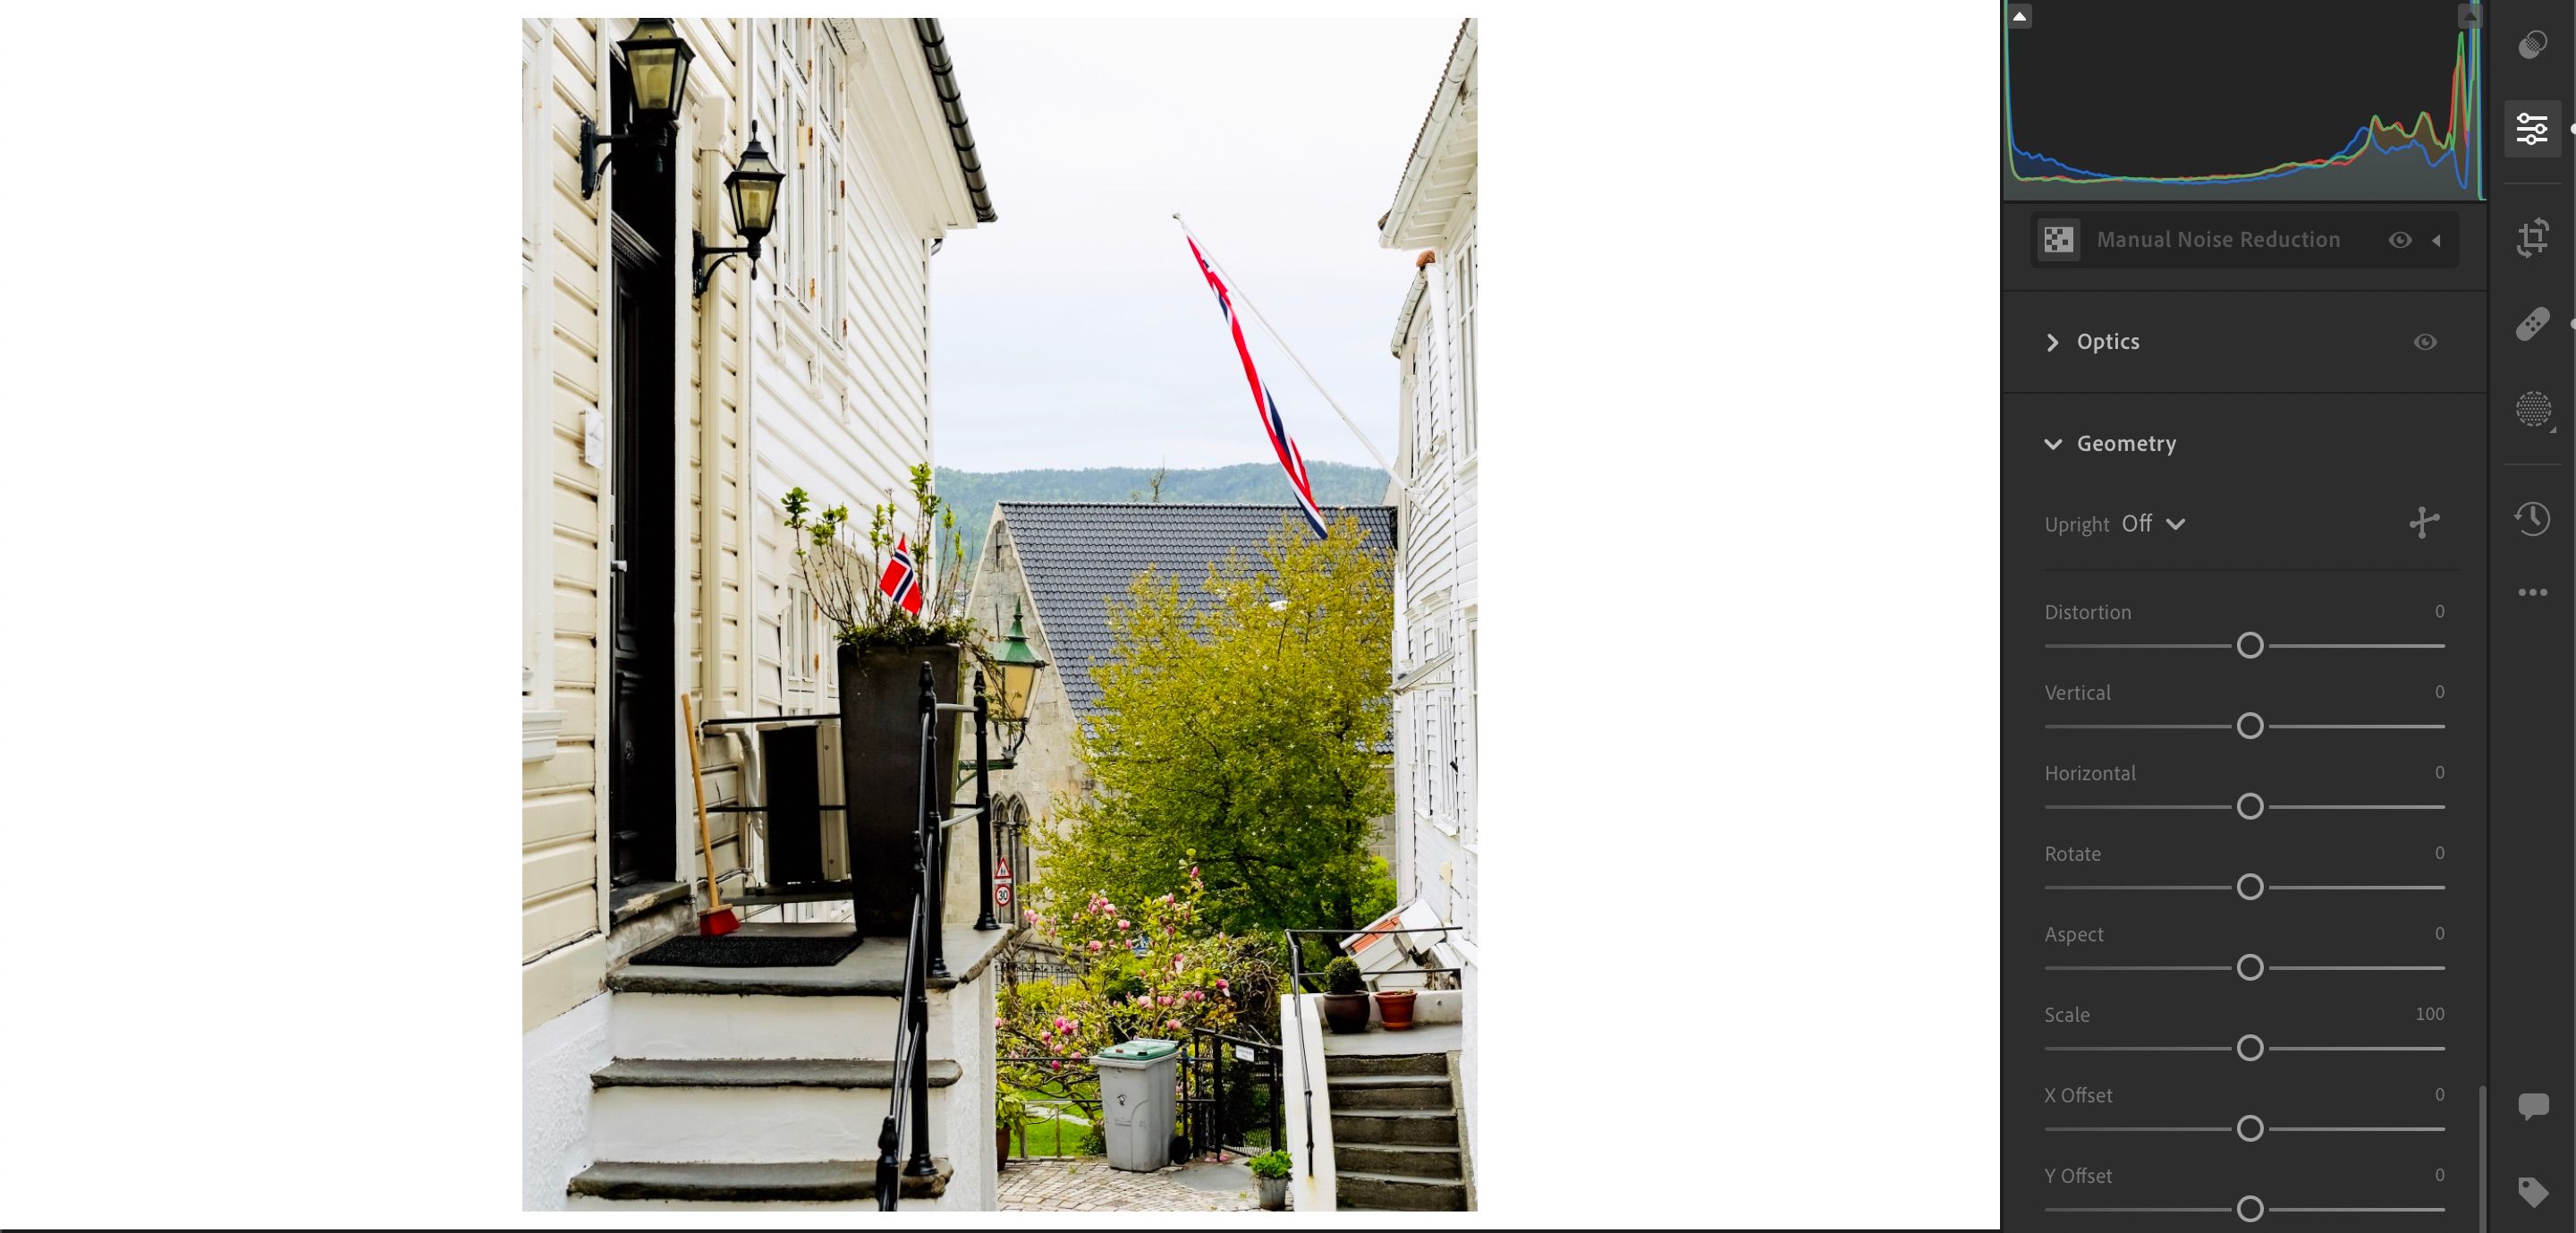
Yes—in addition to Lightroom Classic, you can also use the Transform tools in Lightroom CC. However, you’ll see them under the Geometry tab instead.
What Are the Transform Tools in Lightroom?
In Lightroom CC, go to the Geometry tab; in Lightroom Classic (which we will use as an example), scroll down to Transform instead. Both tabs are on the right-hand side of your respective program.
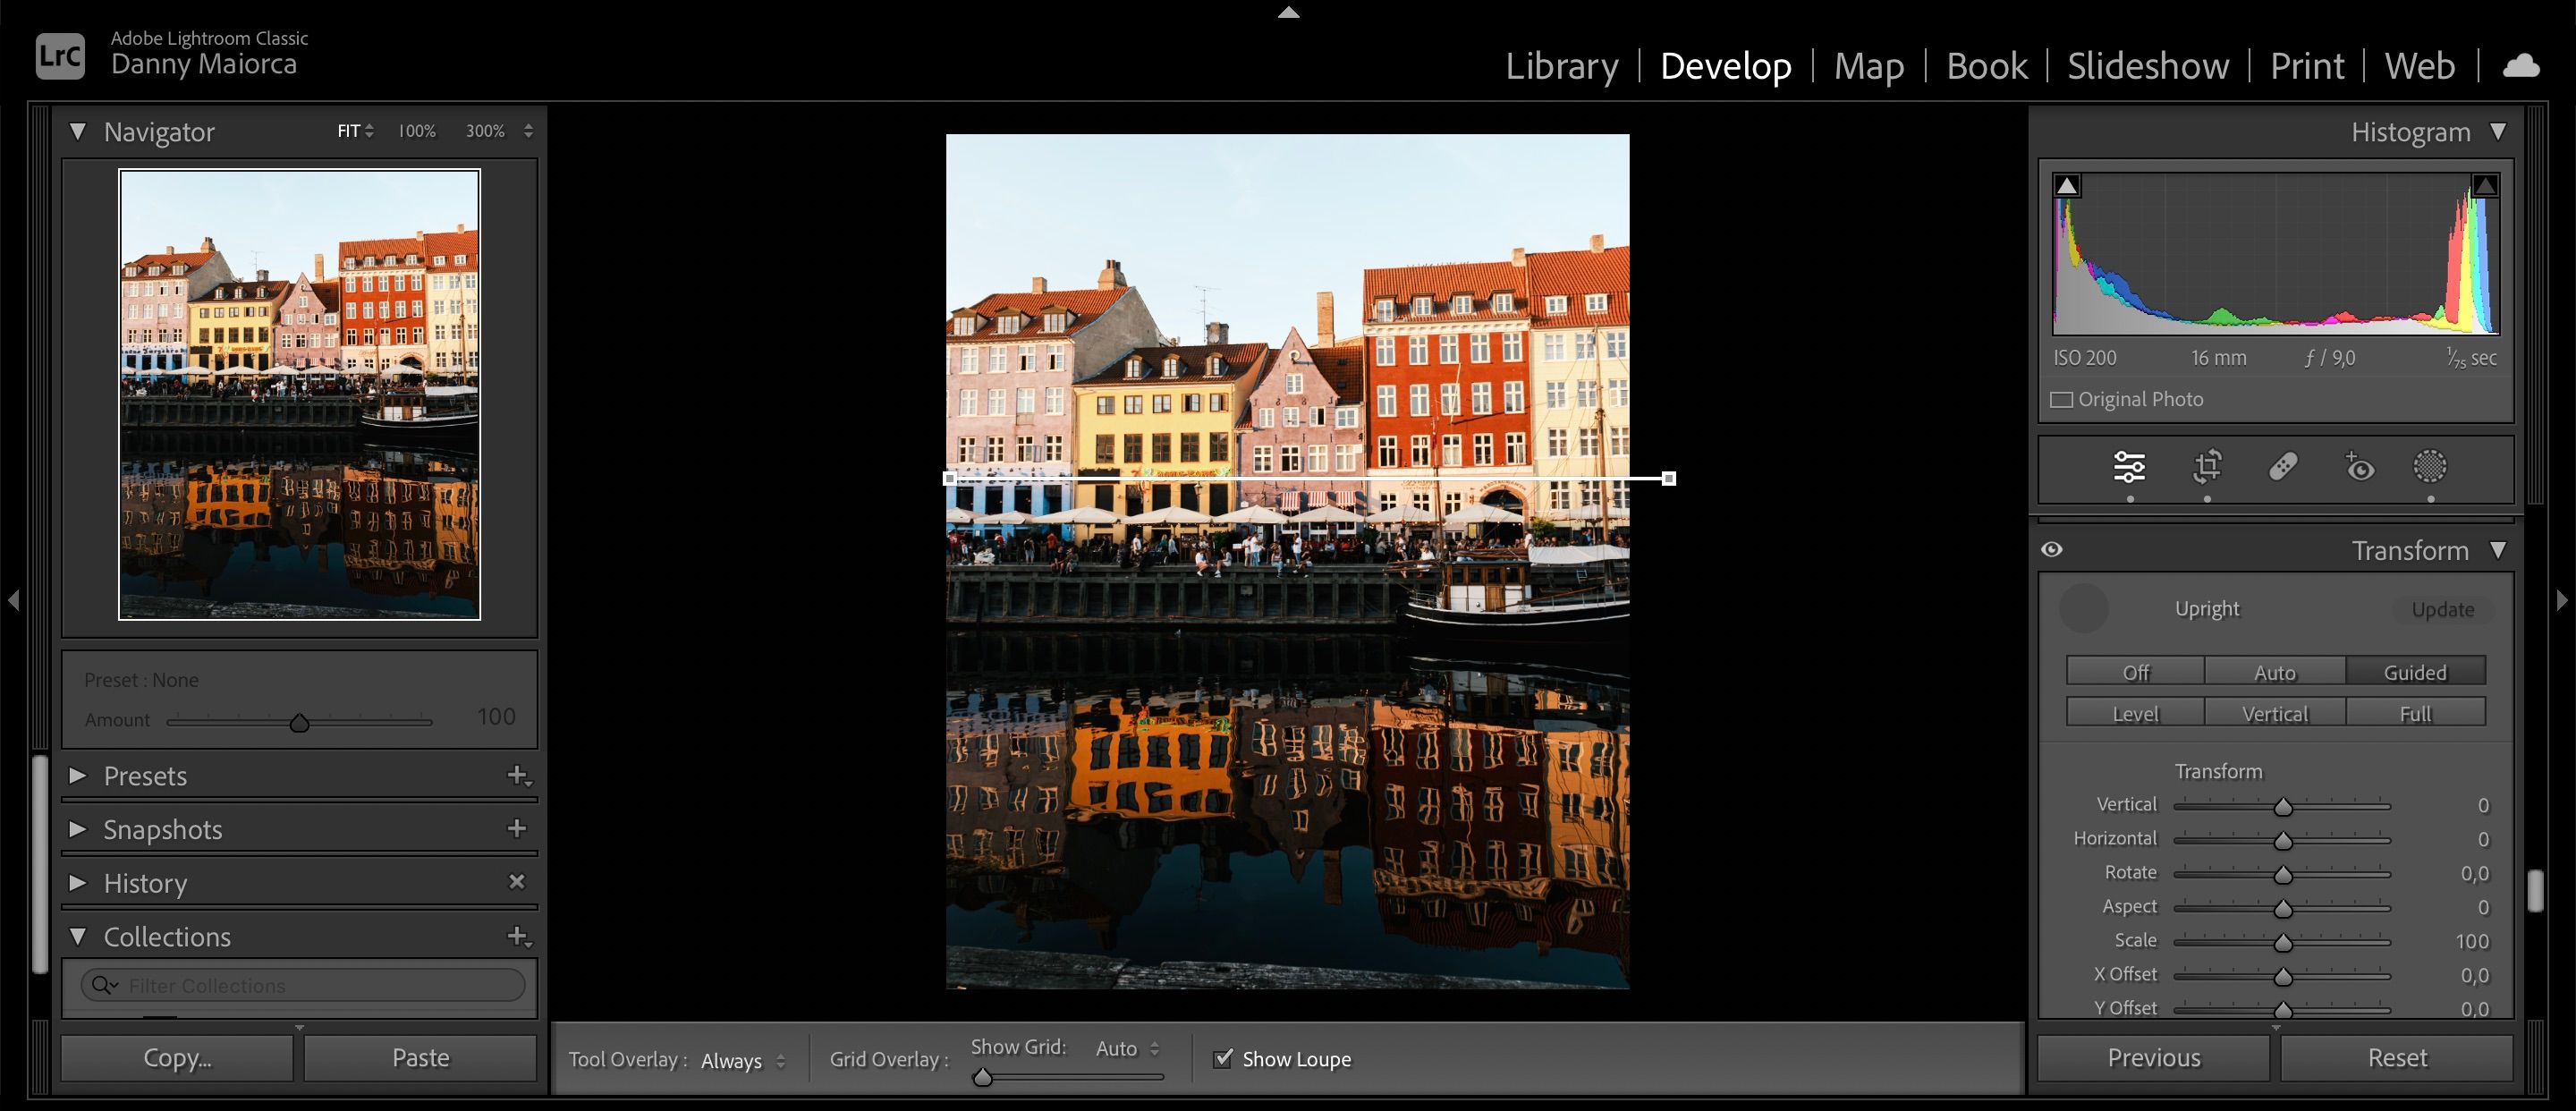
1. Upright
Sure, you can use the Angle slider in the cropping section to straighten your photo. However, your options are quite limited compared to the Upright tools. With Upright, you can adjust an image’s horizontal and vertical positioning.
- Click on the Upright icon at the top of the Transform tab.
- Draw the first line either horizontally or vertically on your image. Repeat this process until you’re happy with the end result.
- Either hit the Enter key on your computer or click Update.
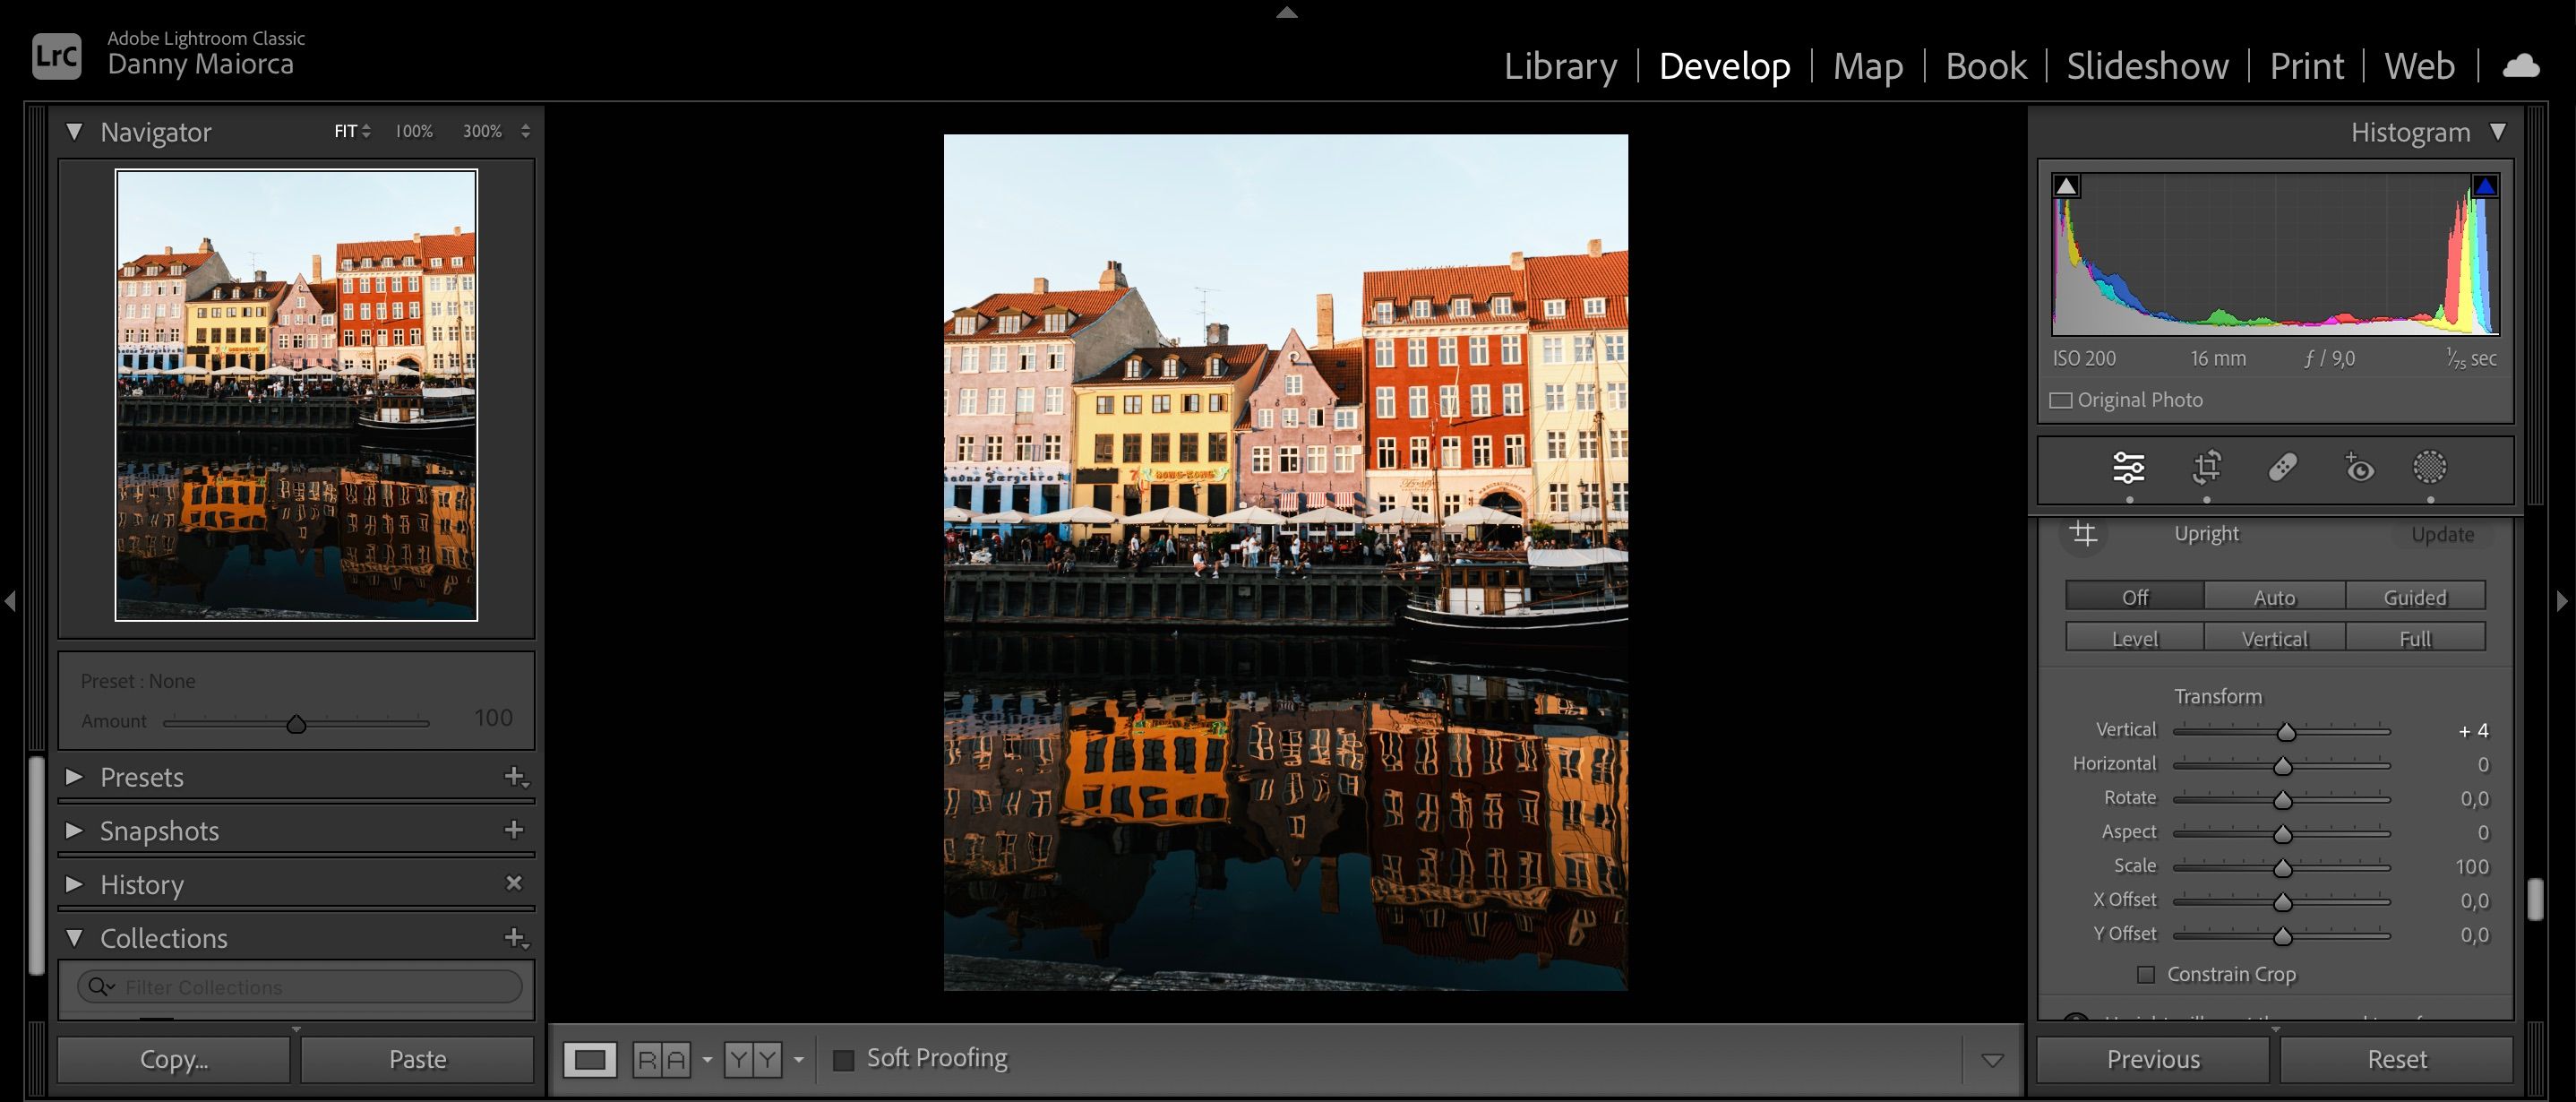
2. Vertical
Using the Vertical slider can help you add straighter lines to your photos, and it’s especially useful if you want to improve your architectural photography. Moving the slider to the right will enhance the vertical appearance of your image. Meanwhile, sliding to the left will add more of an “overlooking” effect.
If you’ve noticed that your Lightroom edits aren’t on the level that you’d like, you might be making some of these common Lightroom editing mistakes.
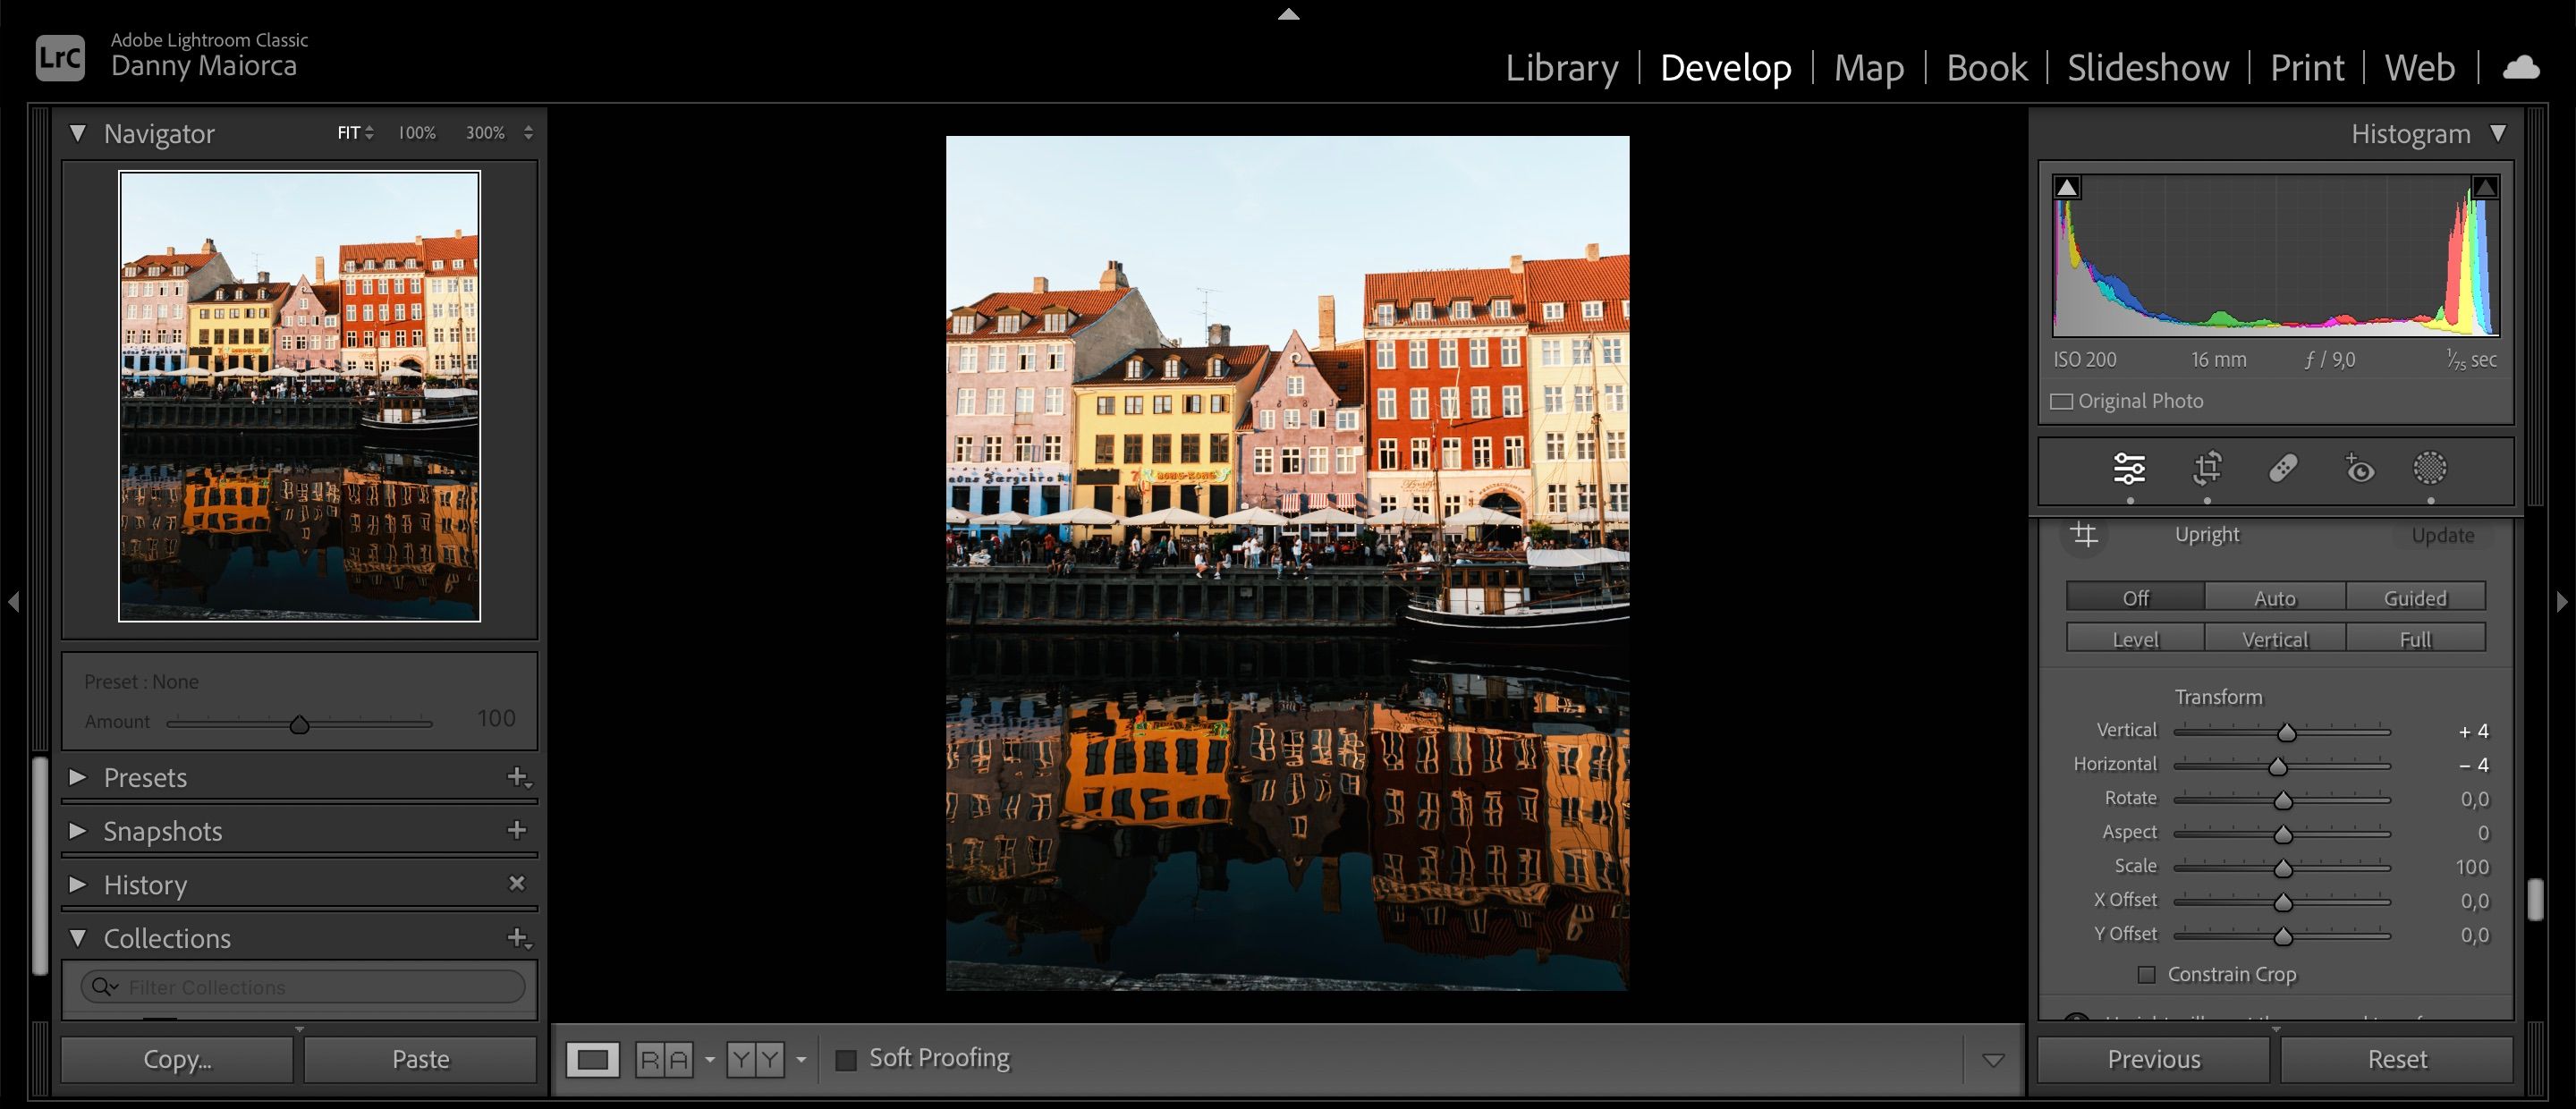
3. Horizontal
The Horizontal slider is pretty much the same as the Vertical one, only that it covers the horizontal aspects instead. Moving the slider to the left will shift the perspective on the left-hand side of your picture, and the opposite occurs if you move it to the right instead.
Shifting the perspective horizontally is useful if you’ve cropped out something that you’d like to keep in your image. It’s also a handy option if you took the picture at an angle, which can often happen when you’re in a crowded area like a tourist attraction. There are ways to take better and more unique photos in touristy locations.
4. Rotate
The Rotate feature twists your photo to the left or right, depending on which way you move the slider. It works very similarly to the Angle slider in the cropping section, so you can use them interchangeably.
This slider ranges from -10 on the left to +10 on the right. Besides Lightroom, you can use numerous other tools for rotating an image on your Windows PC.
5. Aspect
The Aspect slider will cause your image to widen or become narrower from the middle outwards. You can use this feature if you think that the camera profile tool didn’t make the adjustments you needed.
If you move the slider to the left, your photo will become wider from the middle outwards. The opposite occurs if you slide to the right instead.
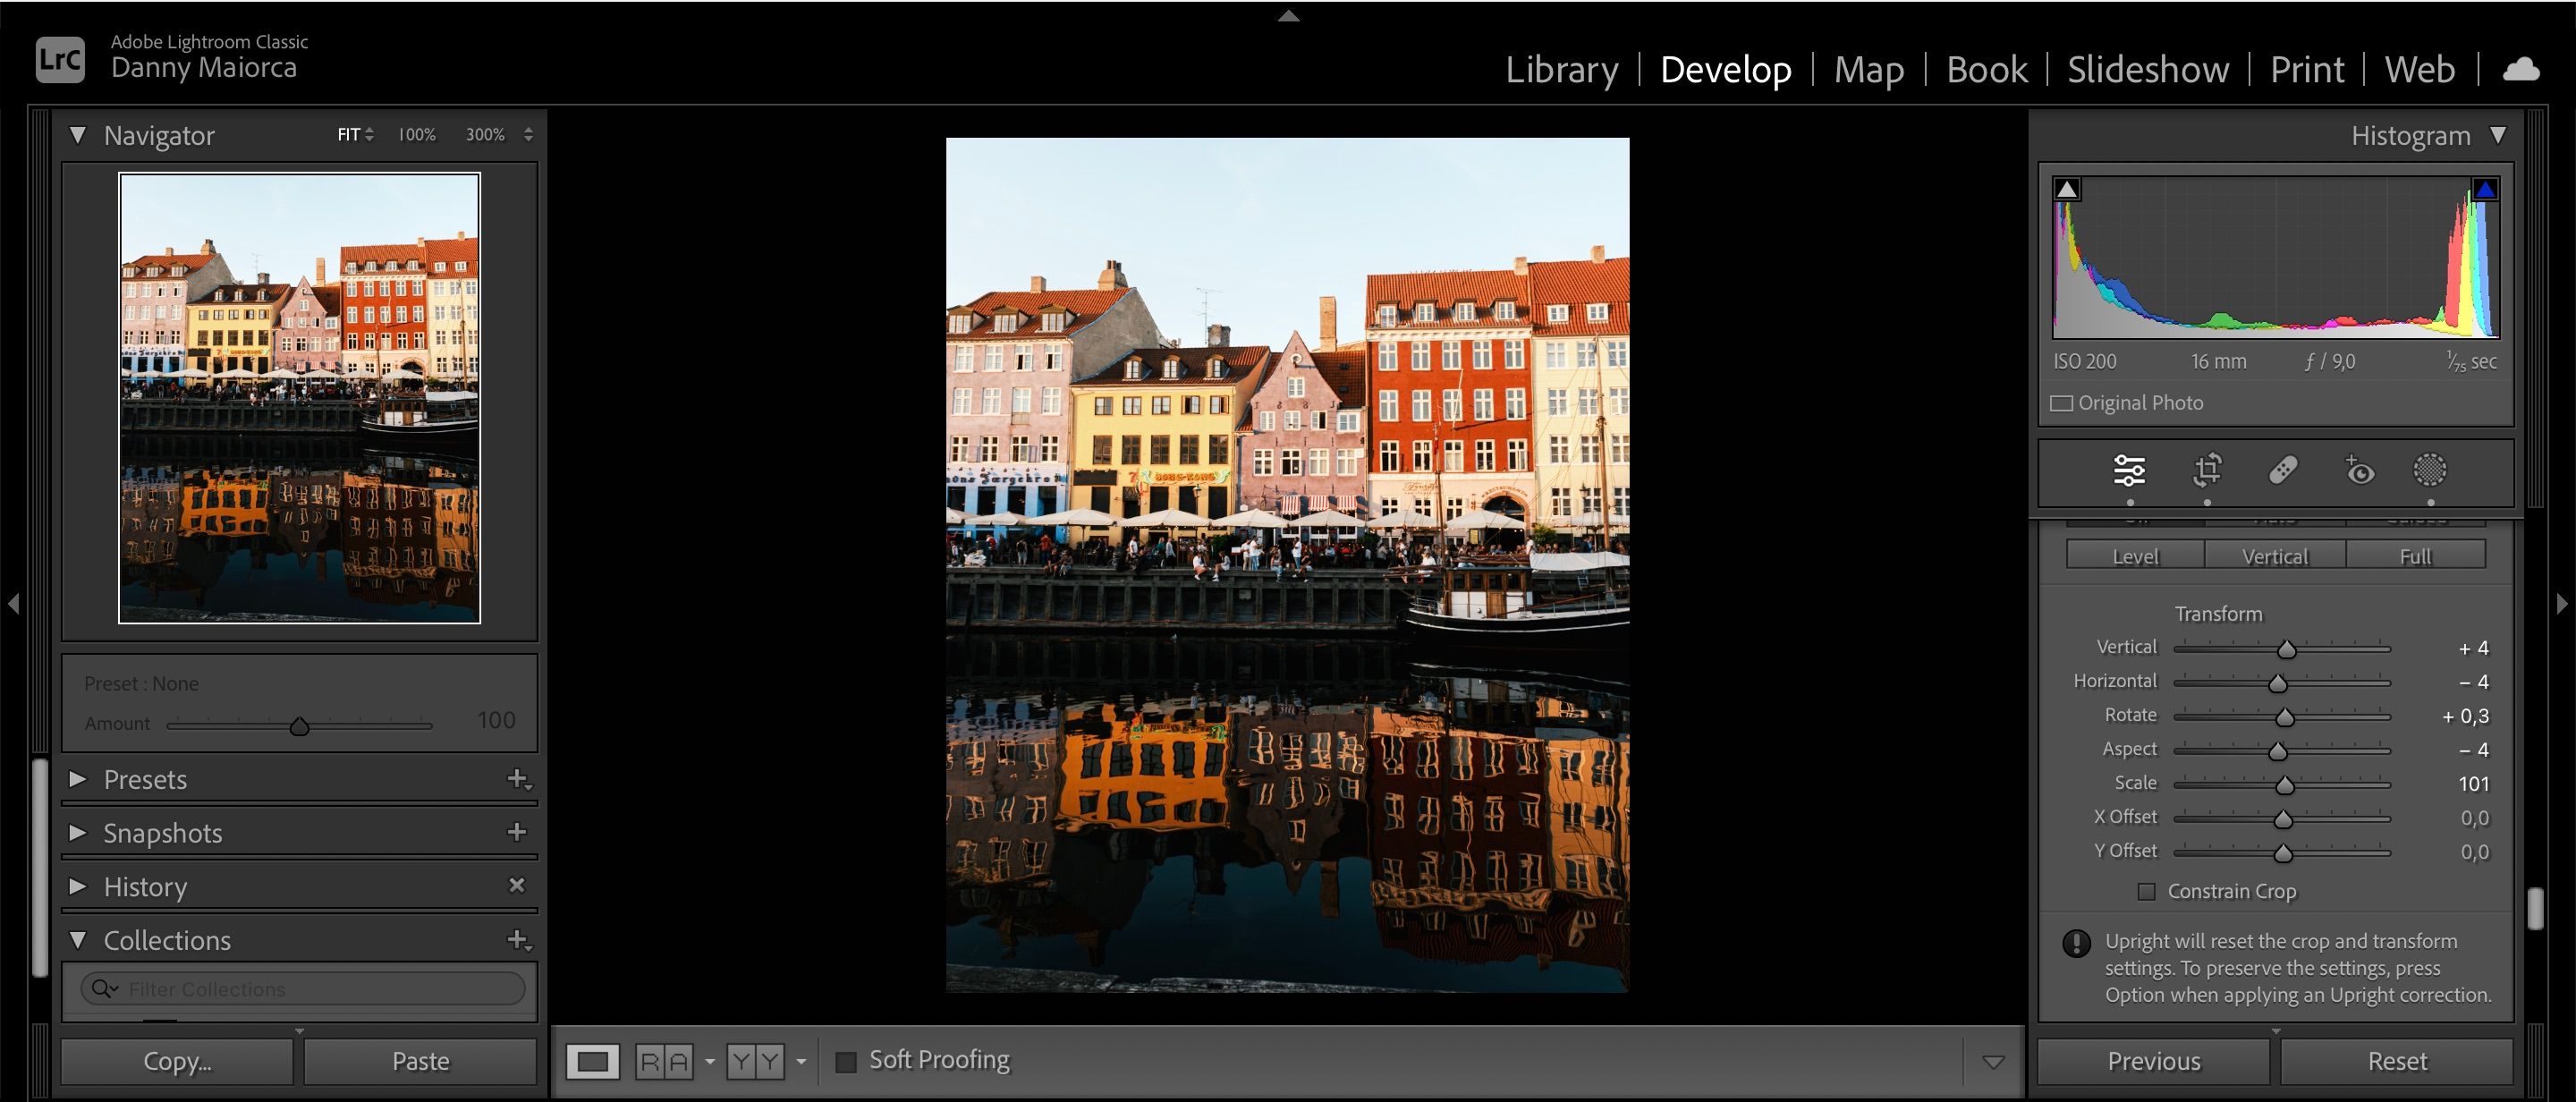
6. Scale
When using Lightroom, you’ll likely need to crop your images for a whole host of occasions. For example, it’s often advisable to post photos on Instagram in the 4:5 format. Cropping an image in Lightroom is not too difficult, and you can even batch-crop and resize photos in Lightroom if you want.
However, one problem with cropping photos in Lightroom is that you can sometimes sacrifice the quality. Once you’ve cropped the dimensions of your photo, you might want to use the Scale tool and see whether it can preserve a bit more quality.
The Scale slider ranges from 50 (left) to 150 (right). Moving the slider to the right fills more of the frame, whereas going to the left will do the opposite. If you move the slider to the left, keep in mind that you may need to crop the edges as a white canvas could appear.
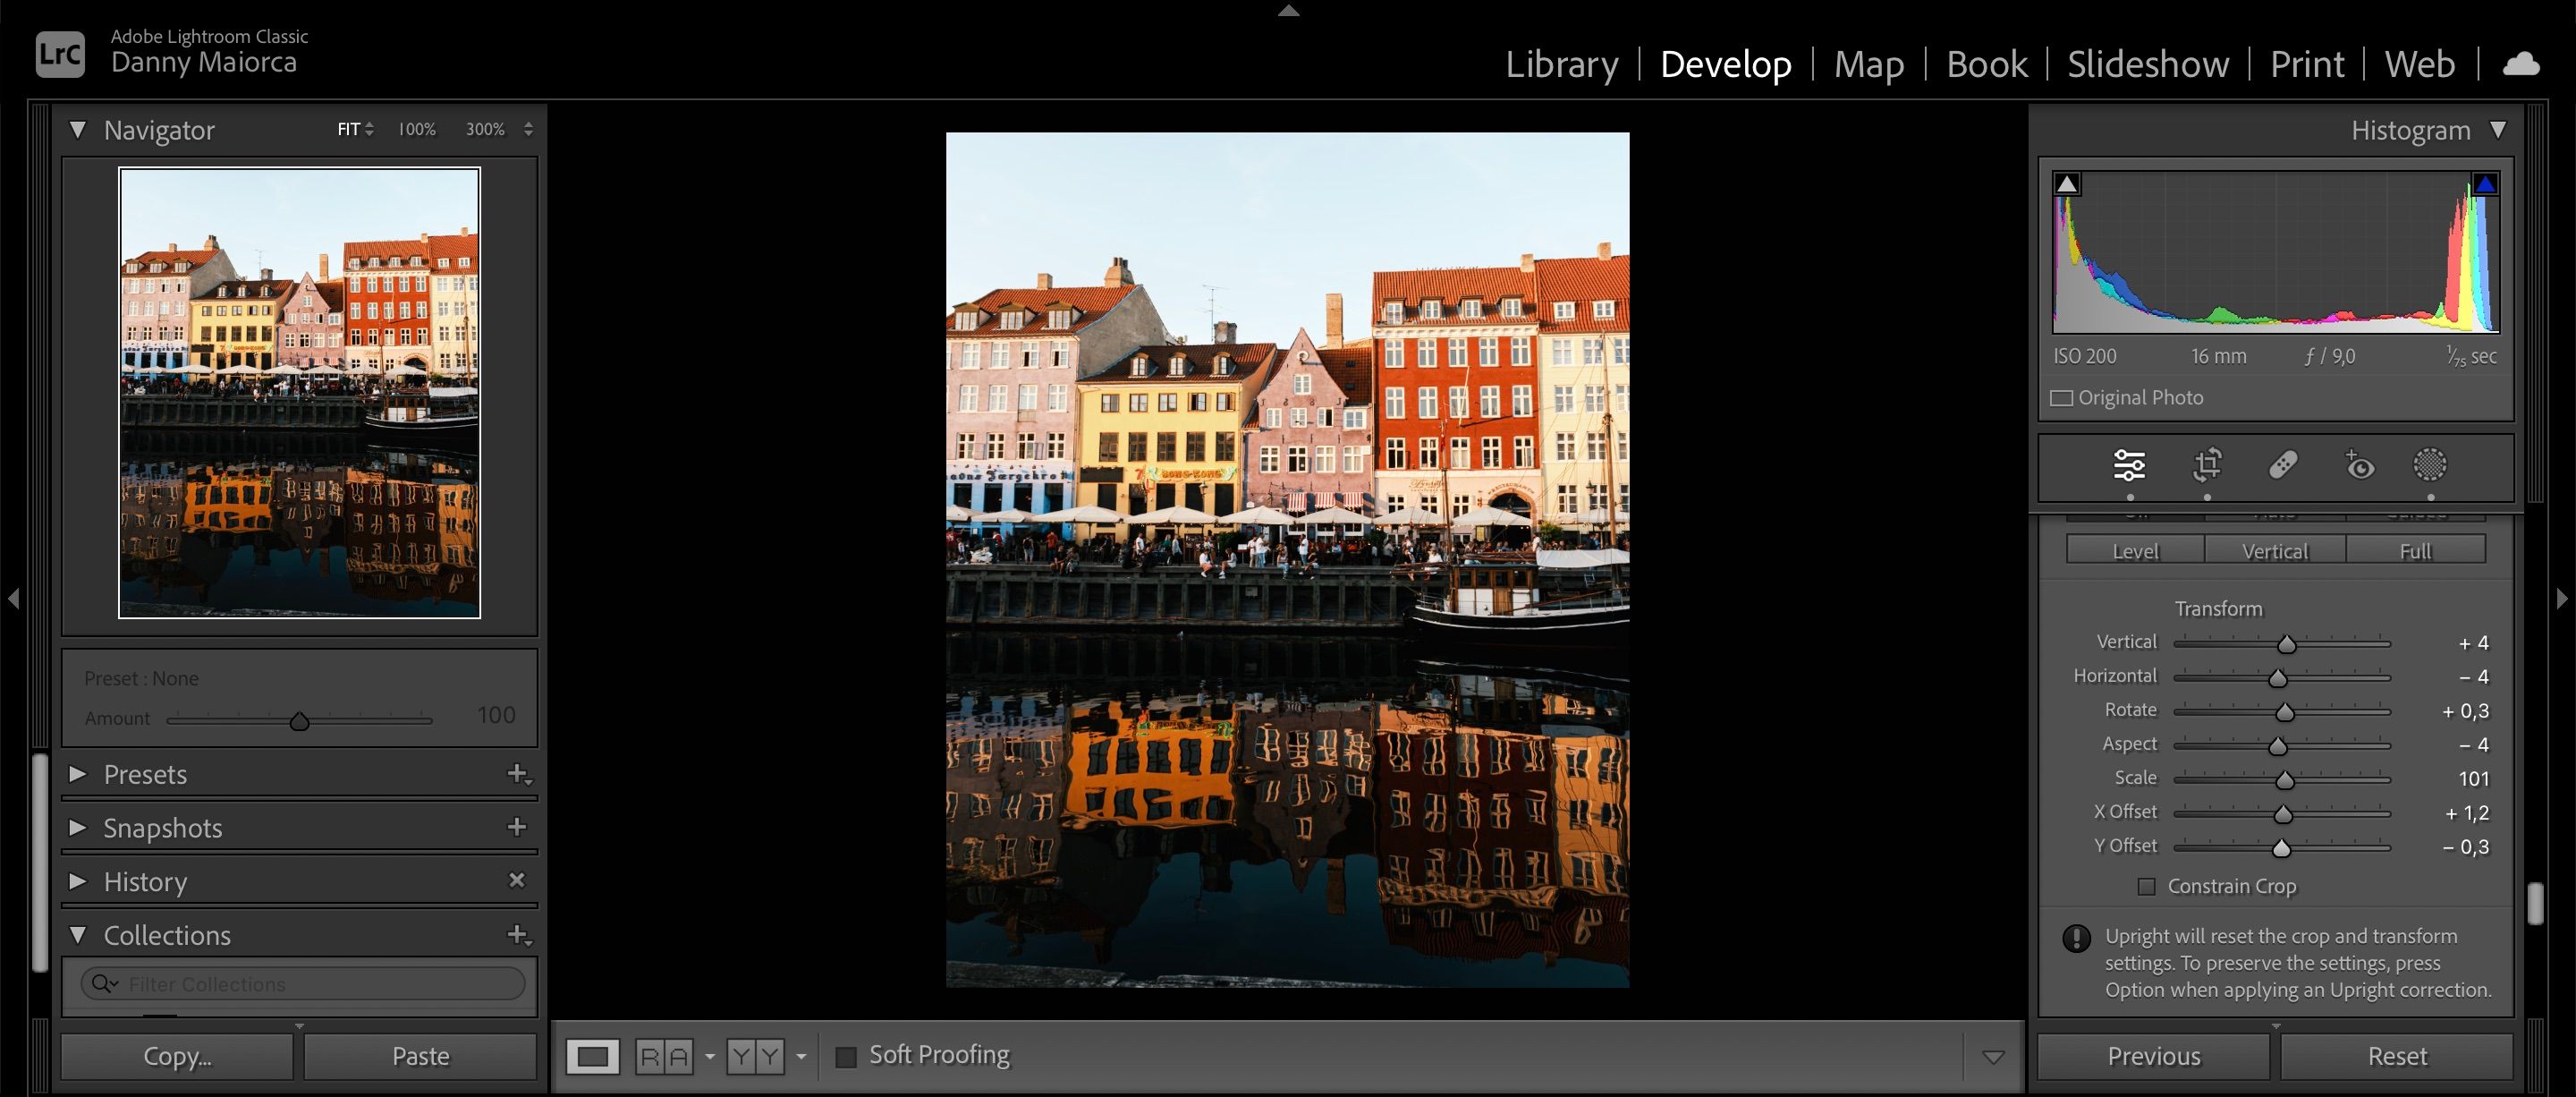
7. X Offset
X Offset is another useful Transform slider in Lightroom that can help you finetune your cropping. The tool will move more of your image to the left, making it a viable alternative to the Horizontal slider. You might even want to use it alongside the aforementioned feature if you feel like your picture needs some closer attention.
The X Offset slider ranges from -100 (left) to +100 (right). The further you move your photo in either direction, the more of the white canvas will appear.
8. Y Offset
Y Offset is pretty much the same as X Offset, only that it moves more of your photo up or down instead. Moving the slider to the left will slide more of your picture down, while going to the right will move it up.
Like when using X Offset, you’ll see more of the canvas beneath your photo as you move the picture further to either side.
Take Your Edits to the Next Level With Lightroom's Transform Tools
Lightroom has several Transform sliders and tools that are worth using if you need to finetune your photo editing. You’ll be able to get a better frame with these, and you can also use the feature alongside other features further up the right-hand toolbar.
You don’t need to use each slider for every edit, but knowing how they all work will allow you to edit more effectively. So, we recommend trying them all next time you use Lightroom.


