Many photographers think of Adobe Lightroom when applying presets to their images, but it’s not the only option available. You’ll also find a set of presets in Photoshop—and these are known as Adjustment Presets.
You can use Adjustment Presets in Photoshop to improve landscapes and portraits, along with repairing your pictures. Furthermore, you’ve got a suite of options for adding creative touches to your visuals.
Let’s show you some of the best Photoshop Adjustment presets and identify some situations where you should consider using them.
Portraits
You can use several technical tips to improve your portrait photography, but editing is just as important. Below are four of the best Photoshop Adjustment Presets for photos of this kind, and you can sometimes use them for other genres—such as cityscape shots.
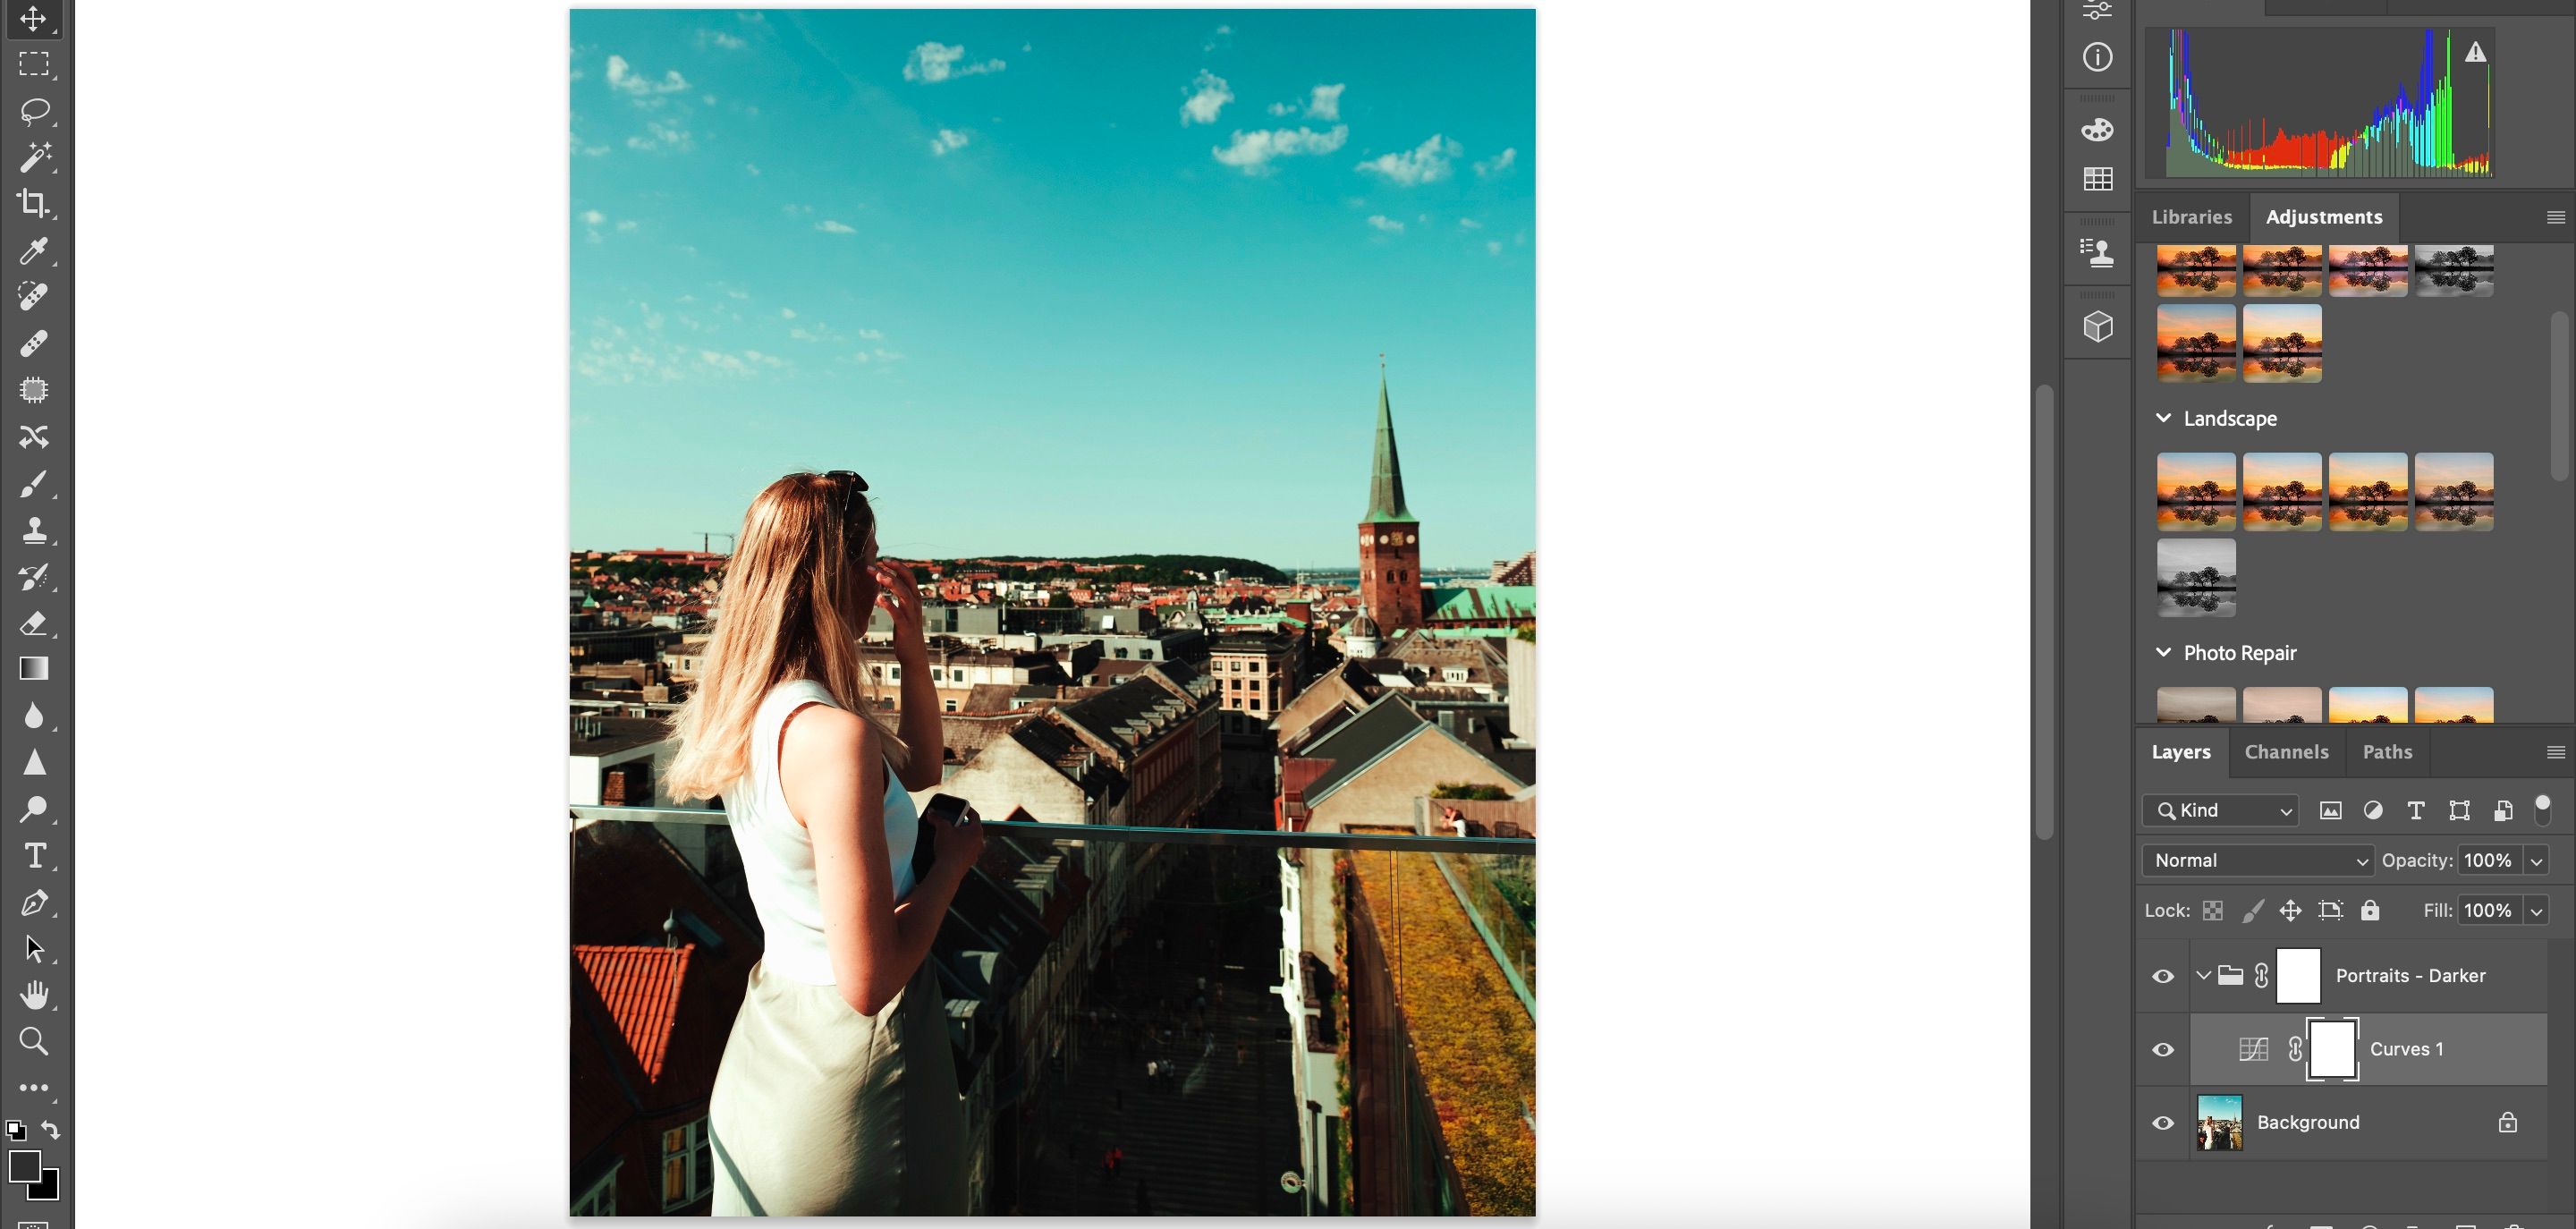
1. Darker
Darker does as the name suggests and reduces the exposure in your photo. This is especially the case with the highlights and shadows, and it’s an excellent option if you’ve unintentionally overexposed your picture when using Camera Raw or Lightroom. Similarly, you can use this preset to alter photos that were already overexposed in your camera.
Some of the scenarios where the Darker Adjustment Preset makes sense include:
- When you want to make your shadows more punchy
- Sunny day portrait shots, where cameras can be particularly prone to overexposing highlights
- Portrait photos featuring city skylines in the background
If you want to edit your portraits in Camera Raw, it’s possible to retouch a model with Camera Raw and create a preset.
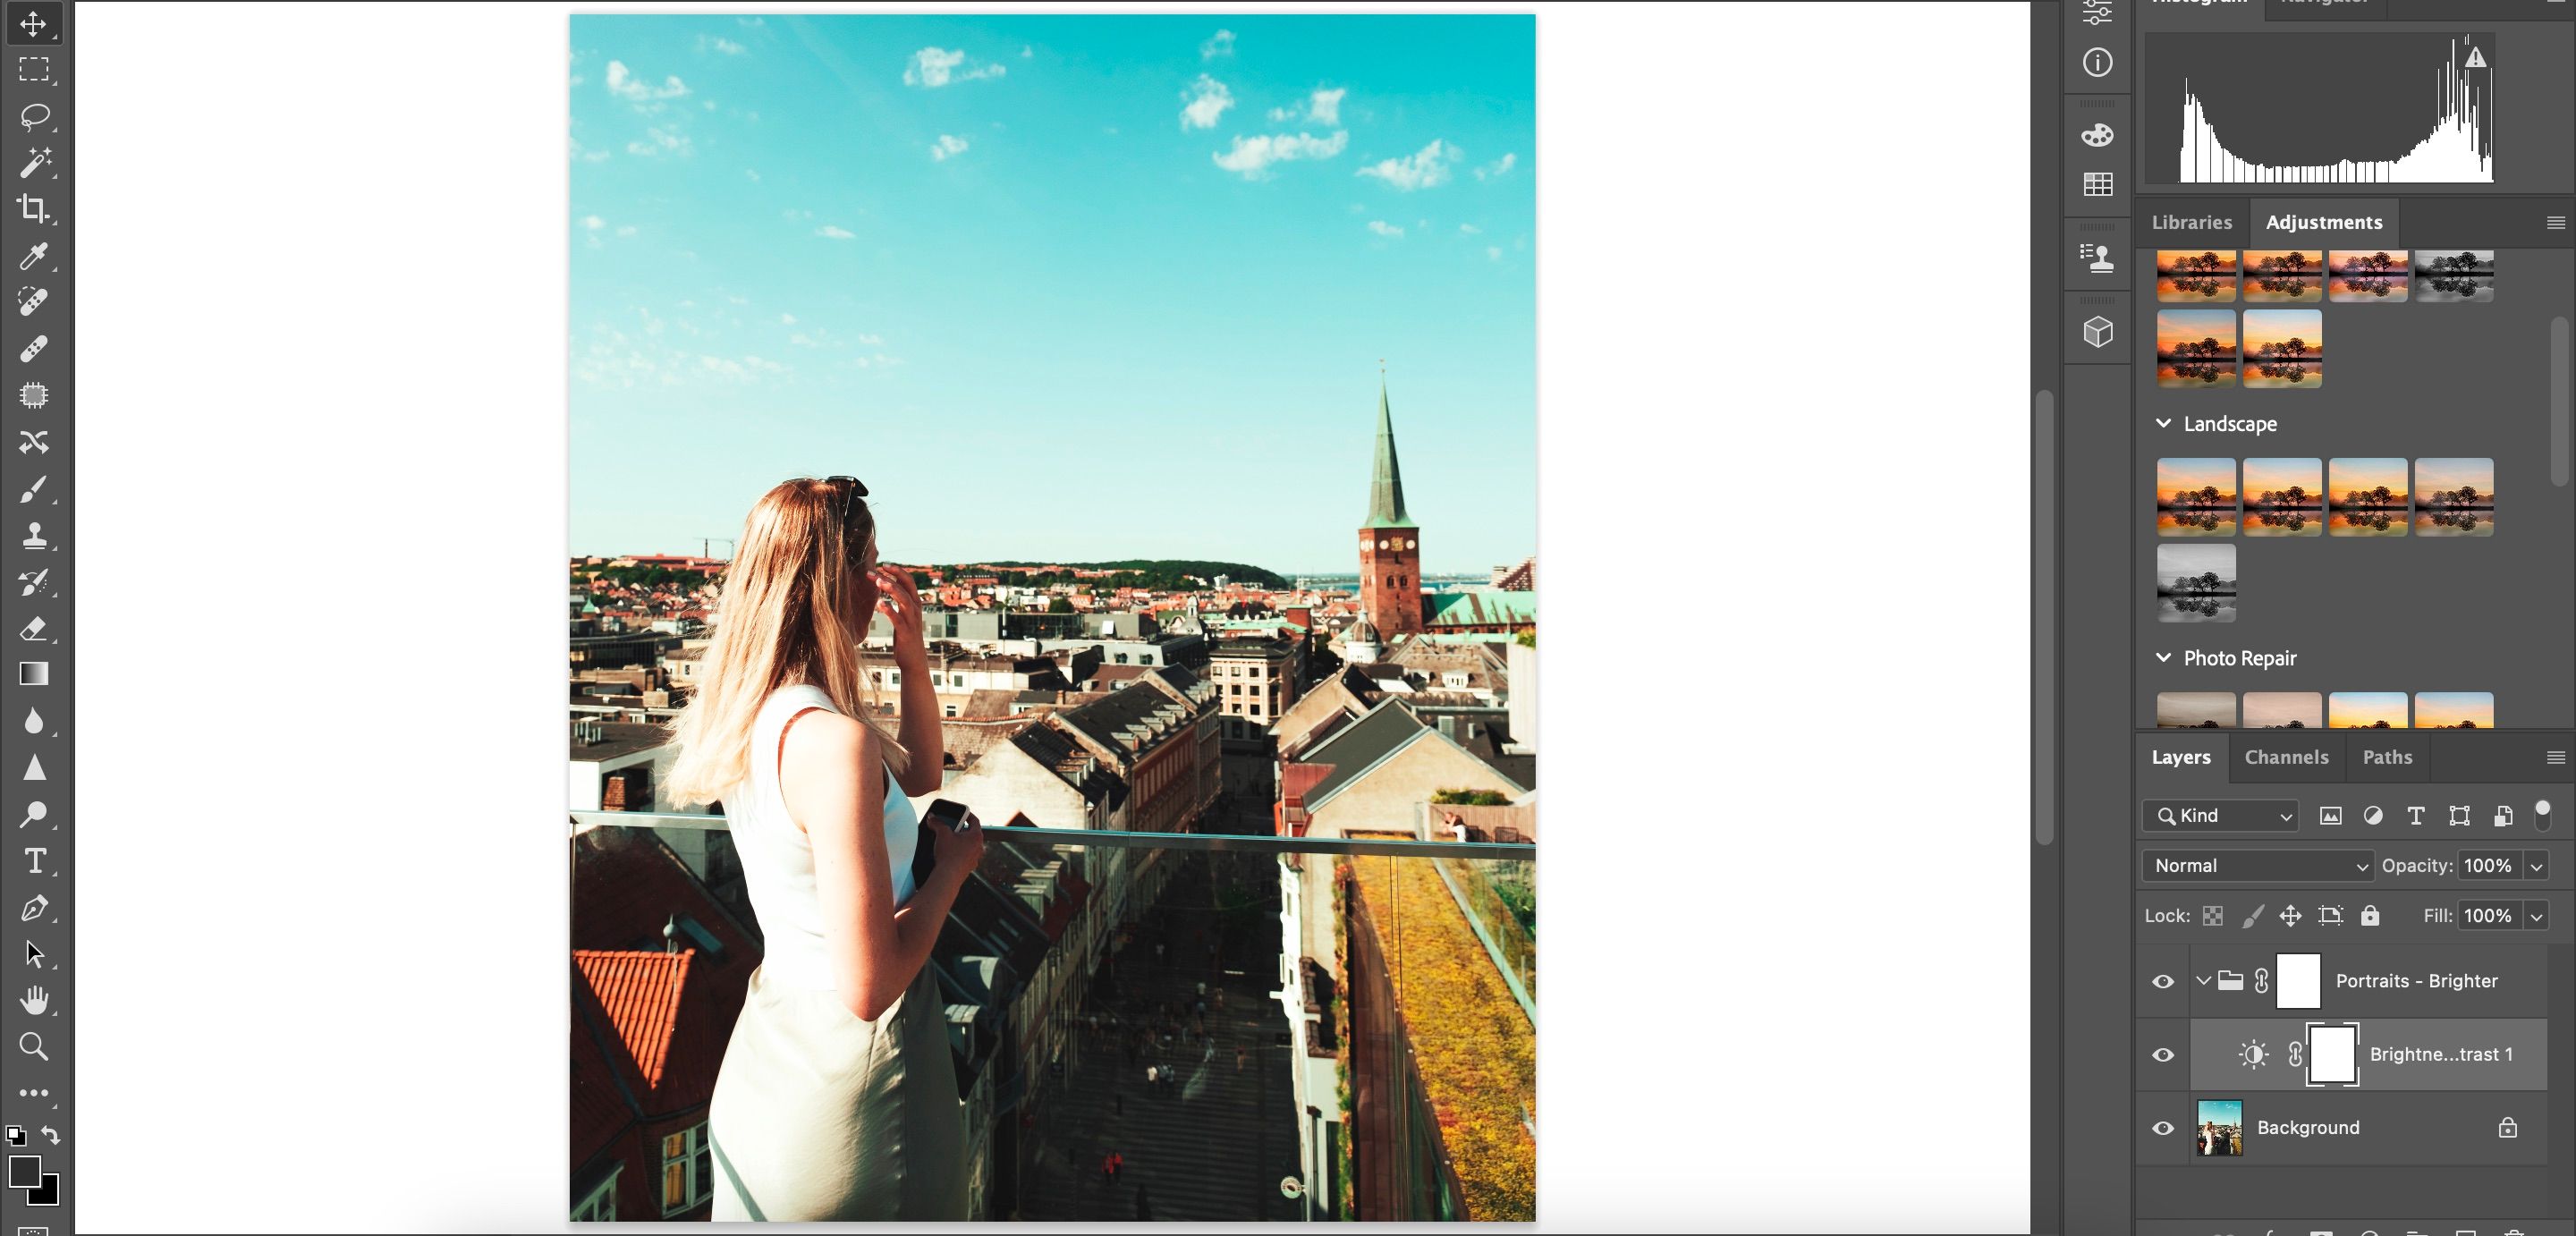
2. Brighter
Brighter does the opposite of the Darker Adjustment Preset. It’s a great choice for portraits where you want to enhance the exposure, and it can work with photos taken on both sunny and cloudy days.
If you’re using the Brighter preset on a sunny day photo, beware that some parts of your image can potentially become overexposed. However, you can fix these by adjusting the Brightness and Gamma Correction tools in Photoshop.
Scenarios in which Brighter makes sense include:
- Underexposed portraits
- Cloudy and rainy-day photos
- Pictures where there are a lot of vibrant colors
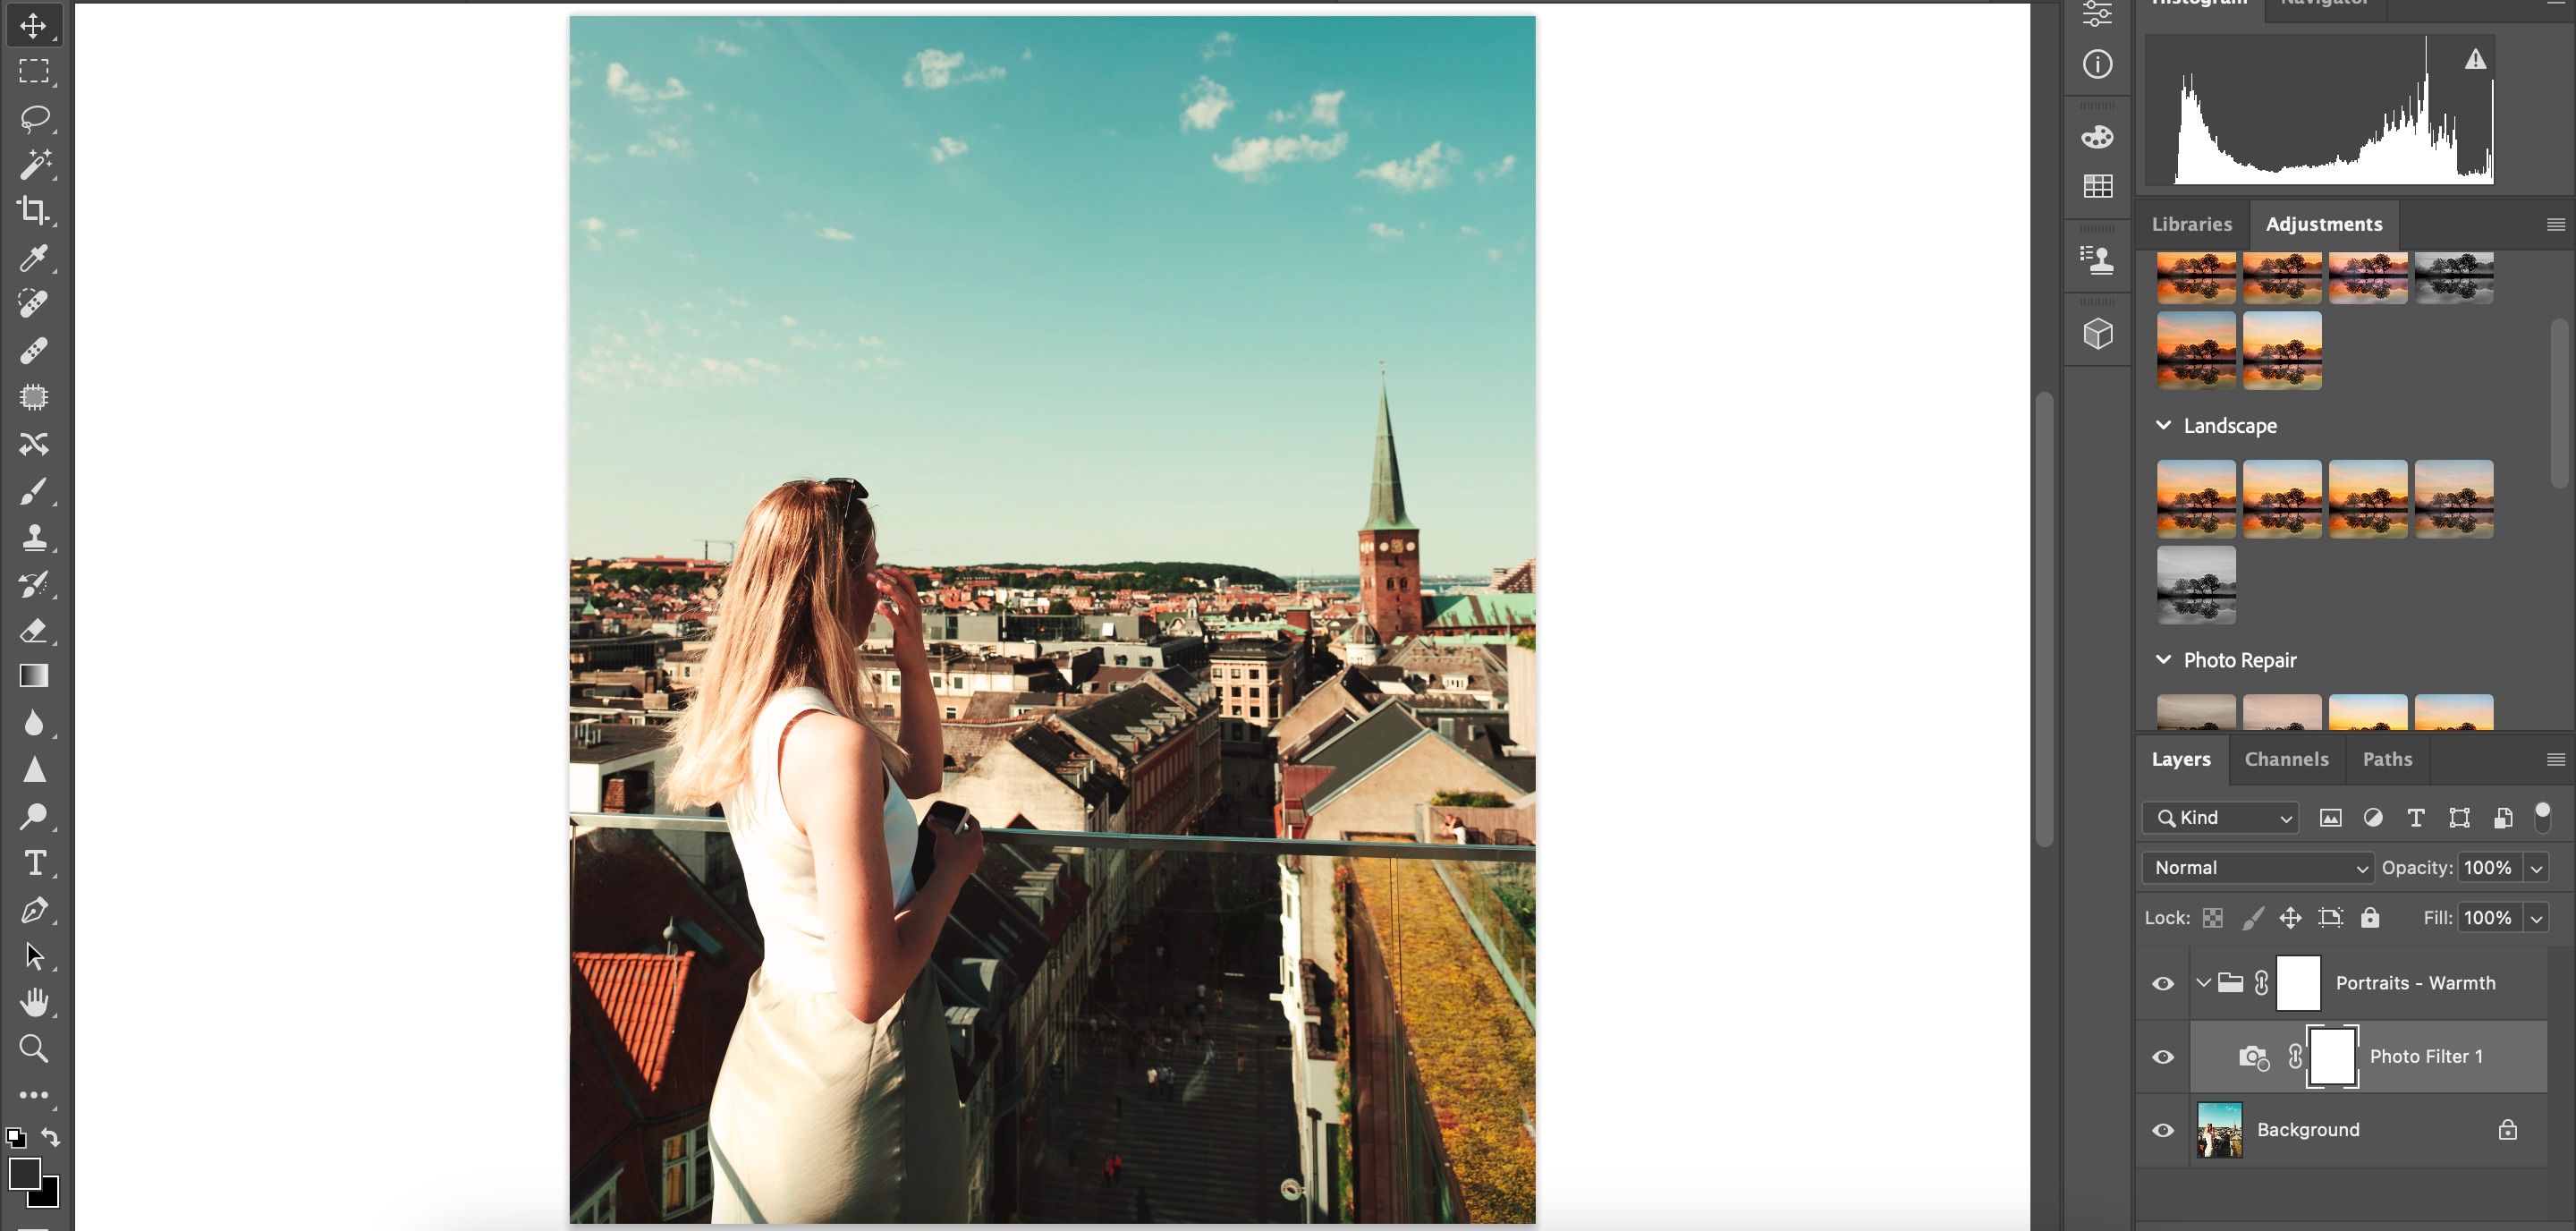
3. Warmth
Warmth is quite similar to the Sunshine preset, but the main difference is that the exposure doesn’t change a huge deal. Instead, the main thing that’ll change is how warm the tones are in your image. With this in mind, Warmth is a good choice if you need to correct photos with a bluer tone.
Scenarios where the Warmth Adjustment Preset works include:
- Portraits taken on the beach
- When you’re a photographer who naturally likes having warmer tones in their photos
- Sunny day pictures where you’re going for more of a retro vibe
To ensure you get your white balance correct in the future, see these tips on getting the perfect white balance in your photos.
Landscape
Landscape is another one of the most important Adjustment Preset categories in Photoshop. You can use these presets for both landscapes and urban cityscapes, and they can also work with street photography and some portraits.
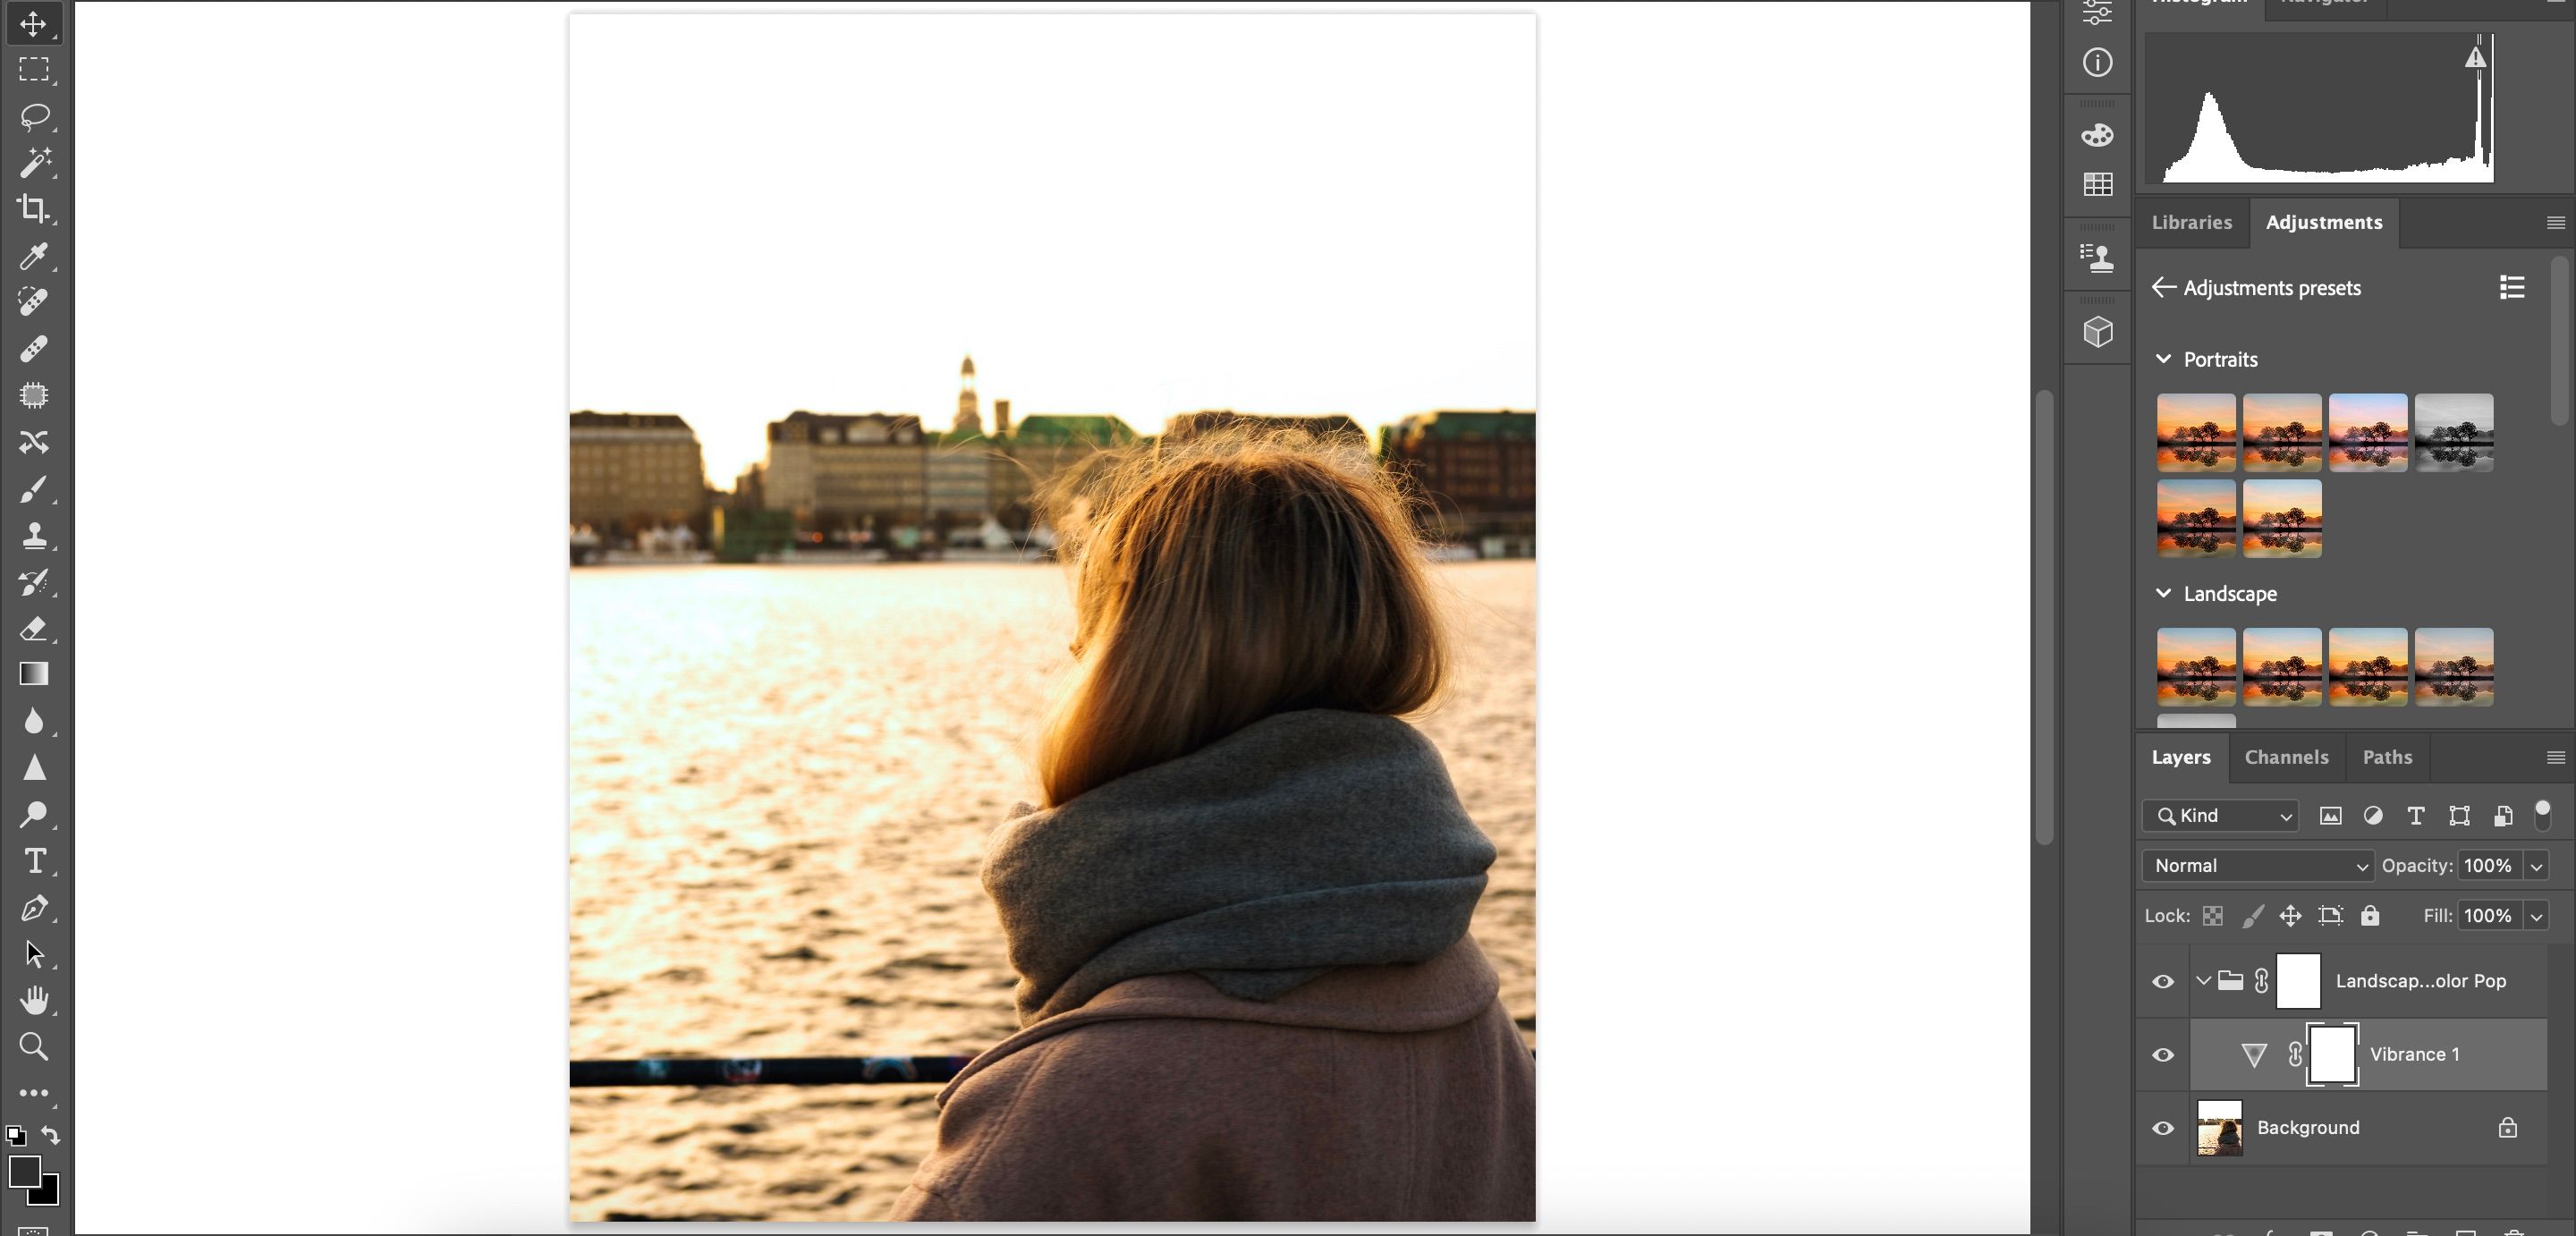
4. Color Pop
Color Pop in the Landscape section is quite different from the one that you’ll see in the Creative tab. Compared to the latter, the Landscape Color Pop preset adds much less saturation to your photo. On top of that, it also adjusts the brightness and exposure—giving more of a subtle look compared to the Creative version.
When using Color Pop, your image will have more vibrancy than was the case before you added it. You can use Color Pop for:
- Most portraits
- Skyline photos
- Pictures with lower levels of saturation
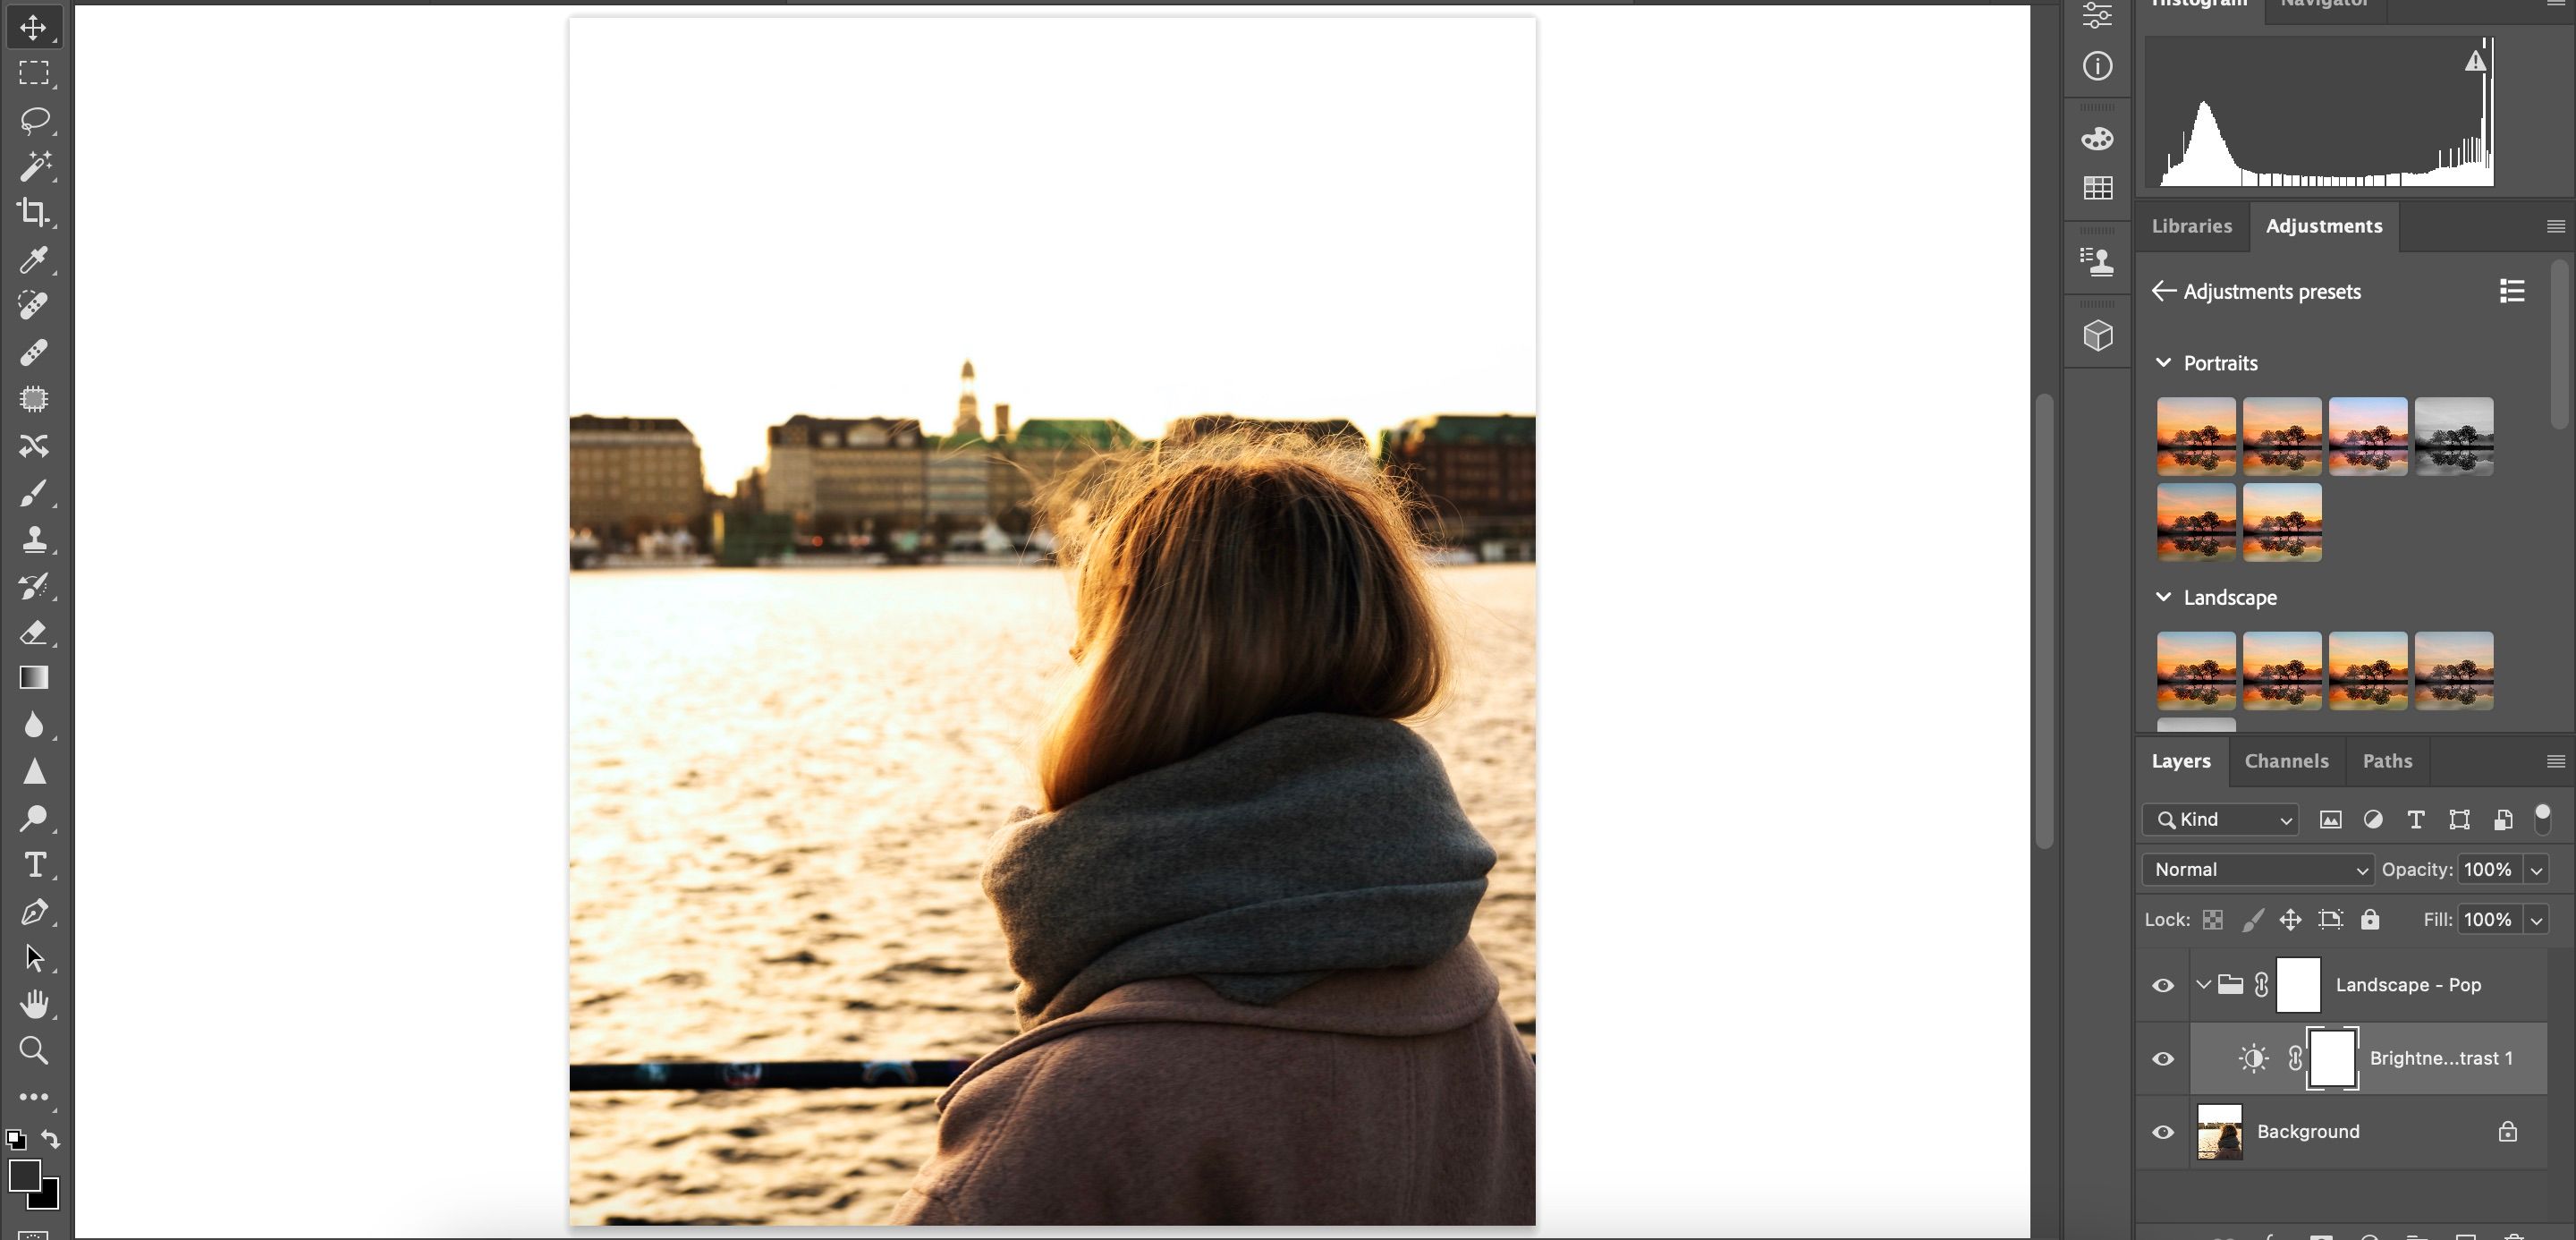
5. Pop
The main difference between Pop and Color Pop is that Pop does not increase the level of vibrance in your photo. Instead, you’ll see the brightness and contrast increase.
Pop works in many of the same scenarios as Color Pop. However, if your photo already has a lot of color, we recommend using Pop instead.
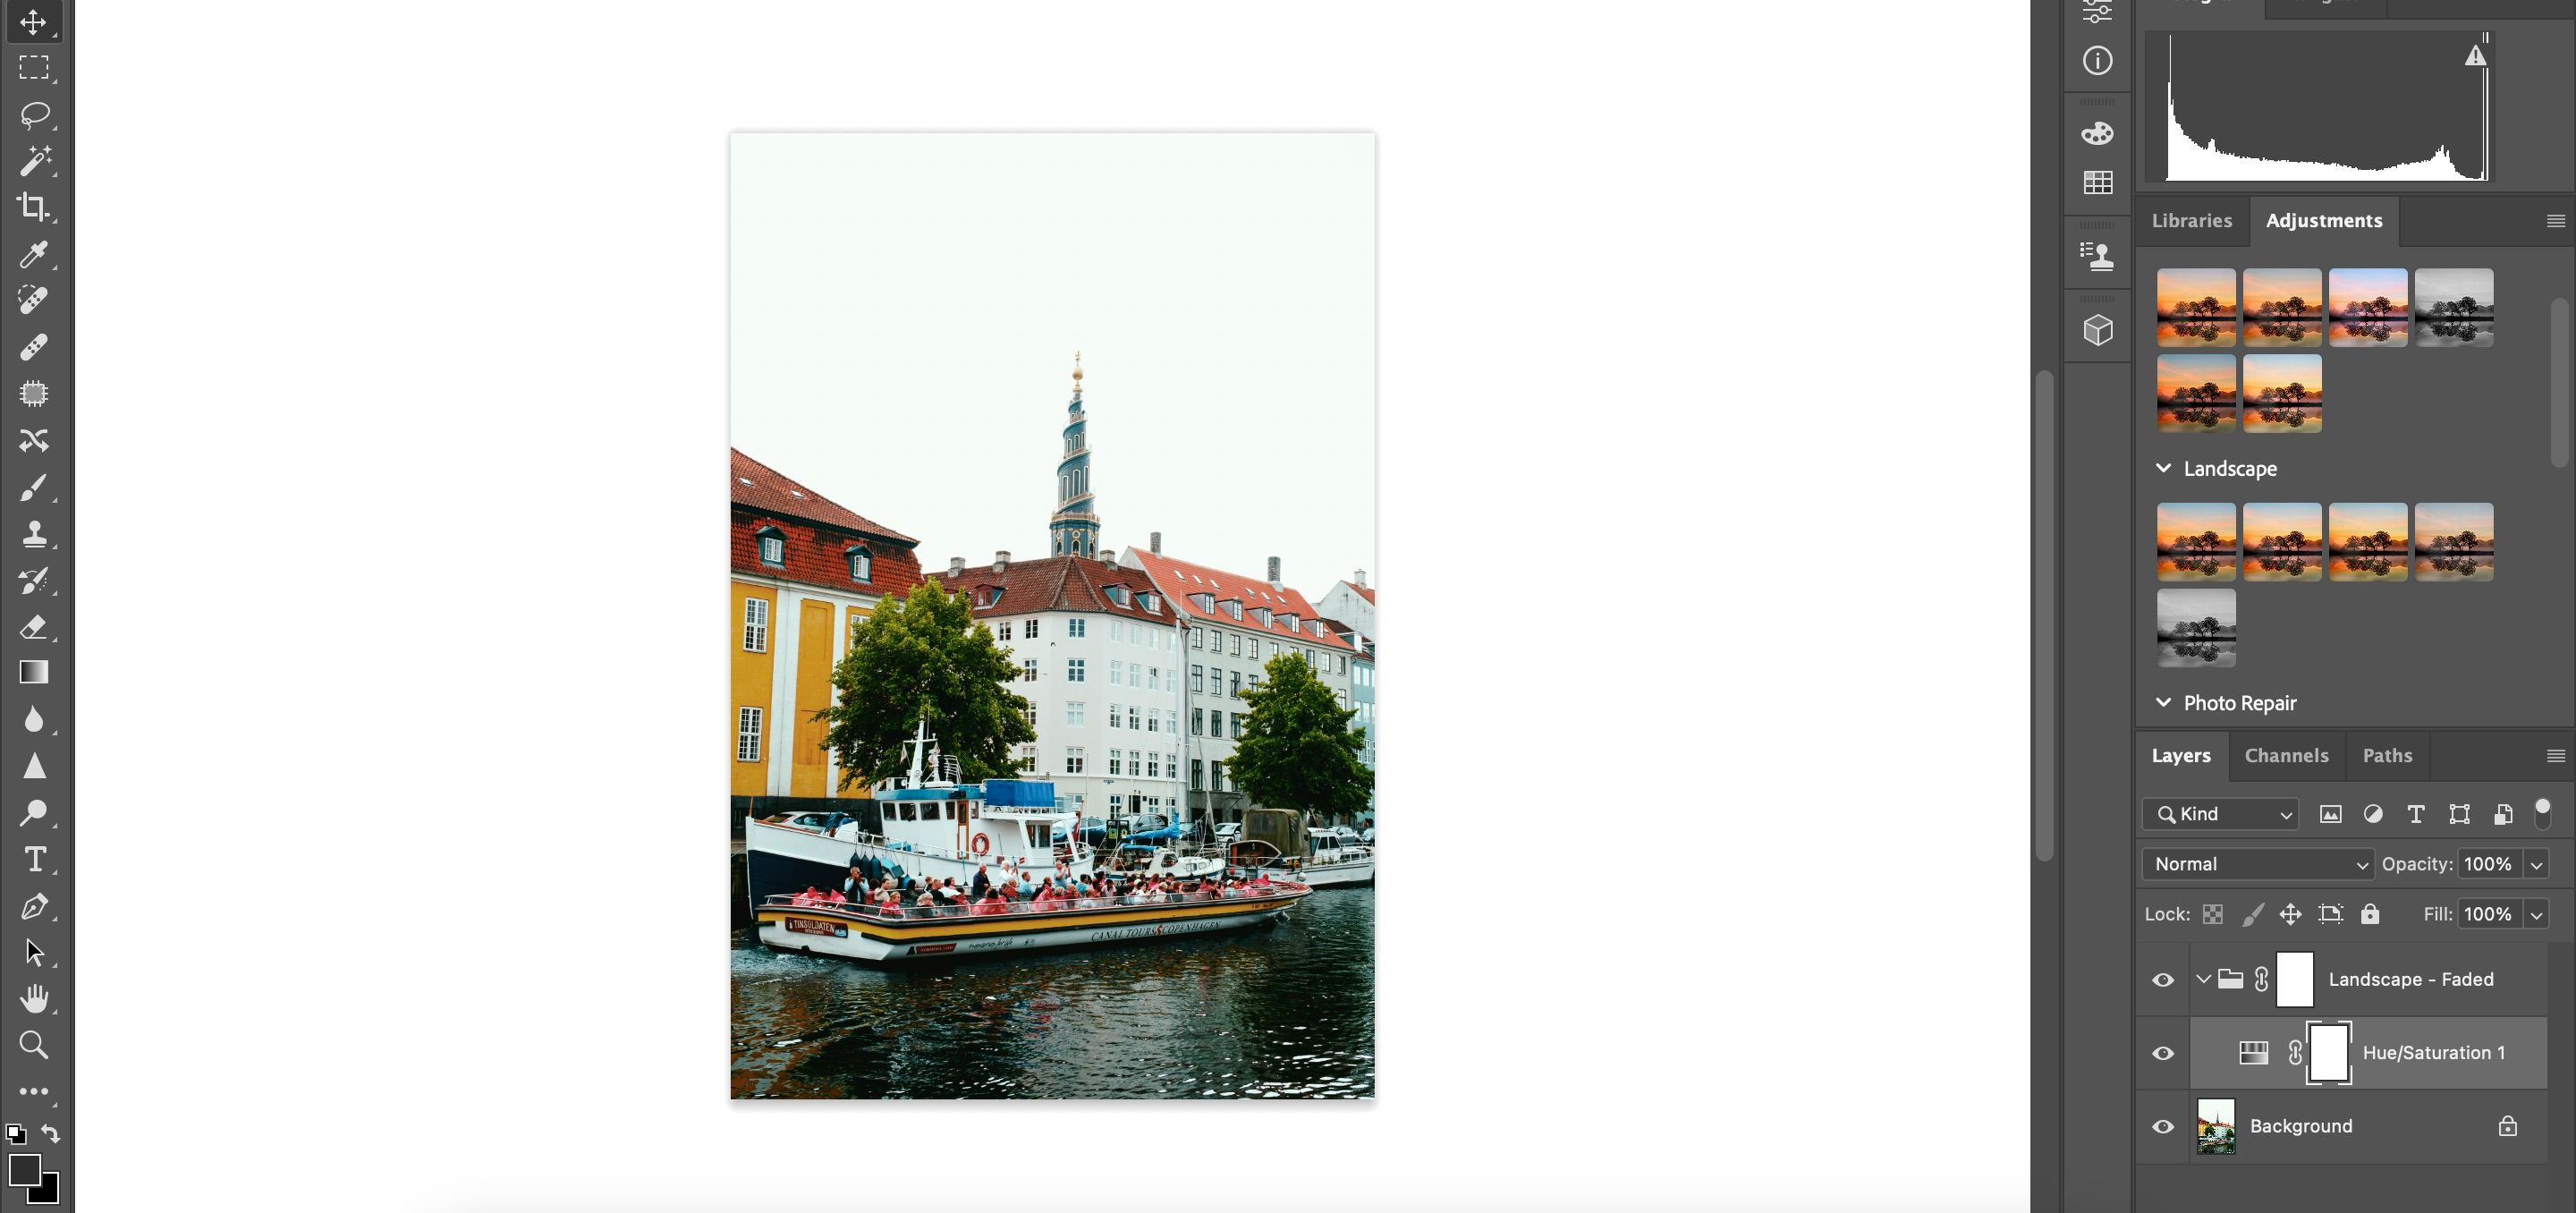
6. Faded
Faded is one of the most underrated Adjustment Presets in Photoshop. The preset will desaturate many parts of your image, and it’ll also bring up the shadows. As a result, you’re left with more of a cinematic effect.
Faded is an excellent choice if you already have a lot of saturation in your photo and you’d like to reduce the amount. On top of that, you can use the feature if you’re aiming to achieve a more cinematic style across all of your pictures and edits.
Creative
Photoshop also has a Creative section, and here, you’ll find a broad range of presets worth experimenting with. Let’s discuss our top two options.
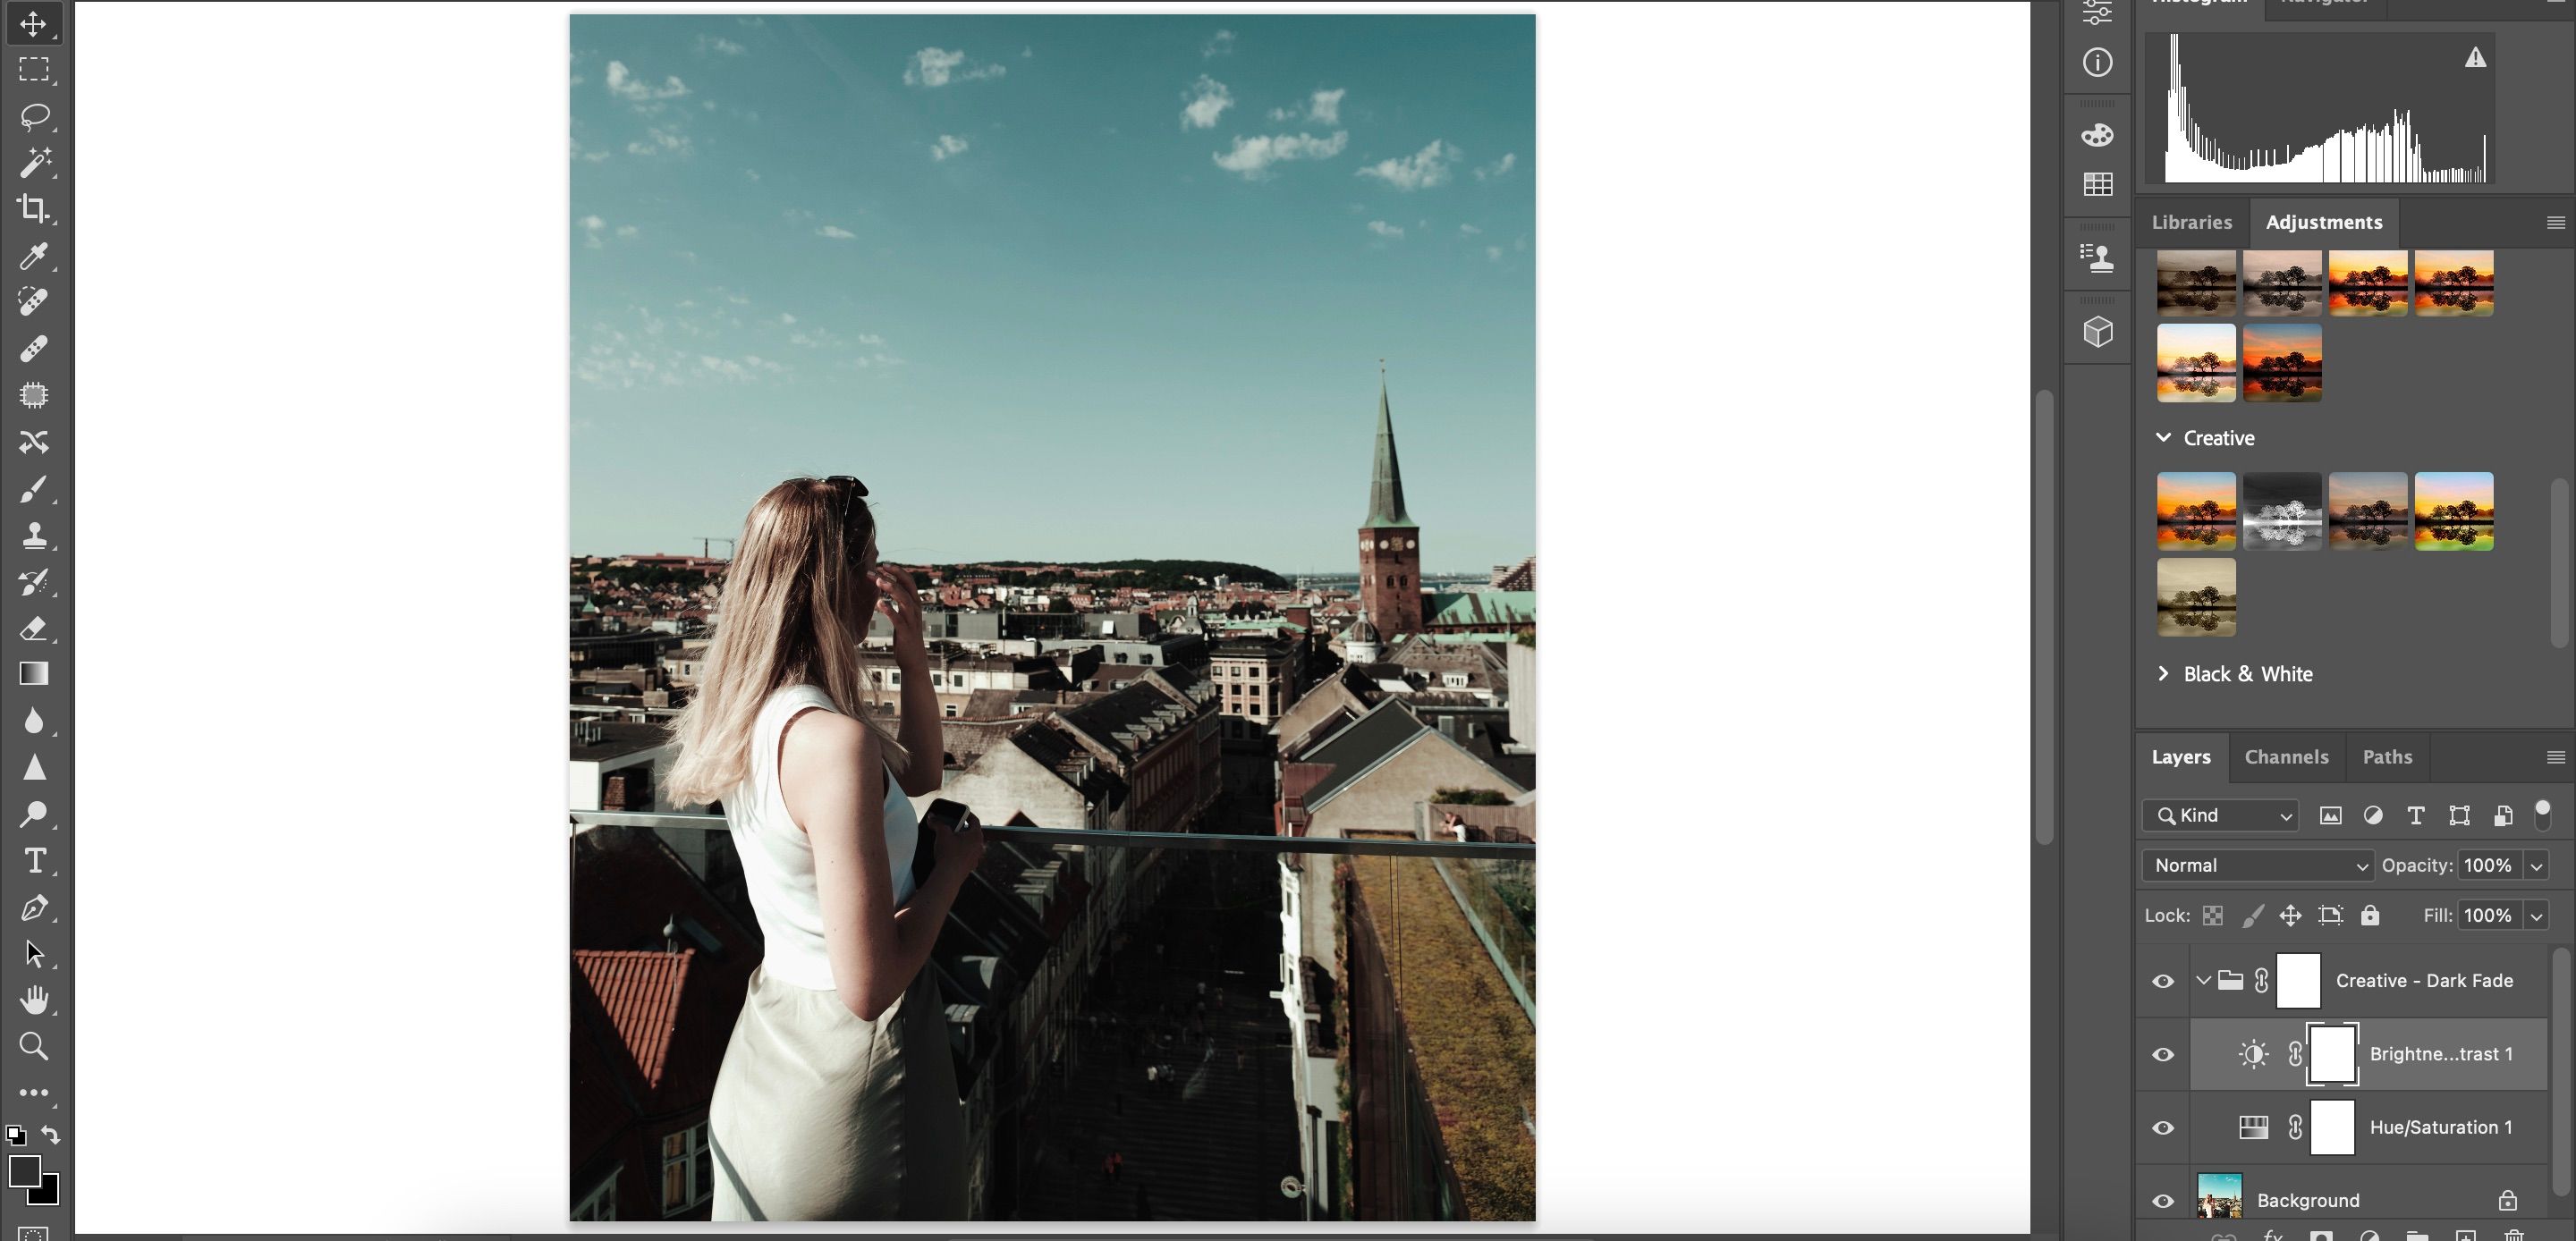
7. Dark Fade
Dark Fade has a lot of similarities with the Faded preset, and it’s arguably an even better option for achieving a cinematic photography style. This preset will darken your photo, along with adjusting the hue. In addition, the Dark Fade preset will also increase the contrast and reduce the saturation in your photos.
You can use the Dark Fade style for:
- Dramatic landscape photography
- Desaturated portraits
- Rainy day photos
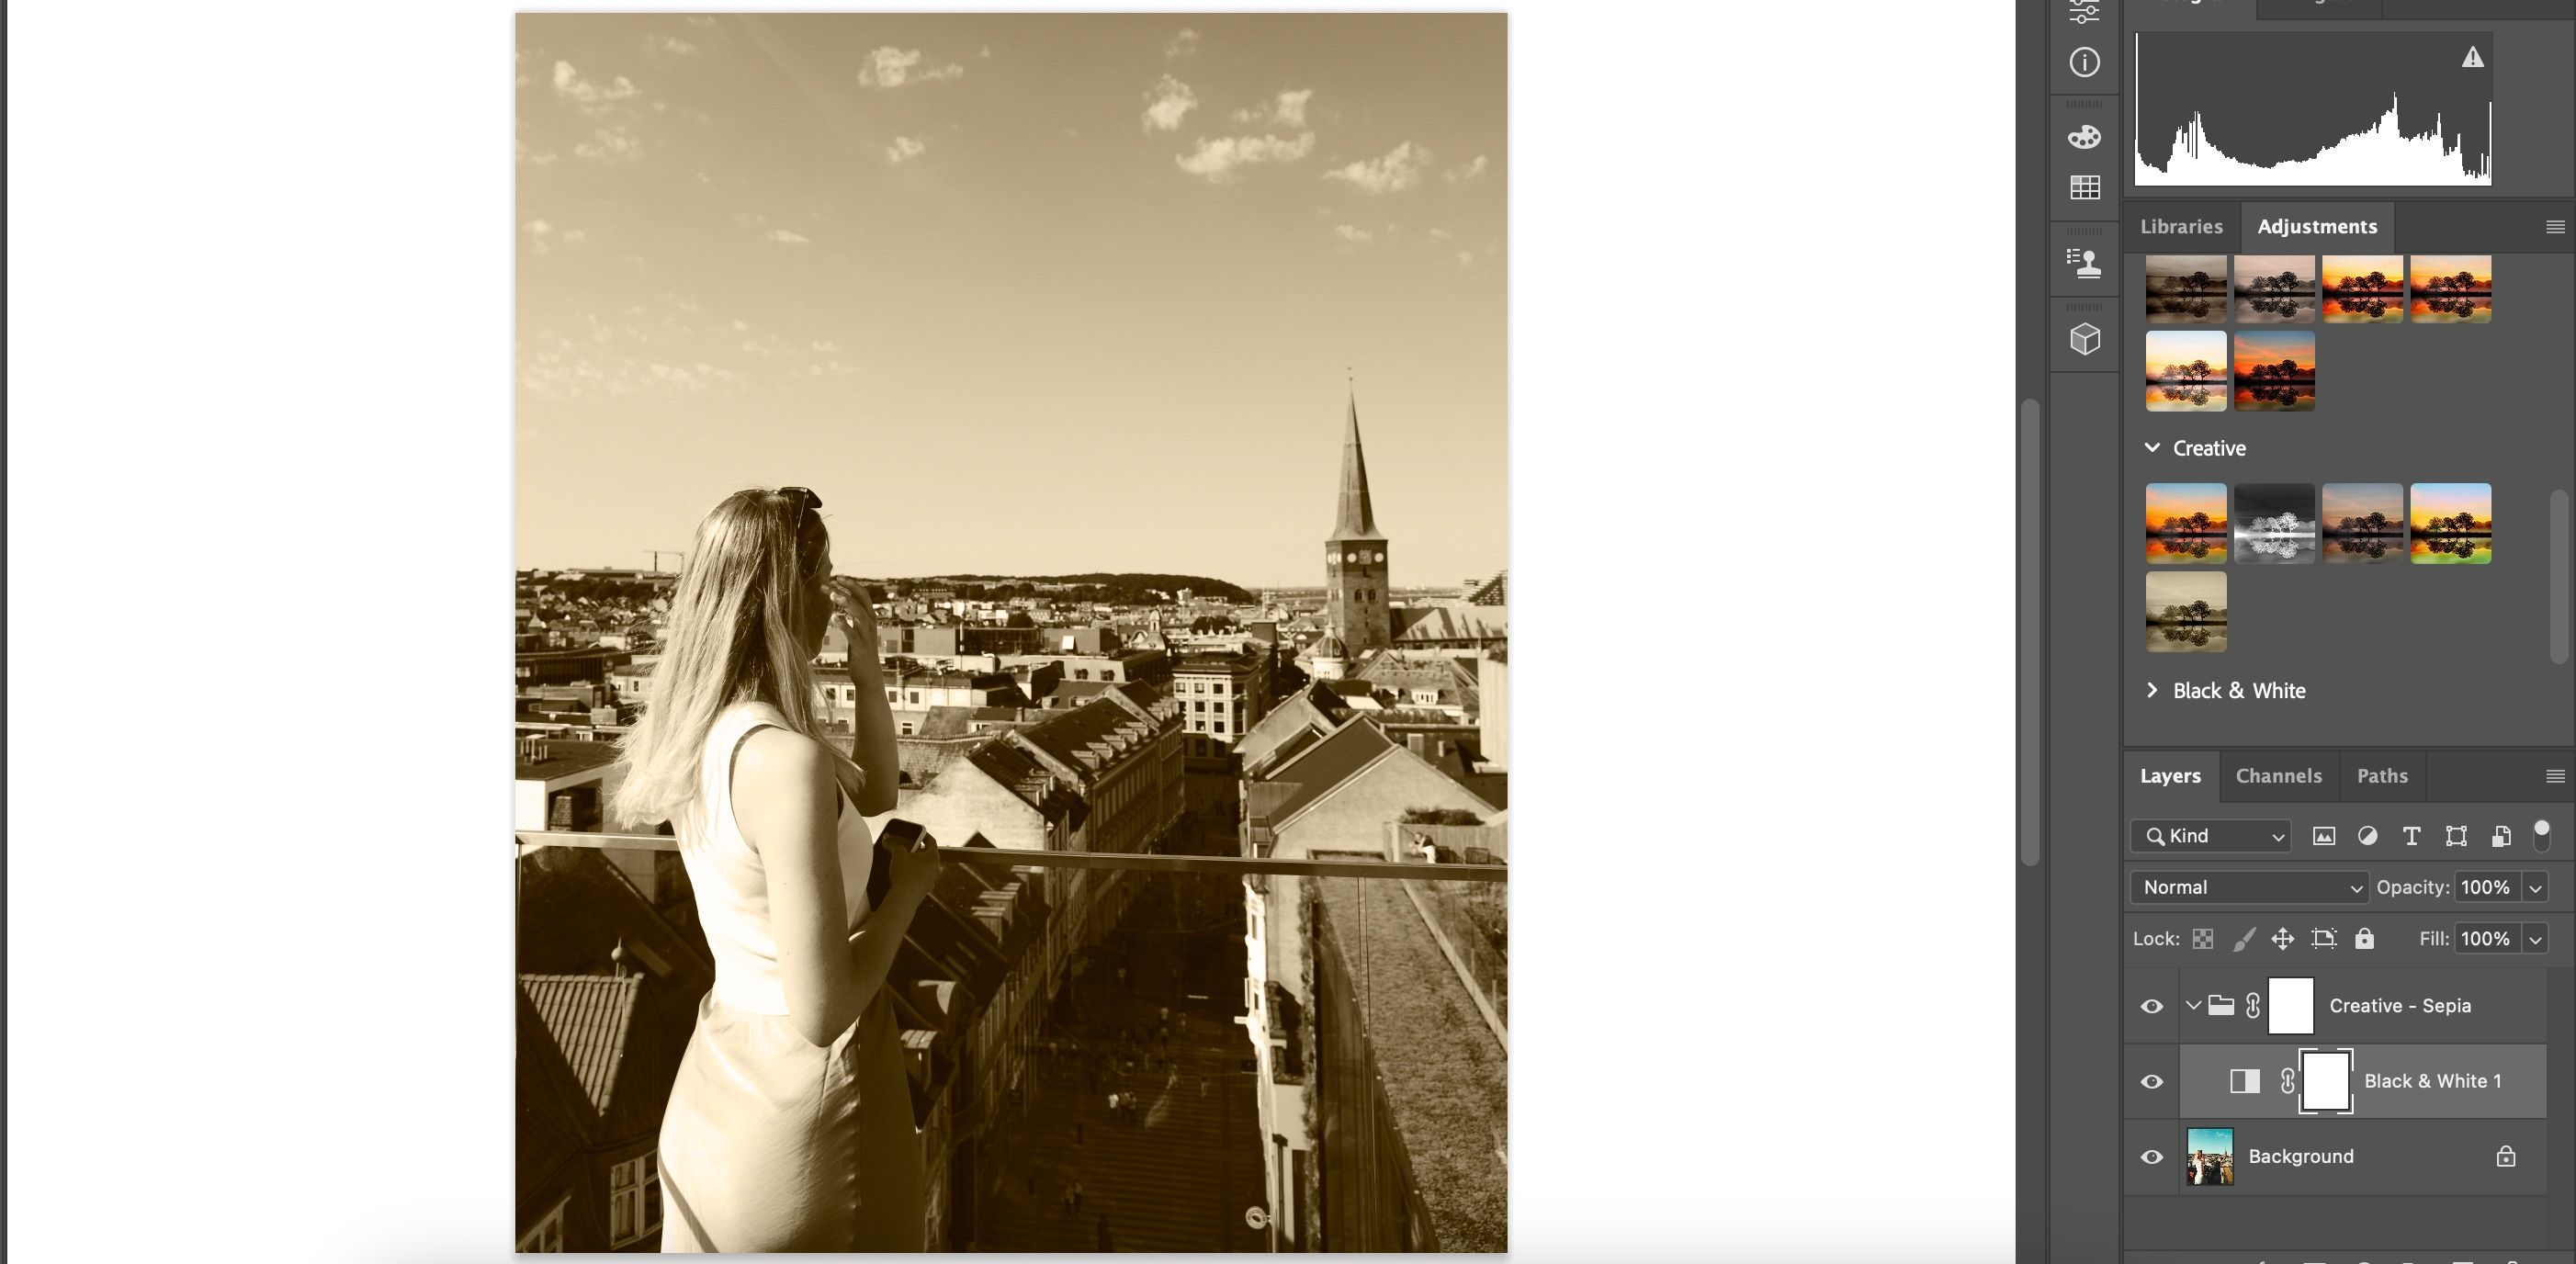
8. Sepia
If you use Instagram, you’ll probably be familiar with the Sepia filter. The Sepia Adjustment Preset in Photoshop works pretty much in the same way.
Sepia will desaturate your photo, along with adding a brown/yellow tone to your image. It’s a great choice if you’re interested in giving your photos a historical look. You can use the Sepia preset for pretty much any scenario where you’d use monochrome styles, but where you want more warmth in your visuals.
How to Apply Photoshop Adjustment Presets
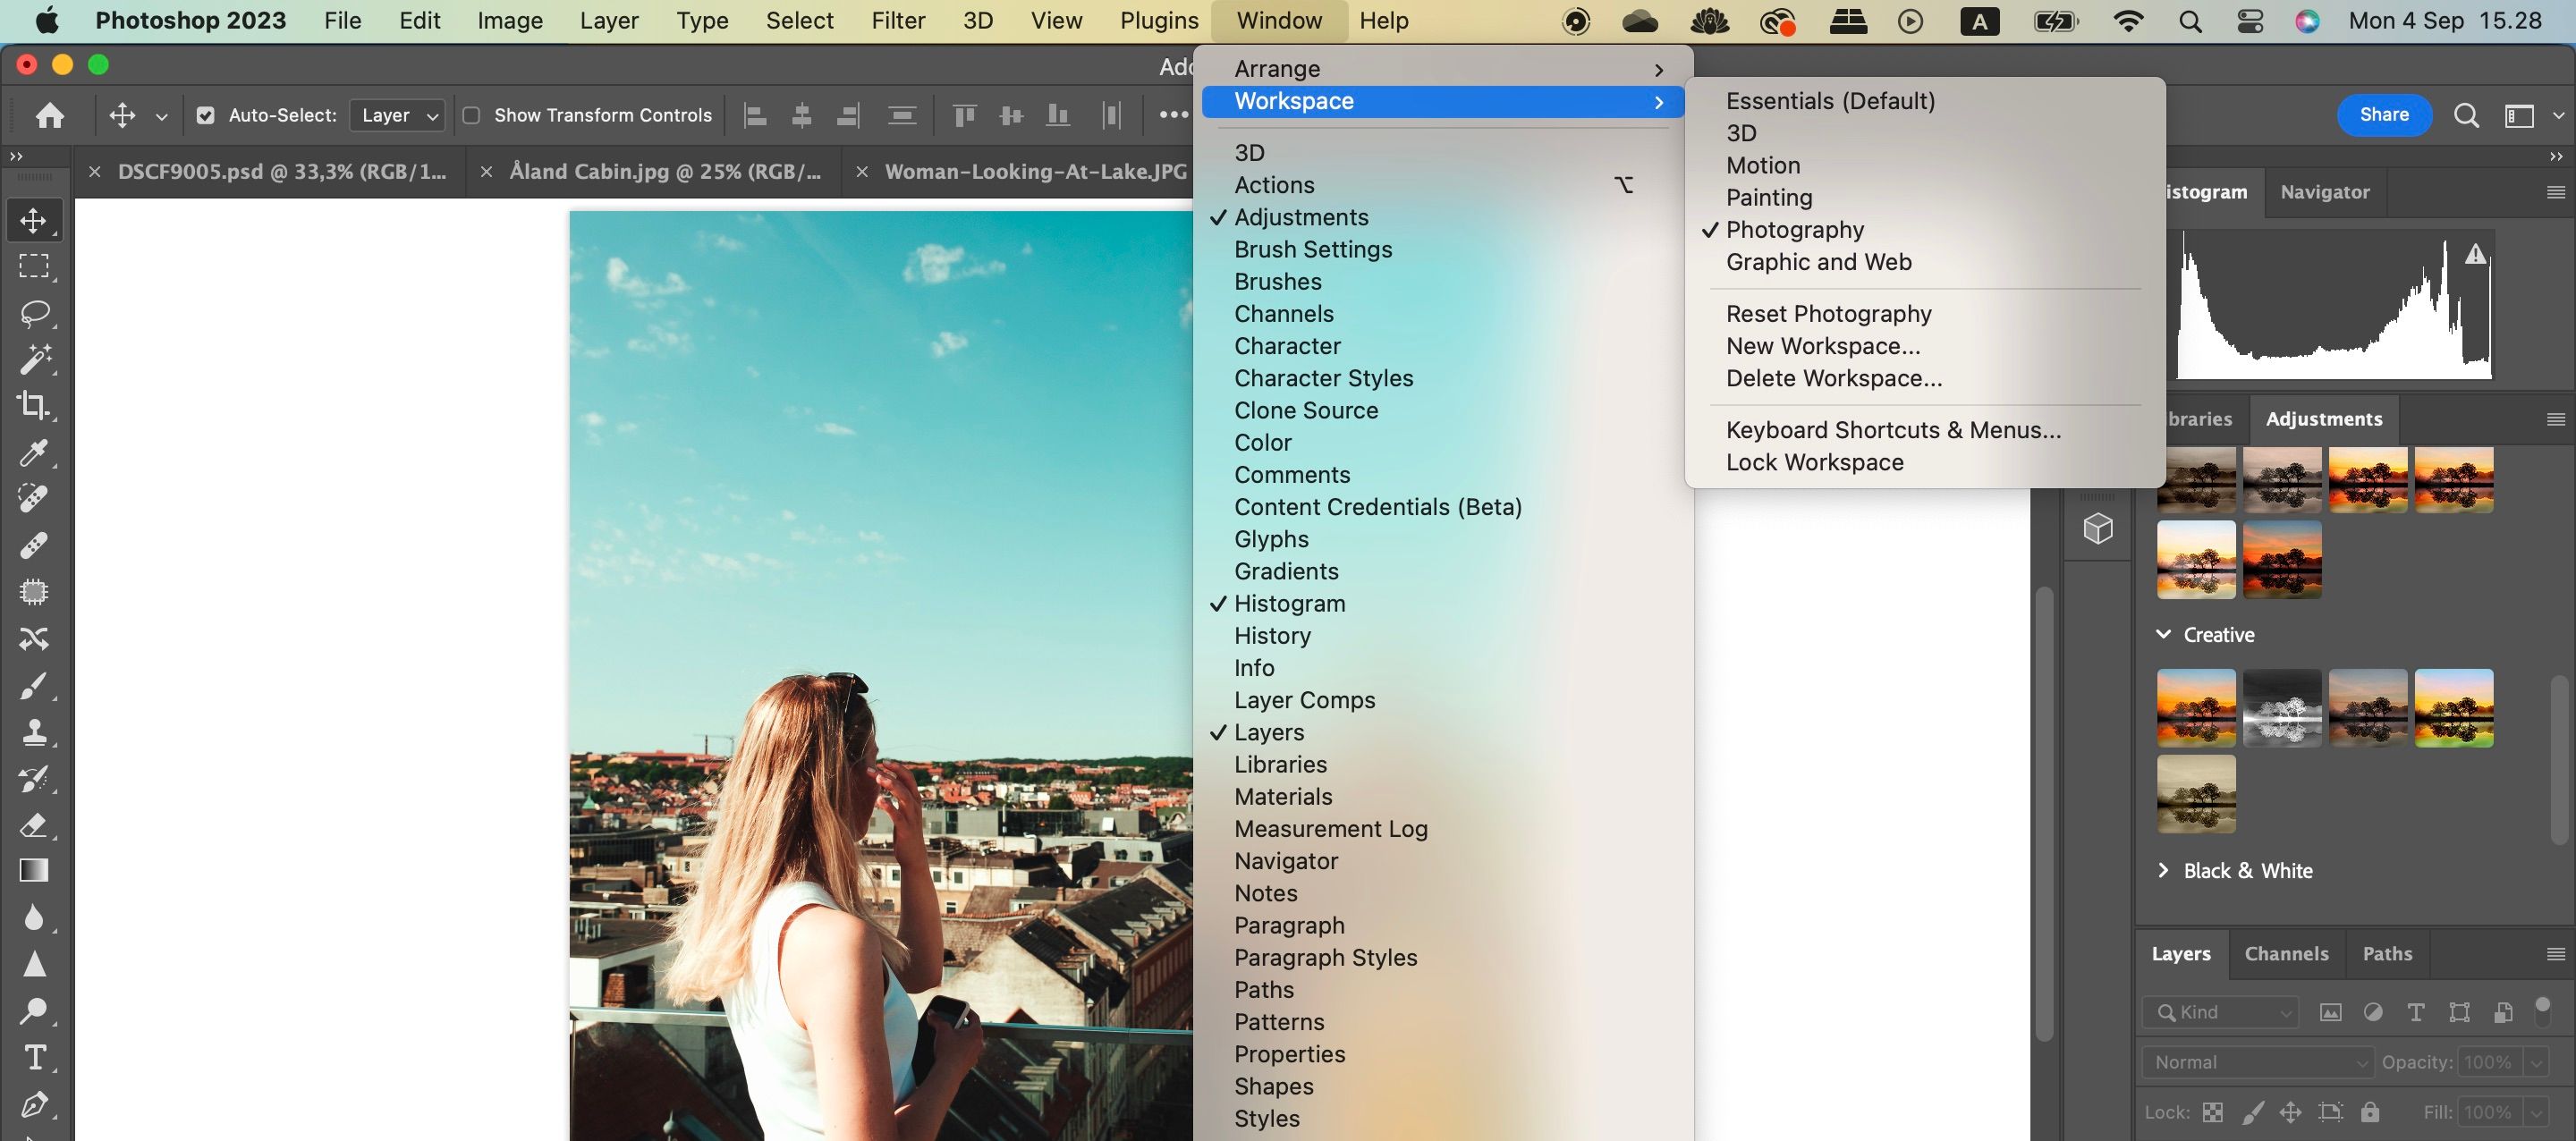
Applying these Adjustment Presets in Photoshop is very simple. Here are the steps you should follow:
- Go to Windows > Workspace and select Photography.
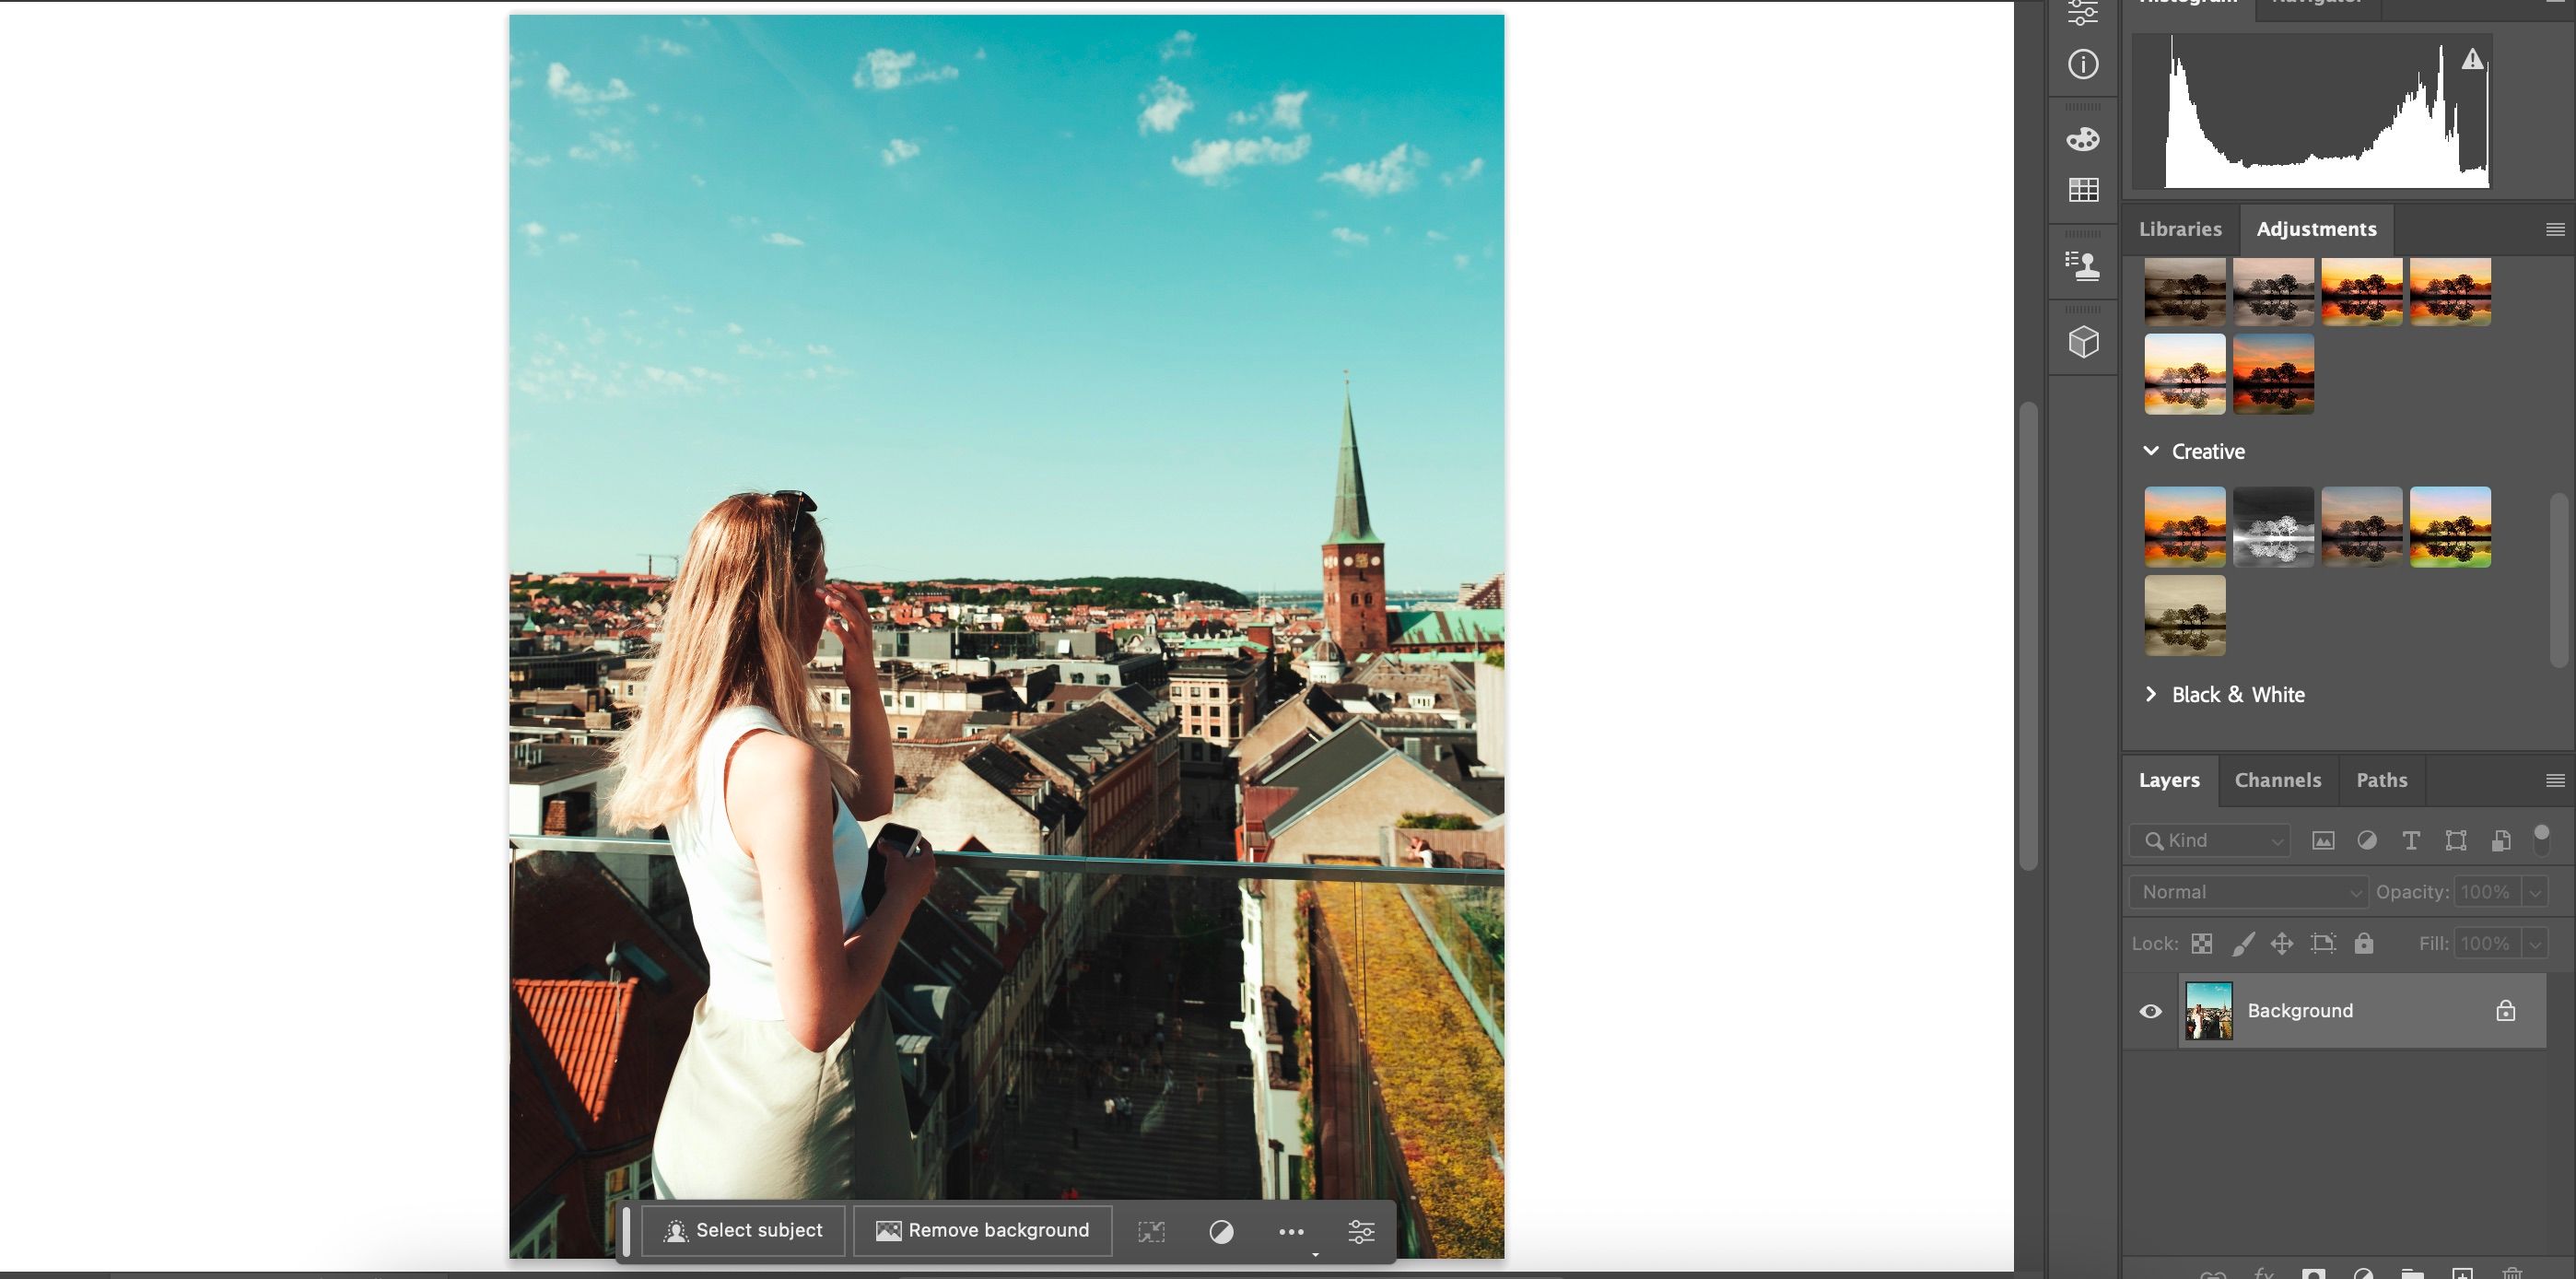
- Click on the Adjustments tab on the right-hand side.
- Choose the preset you want to apply to your image.
Use Adjustment Presets to Enhance Your Photoshop Editing
Photoshop has several Adjustment Presets that you can use to transform the look of your images. You have a diverse range of options at your disposal, including presets that will allow you to add more saturation and include warmer tones.
You can also find a number of presets for repairing certain aspects of your image. In addition to the ones that we’ve mentioned here, feel free to experiment with the other options available.


