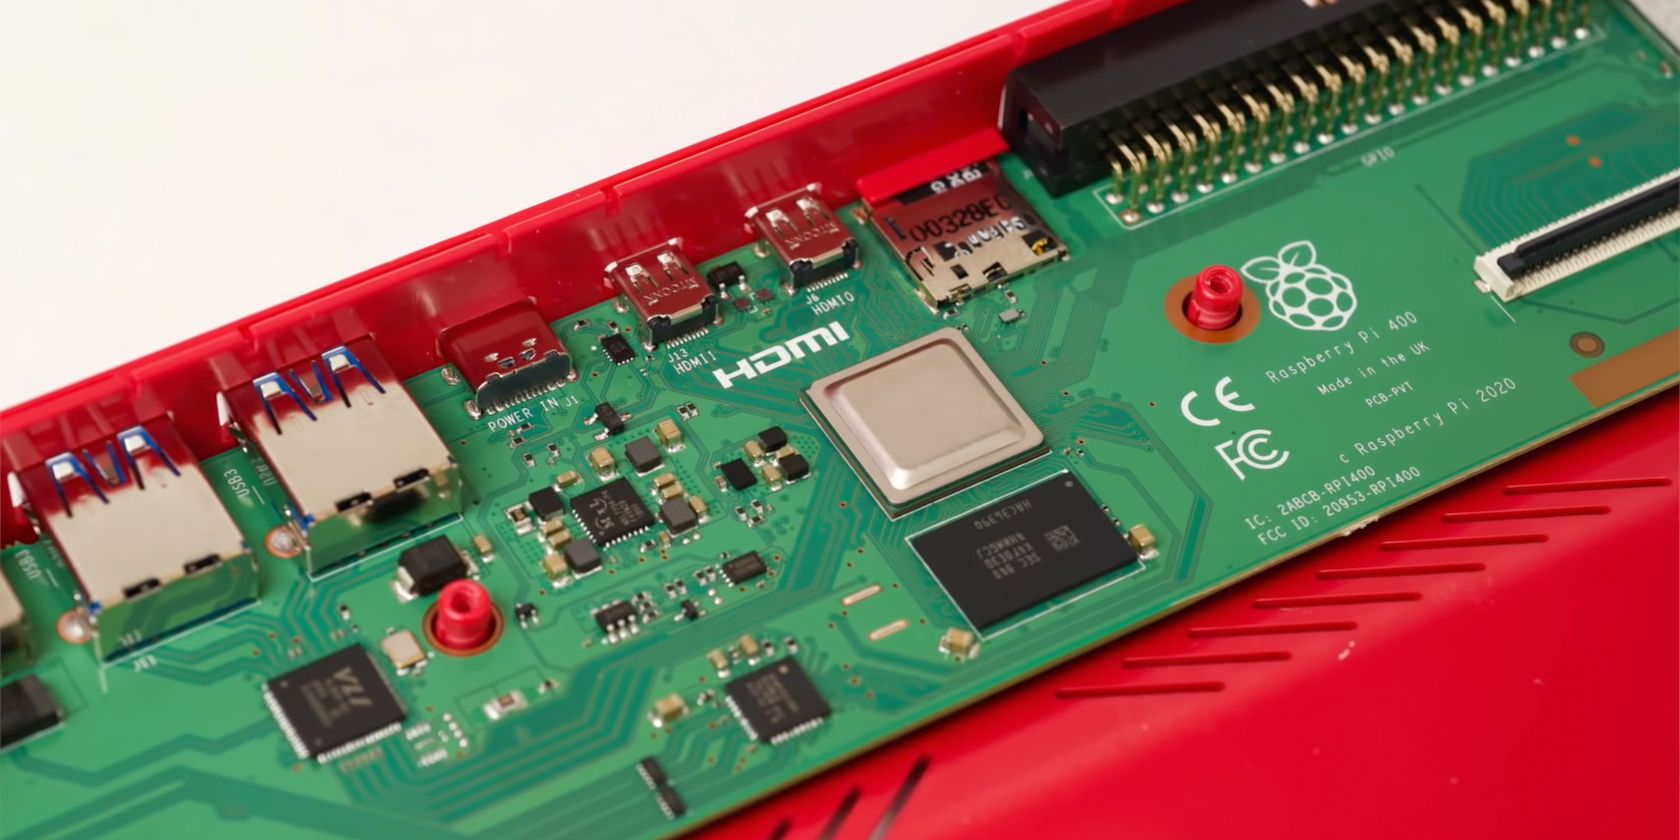
Integrated into a keyboard unit, the Raspberry Pi 400 makes for a neat desktop PC. Just plug it into a monitor and away you go. Keyboard case aside, however, it’s essentially a modified Raspberry Pi 4, using the same Broadcom BCM2711 quad-core Cortex-A72 processor. And, just like the Pi 4, you can overclock it if you feel the need for extra speed. Here we’ll show you how to do it.
Why Overclock Your Raspberry Pi 400?
While the Pi 400’s default CPU speed of 1.8GHz is fine for everyday desktop use and tasks such as self-hosting alternatives to proprietary web services, you may find it a little lacking for CPU-intensive tasks such as transcoding video when you are using Raspberry Pi as a Plex media server, or attempting to run a large language model for an AI chatbot.
In these use cases, you may find the Pi 400 struggling under the strain of the workload, resulting in it taking longer or dropping frames during 4K video playback.
By overclocking your Raspberry Pi 400 from the standard 1.8GHz to up to 2.0GHz (or even higher), it’ll feel a little snappier and should see better performance when running heavy workloads.
The downside to overclocking is that it could reduce the lifespan of your Pi 400, and may also void your warranty. So you do it at your own risk—especially if pushing it to higher speeds.
Pi 400’s Built-in Cooling
The main thing you need to watch out for when overclocking is the CPU temperature. If it rises to around 80°C, the Raspberry Pi SoC has a safety mechanism that will automatically start throttling back the CPU cores, reducing their speed until the temperature drops. Maximum throttling, including for the GPU, occurs at 85°C.
Unlike other Raspberry single-board computers, you can’t easily add active cooling (such as a fan) to the Pi 400 board unless you open up its snap-fit keyboard case—which most users won’t want to do. However, the Pi 400 does have the advantage of a built-in metal heat sink: it’s huge, spreading across the whole area of the case. This helps it to keep the CPU temperature down while running under heavy loads and at higher speeds when overclocking.
How to Overclock a Raspberry Pi 400
As with other Raspberry Pi models running the official Raspberry Pi OS, you can alter the CPU’s clock speed by modifying the config.txt file it uses for settings when booting up.
First, you should update and upgrade your system. Open a terminal window by clicking the icon in the top menu bar, or via Menu > Accessories > Terminal, and entering:
sudo apt update && sudo apt upgrade -y
Install Monitoring Tools
Before you overclock the Pi 400, you’ll want to install a couple of useful tools. Firstly, install the Neofetch system info tool:
sudo apt install neofetch
Next, install the Stressberry stress-testing tool:
 sudo apt install stress
sudo pip3 install stressberry
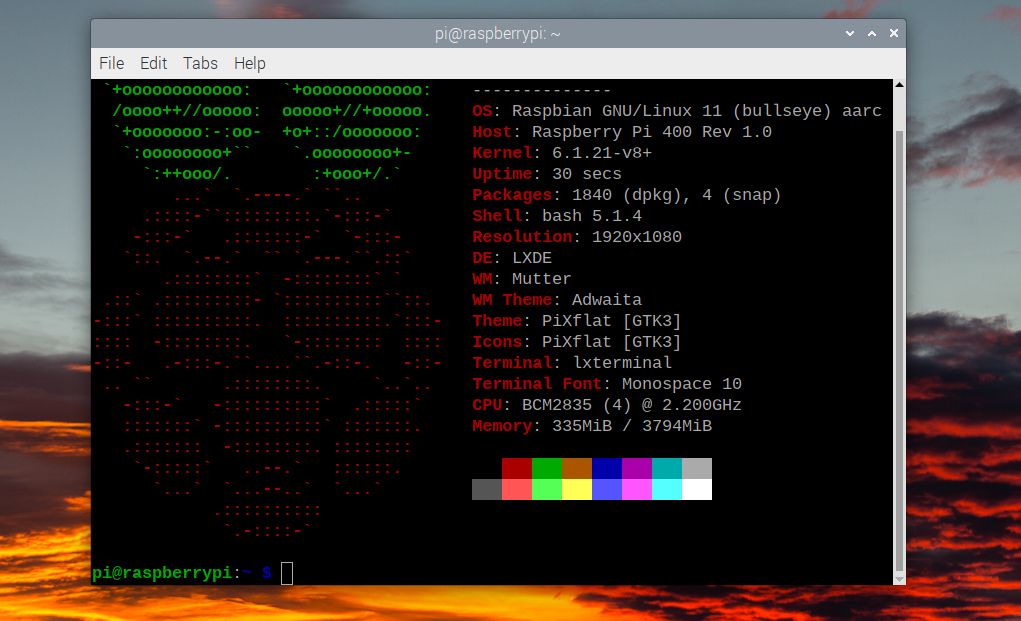
To see the current system info, run:
neofetch
It should show the default CPU speed of 1.8GHz. Next, you’ll want to perform an initial stress test at the default clock speed for comparison with the overclocked results later. Run this command for a 100-second test using all four cores:
stressberry-run -n "My Test" -d 100 -i 30 -c 4 mytest1.dat
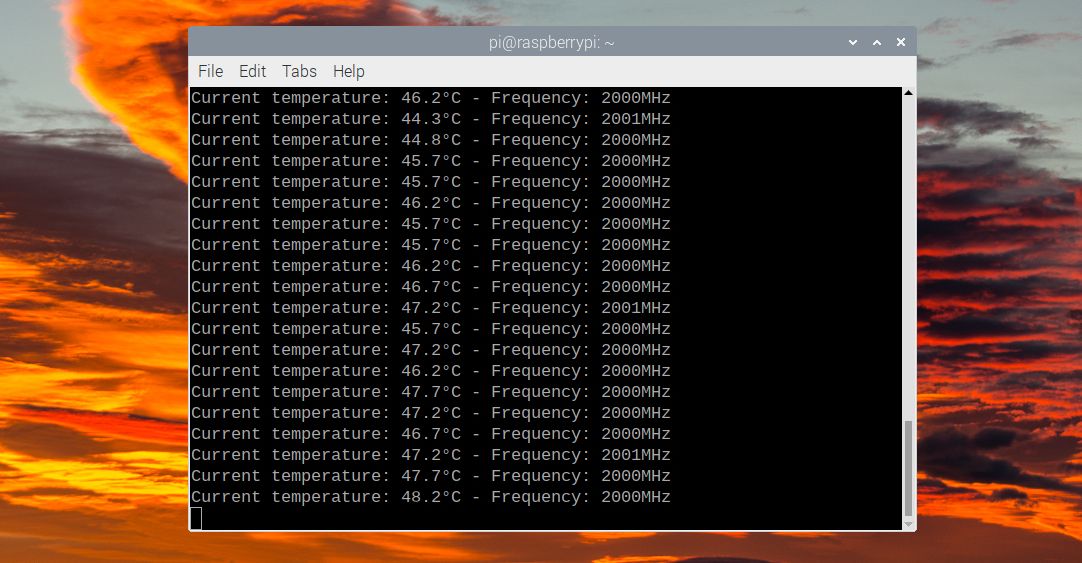
After awaiting a stable baseline temperature, it will run and each line will show the current CPU temperature and frequency (in MHz).
Edit the Config.txt File to Overclock
Now to change the CPU speed settings to start overclocking. Open the config.txt file in the nano text editor:
sudo nano /boot/config.txt
Scroll down to the section starting "#uncomment to overclock the arm" and delete the line below it. Now add the following lines:
 arm_freq=2000
gpu_freq=750
over_voltage=6
Here we’re setting the CPU clock speed to 2GHz, increasing the core voltage, and also bumping up the GPU speed as a bonus. Exit nano and save the settings by pressing Ctrl + X, then Y and Enter. To activate the overclock, reboot the Pi 400:
sudo reboot
When it reboots, run the neofetch terminal command again; you should see the new CPU speed of 2.2GHz.
Stress-Test Your Overclocked Pi 400
Run the same stress test as before, using Stressberry:
stressberry-run -n "My Test" -d 100 -i 30 -c 4 mytest2.dat
This time you should see that the CPU reaches the overclocked speed of 2GHz. It will also have a higher temperature—in our tests, it reached a maximum 48.2°C, well below the level at which throttling would be applied.
Overclocking Pi 400 to Higher Speeds
If you want to push the CPU speed of your Pi 400 even higher, you’ll need to add the line force_turbo=1 to the config.txt file in order to increase the overvoltage value to over 6. Note that this will void the warranty.
For instance, to overclock Pi 400 to 2.2GHz, add these lines in the overclocking section of config.txt:
 force_turbo=1
arm_freq=2200
gpu_freq=750
over_voltage=8
Save the file as before and reboot. The Pi 400 should boot up fine at this level of overclocking and you can run another stress test with Stressberry. In our experiments, we found it ran at the full 2.2GHz and the temperature reached 54°C—still well below throttling range.
Pushing the speed even higher is done at your own risk, but YouTuber leepspvideo found that he could run Pi 400 at 2.4GHz.
If overclocking at a certain level causes system instability, however, you should try a more modest overclock. In some cases, the Pi 400 may not even boot up to the desktop, usually due to a lack of sufficient power.
What if the Pi 400 Won’t Boot?
If, after changing the overclocking settings in config.txt, you find that the Pi 400 won’t boot up properly, don’t worry. The easiest workaround is to simply hold the Shift key during bootup to temporarily disable the overclock; it should then boot normally.
If that doesn’t work, you can always turn off the Pi 400, remove the microSD card, and connect it (using a USB card reader) to another computer to edit the config.txt file there. You can then alter the overclocking settings, or comment them out by adding a # symbol at the start of each line.
Raspberry Pi 400 Overclocking Is Easy
As you’ve seen, overclocking the Pi 400 is relatively straightforward. You may need to increase the overvoltage level at higher clock speeds, but don’t push it past 12.
With the extra processing power from overclocking, 4K video playback should be smoother and you can run other CPU-intensive tasks more efficiently. This will unlock even more project possibilities for your Raspberry Pi.


