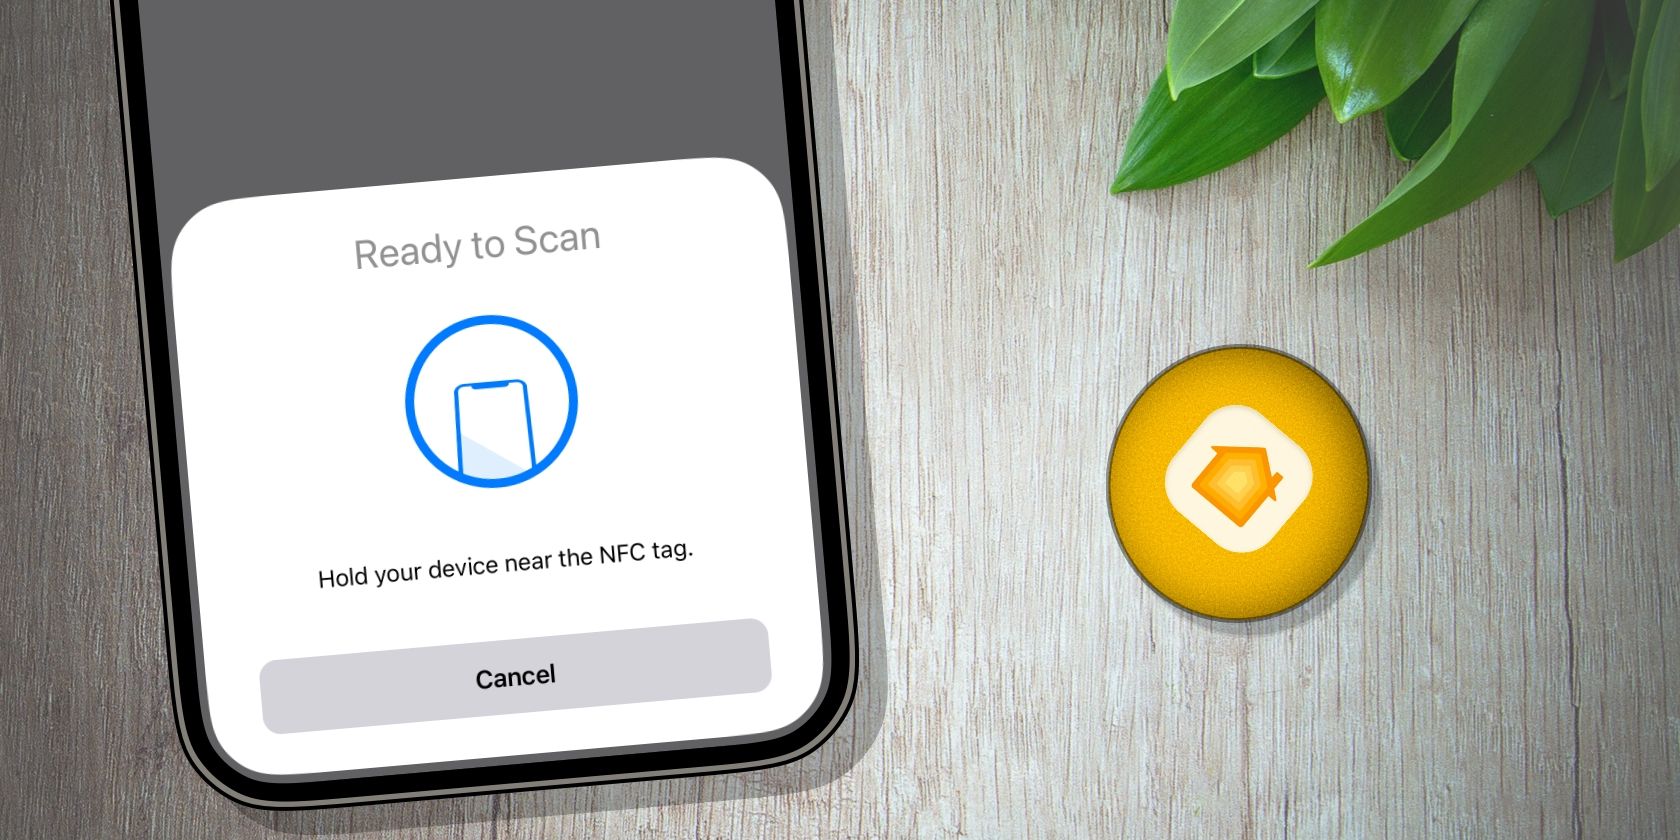
The Apple Home app and Siri are incredibly convenient for managing your smart home. However, there may be times when you want to avoid shouting a command or spending time looking around for one specific accessory.
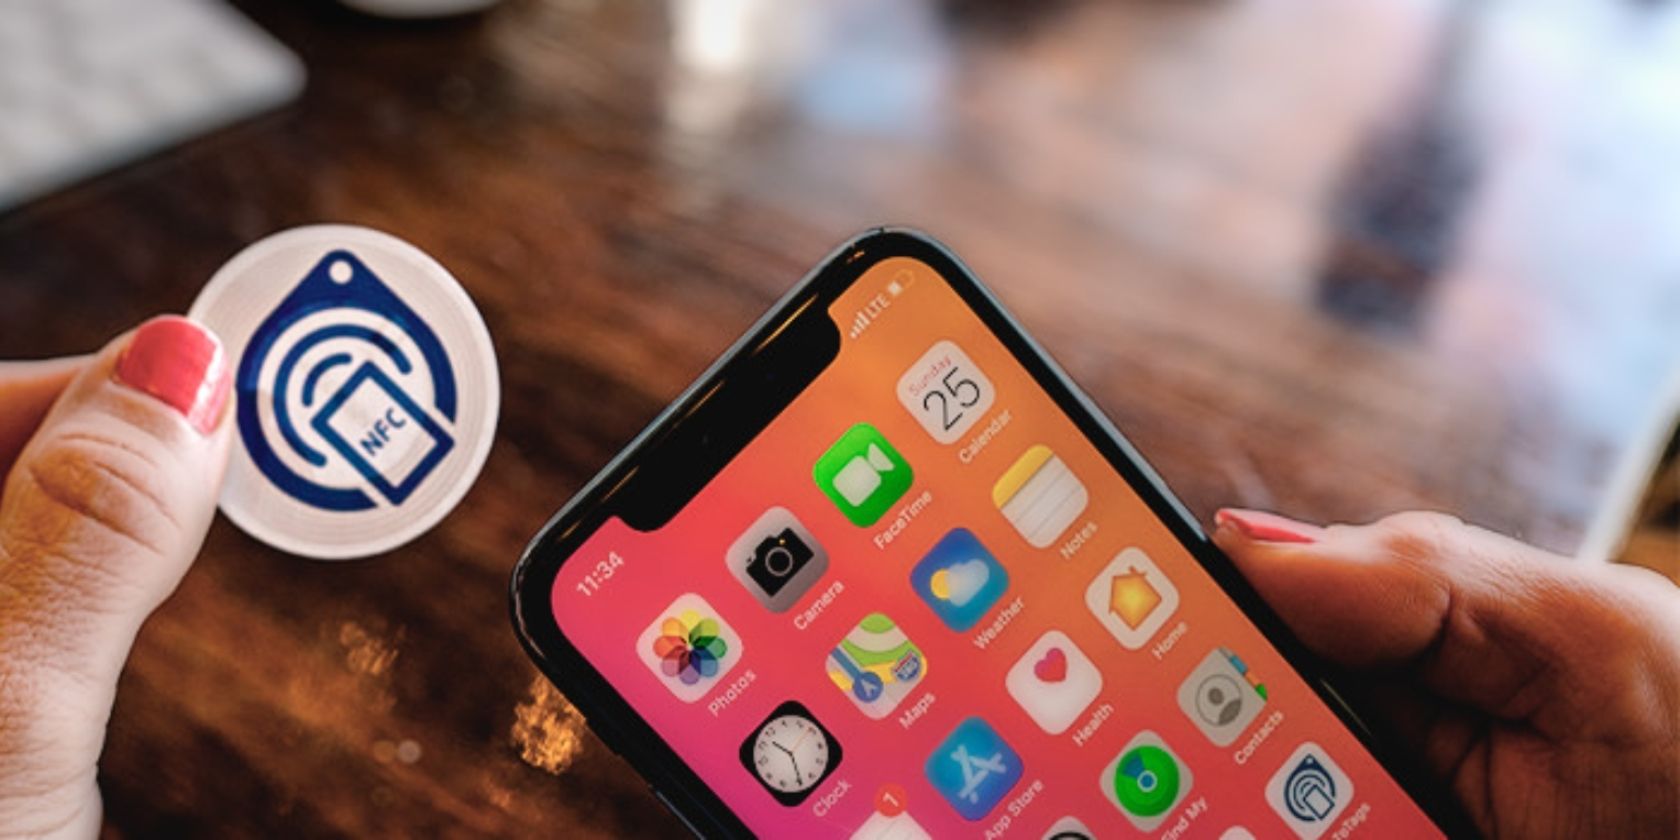
In these instances, you can turn to NFC tags. With just a tap of your iPhone, you can turn on your lights, check the temperature, or even open your garage door—if you have a tag in your car. We'll show you how to program your NFC tag to control your HomeKit home.
Control Your HomeKit Home With NFC Tags: What You'll Need
While it may sound complicated, using Near-Field Communication to control your HomeKit accessories is quite simple. You only need a compatible NFC tag, an iPhone 7 or later with NFC capabilities, and a few steps to make a Shortcut.
There is an abundance of affordable NFC tags, cards, and keychains available, and you may already have one in your home. If you own one of Apple's item trackers, you can use the AirTag as NFC triggers for automation—including HomeKit with this guide.
However, not all NFC tags are compatible with iPhones. We have had success with many NTAG 213 and 215 types, but when it doubt, look for specific mentions of iPhone compatibility when shopping around.
The last thing you will need for this process is the latest version of iOS. Updating your iPhone will ensure you have the latest bug fixes, making the process as smooth as possible.
How to Control Your HomeKit Home With NFC Tags
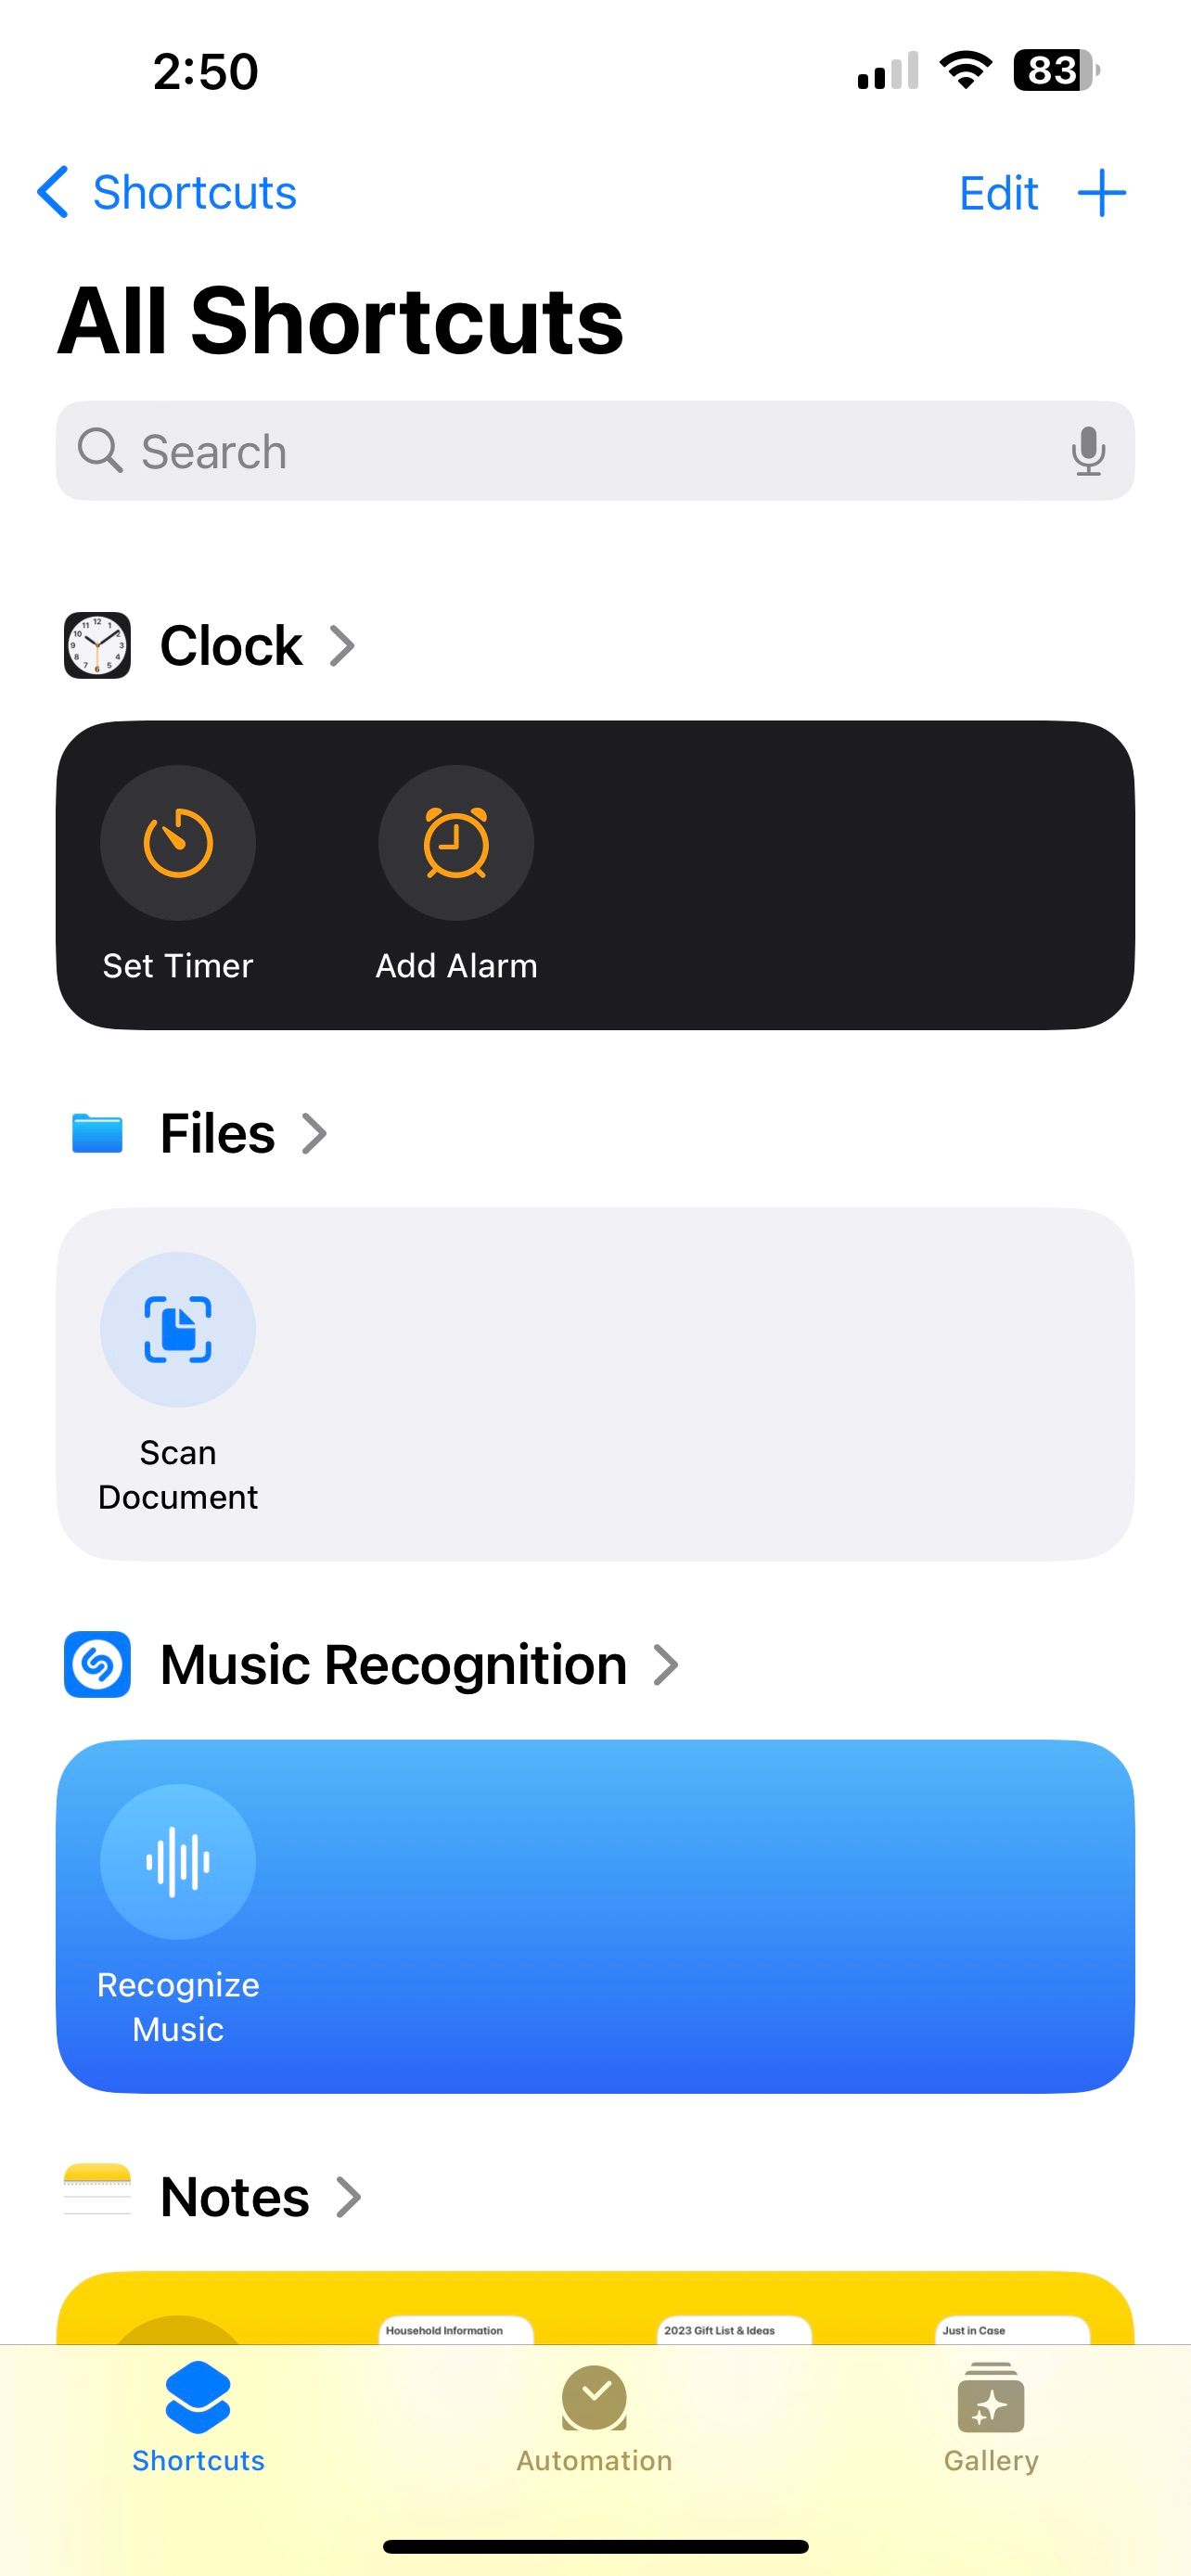
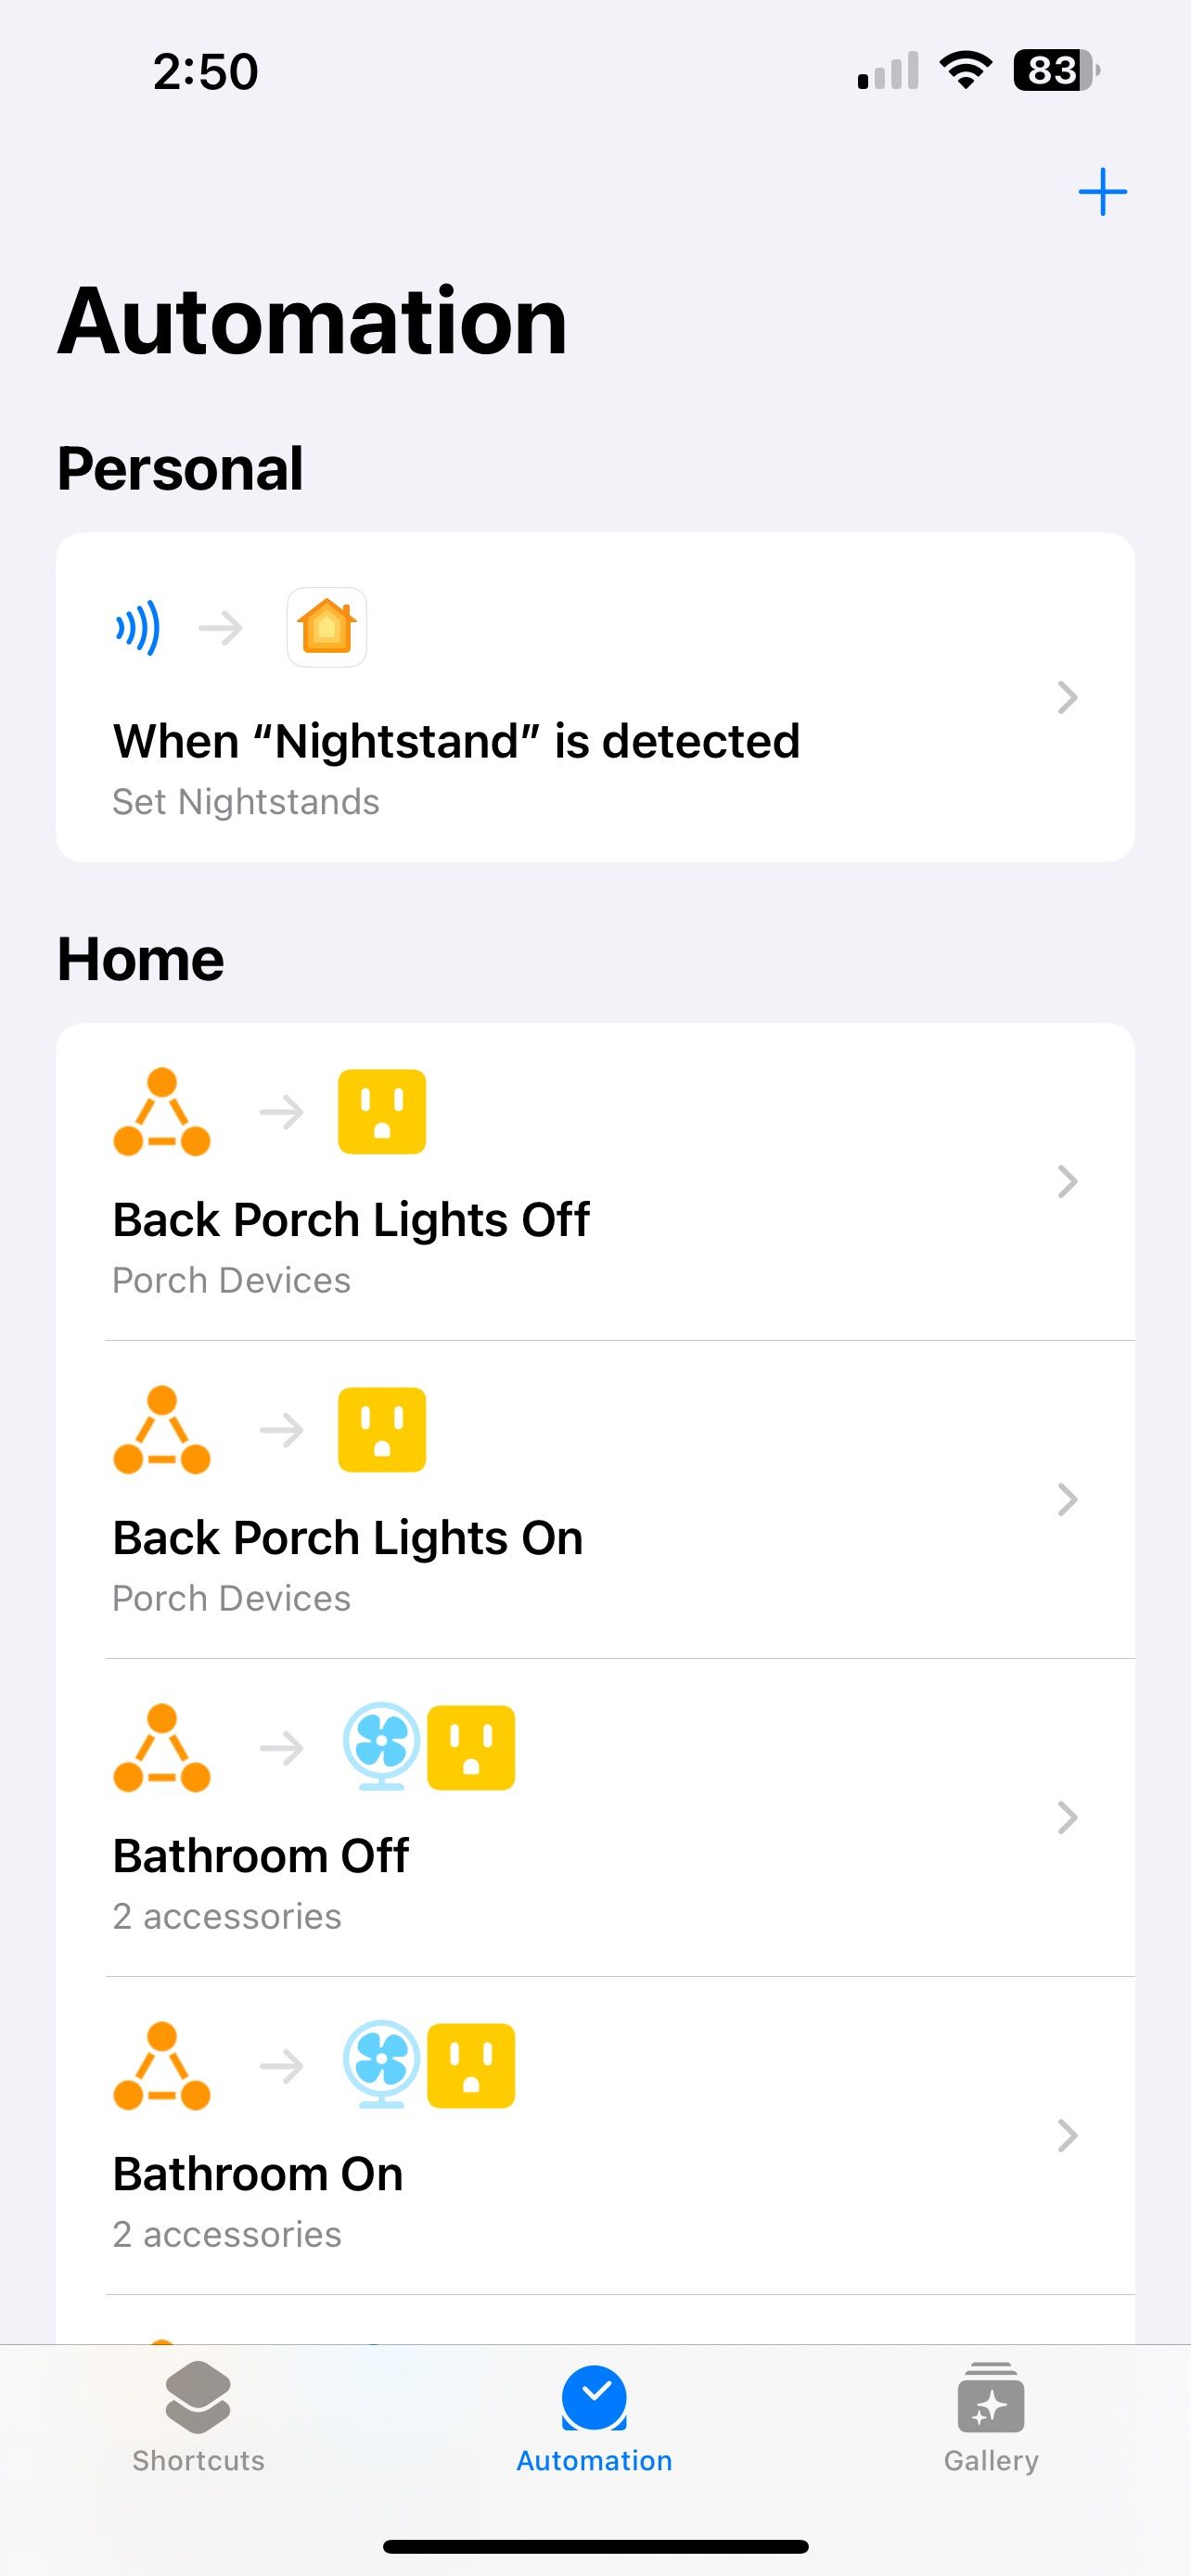
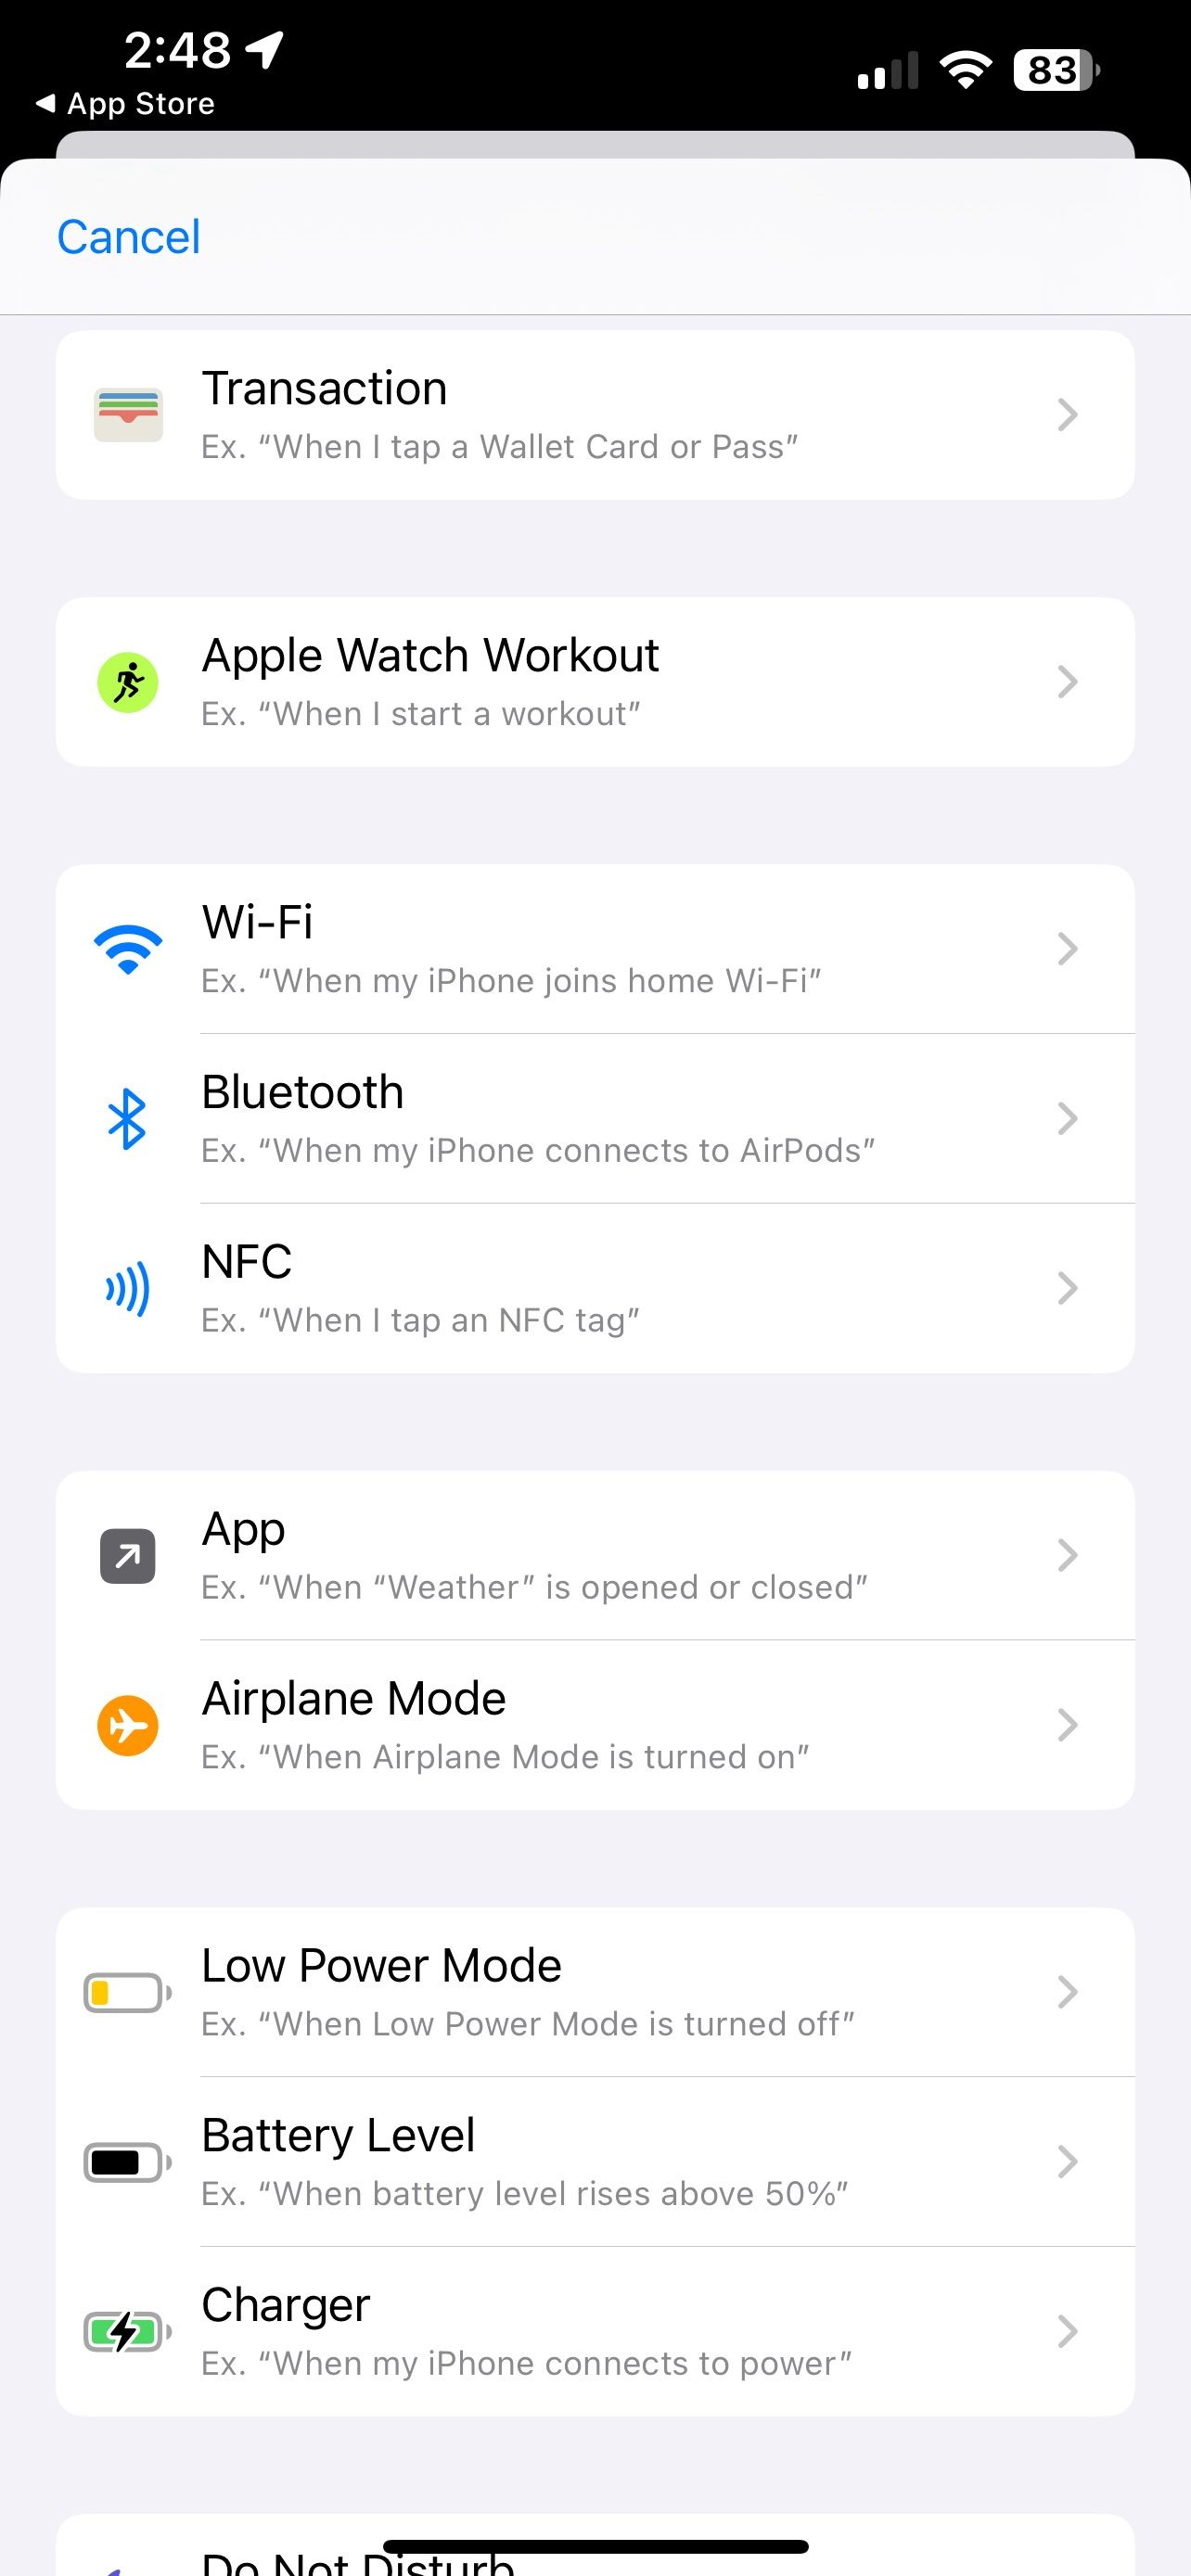
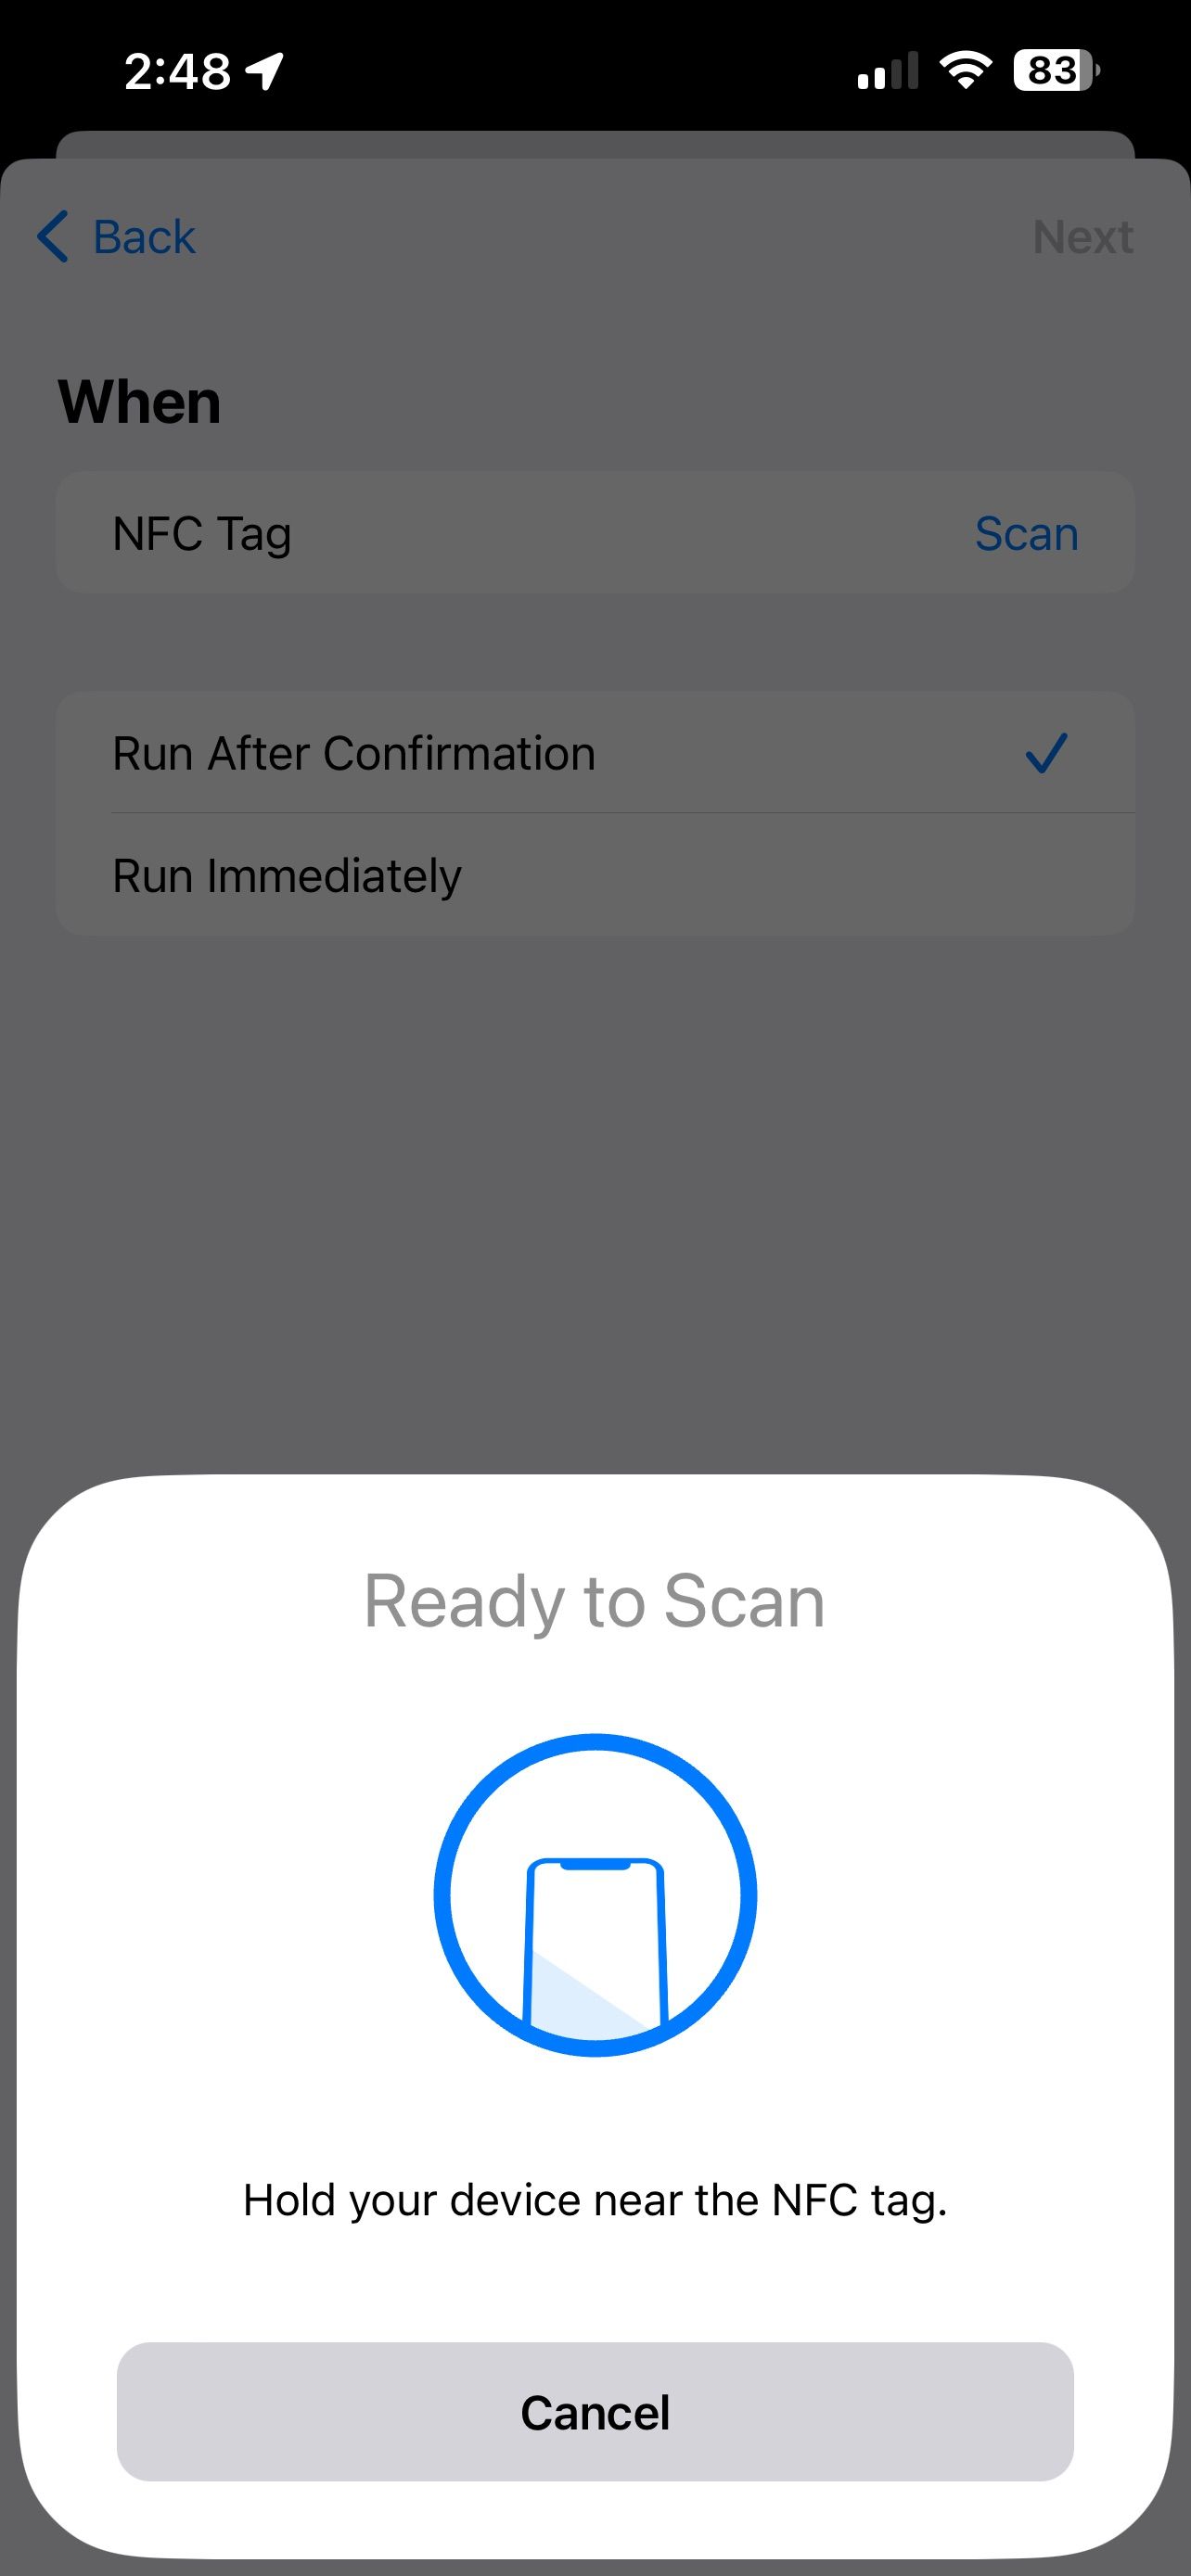
Programming your NFC tag for use with your HomeKit accessories takes place entirely in the Shortcuts app on your iPhone or iPad. During this process, you'll create a Personal Automation, scan your NFC tag, and then assign it a HomeKit action.
- Launch the Shortcuts app.
- Tap Automation on the navigation bar.
- Tap the Add button near the top right corner of your screen.
- Scroll downward and tap NFC.
- When the Ready to Scan prompt appears, tap Scan.
- Hold your NFC Tag or card near the top of your iPhone.
- Type in a name for your NFC tag, then tap OK.
- Tap either Run After Confirmation or Run Immediately, as desired.
- Tap Next.
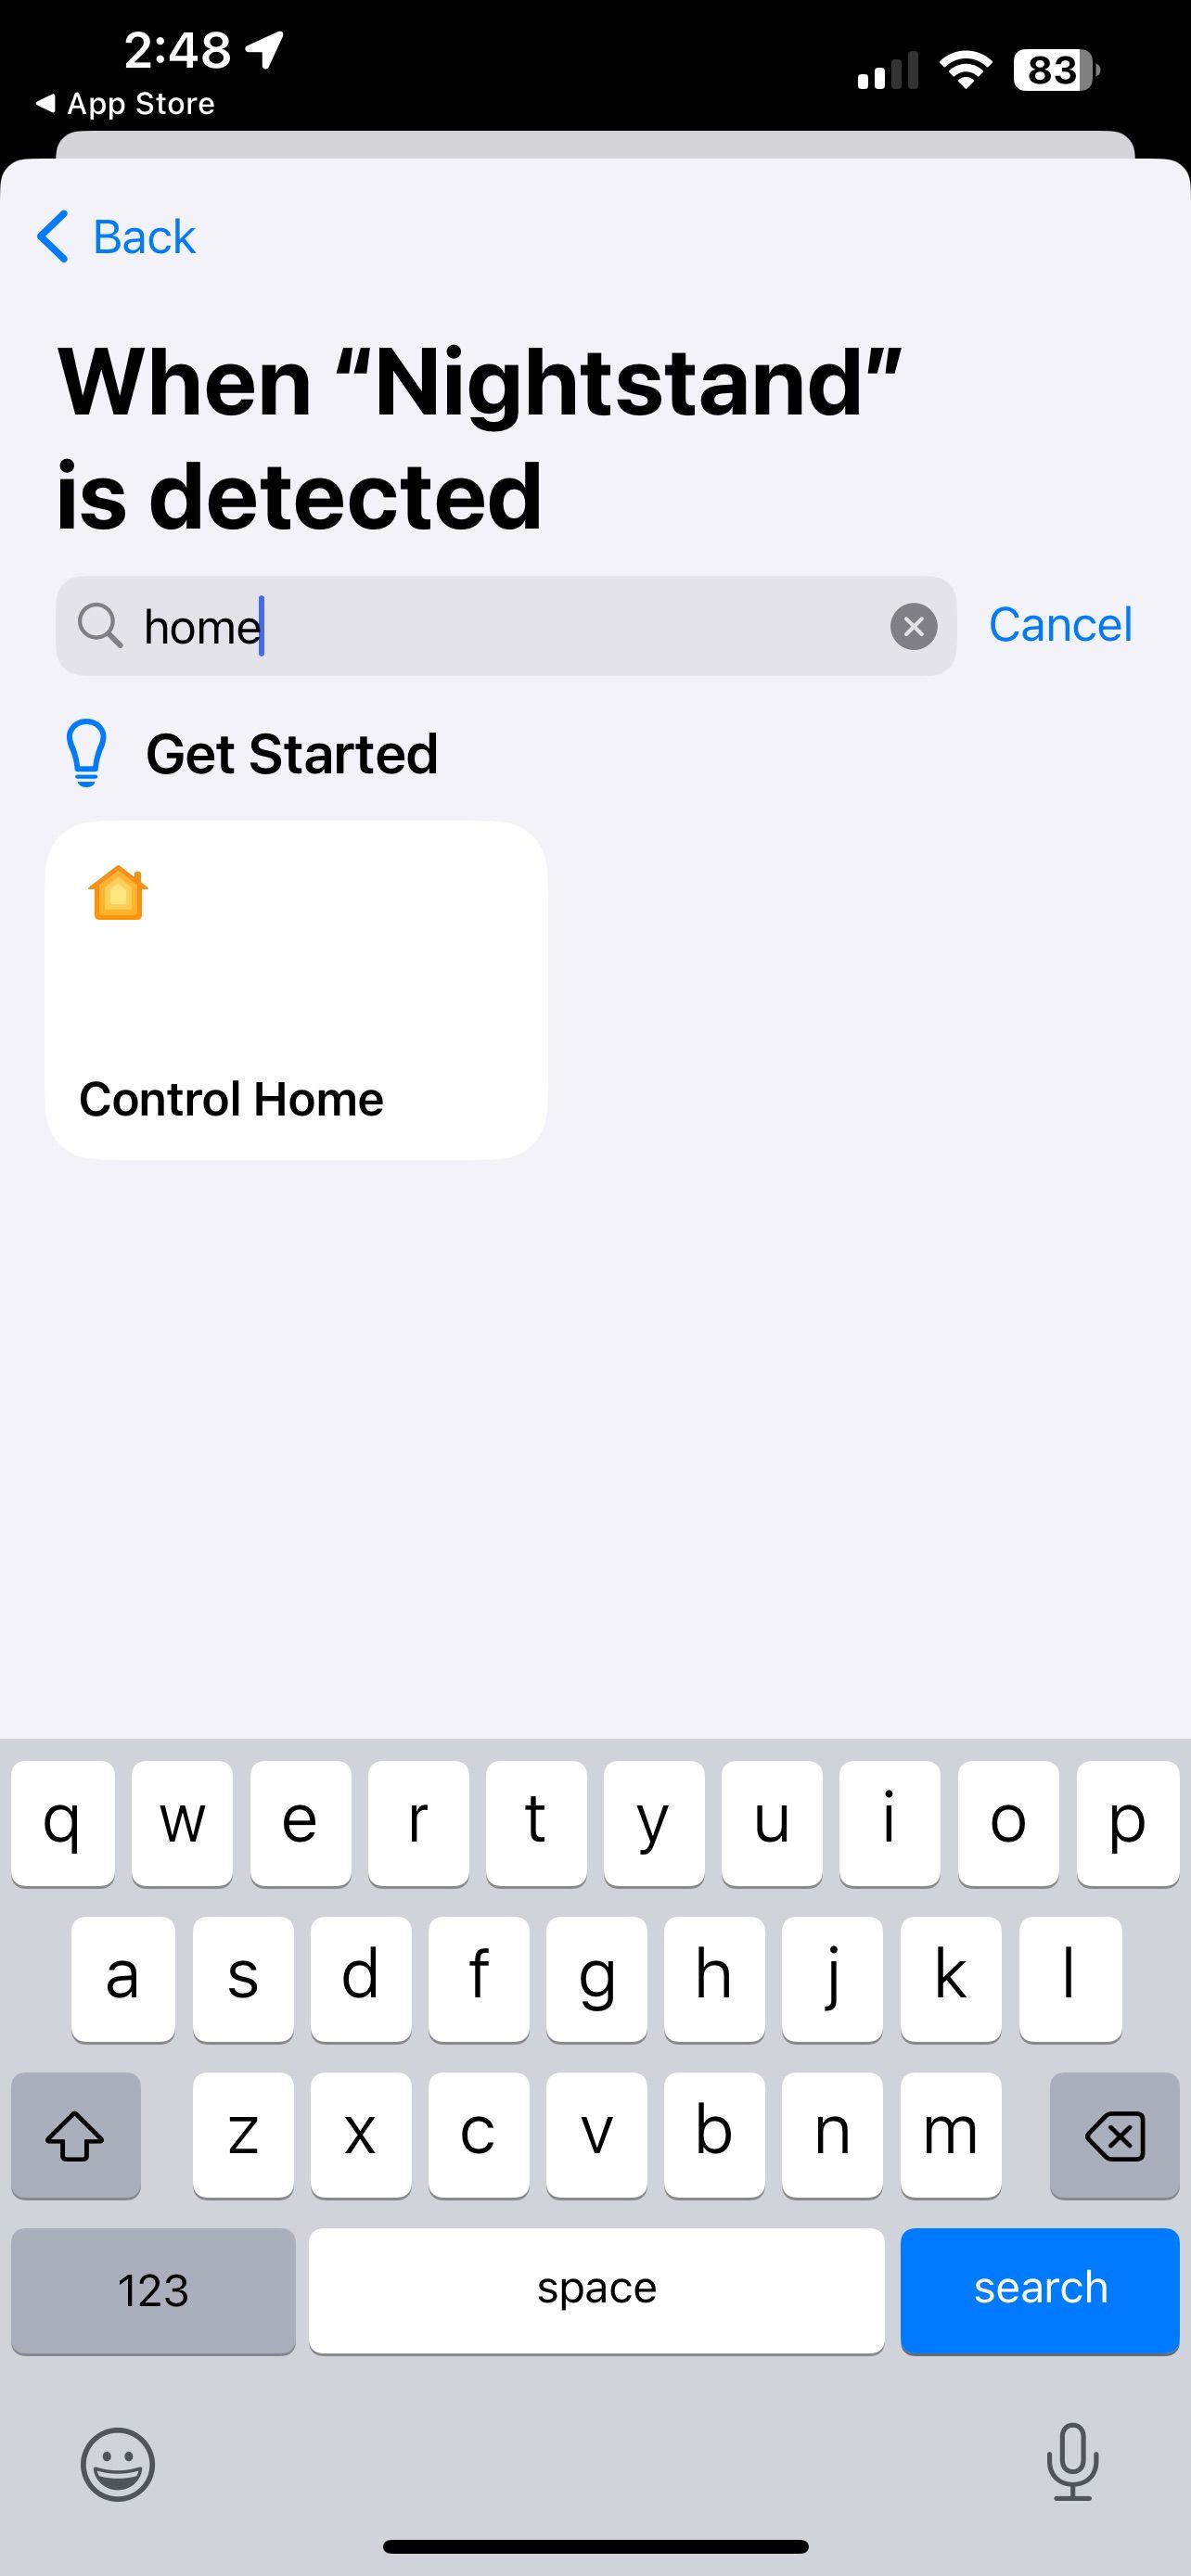
- Tap the Search Field and type Home.
- Tap Control Home.
- Tap Scenes and Accessories.
- Choose the devices or scenes you wish to trigger with your NFC tag.
- Tap Next.
- Tap your Scene or accessory and set your desired state.
- Tap Done.
- Tap Done once more to save your Personal Automation.
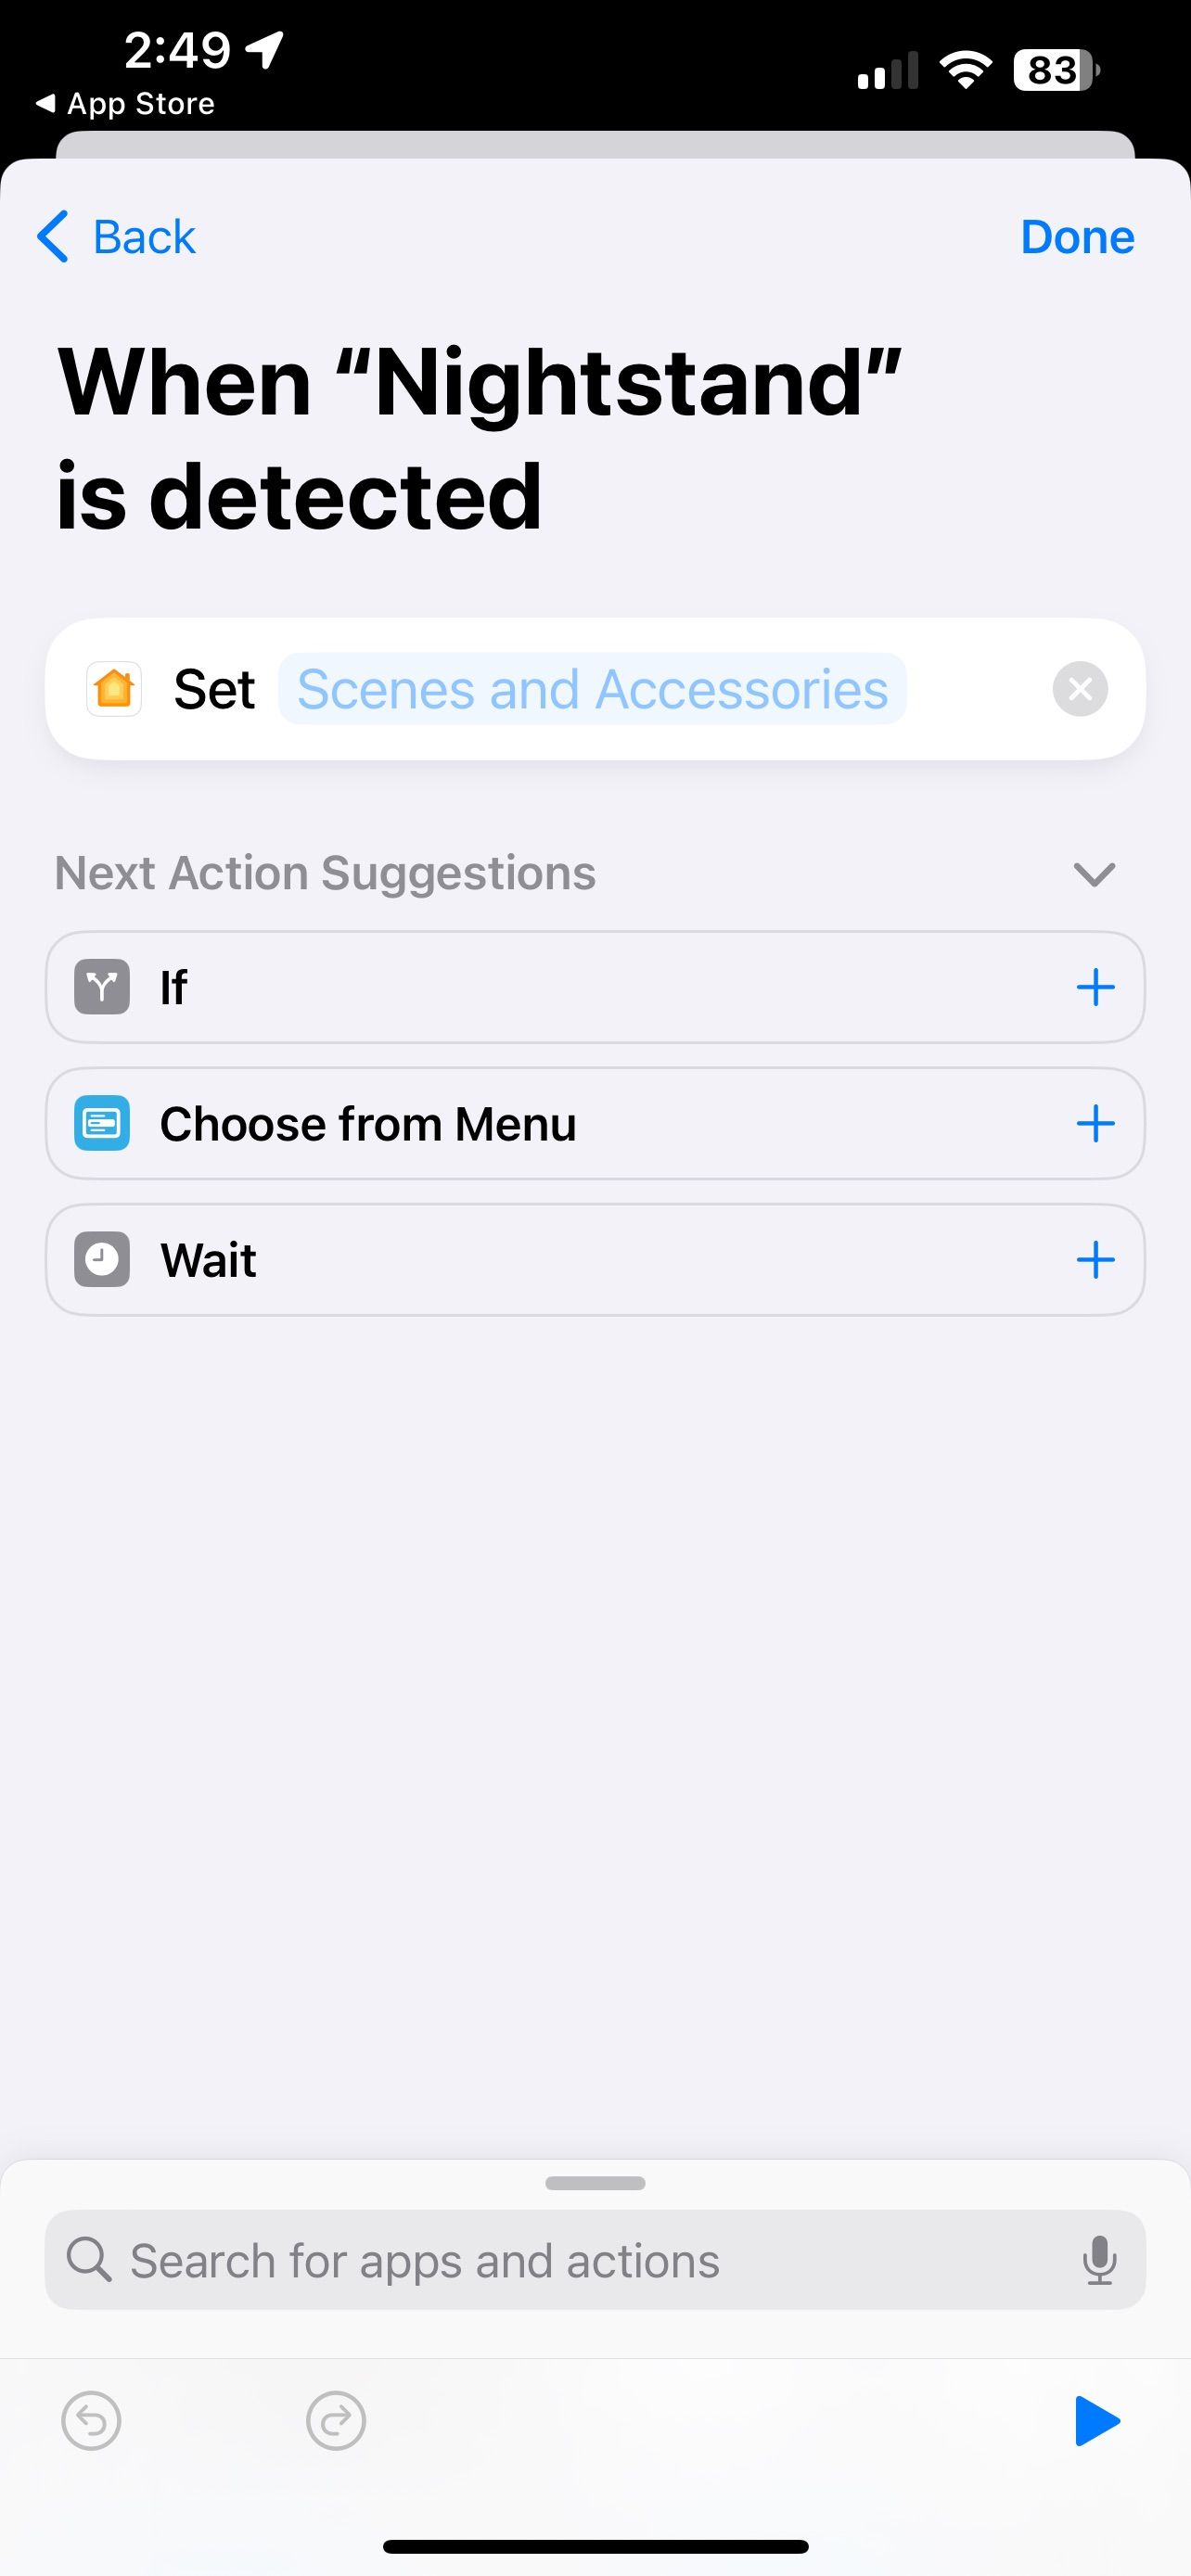
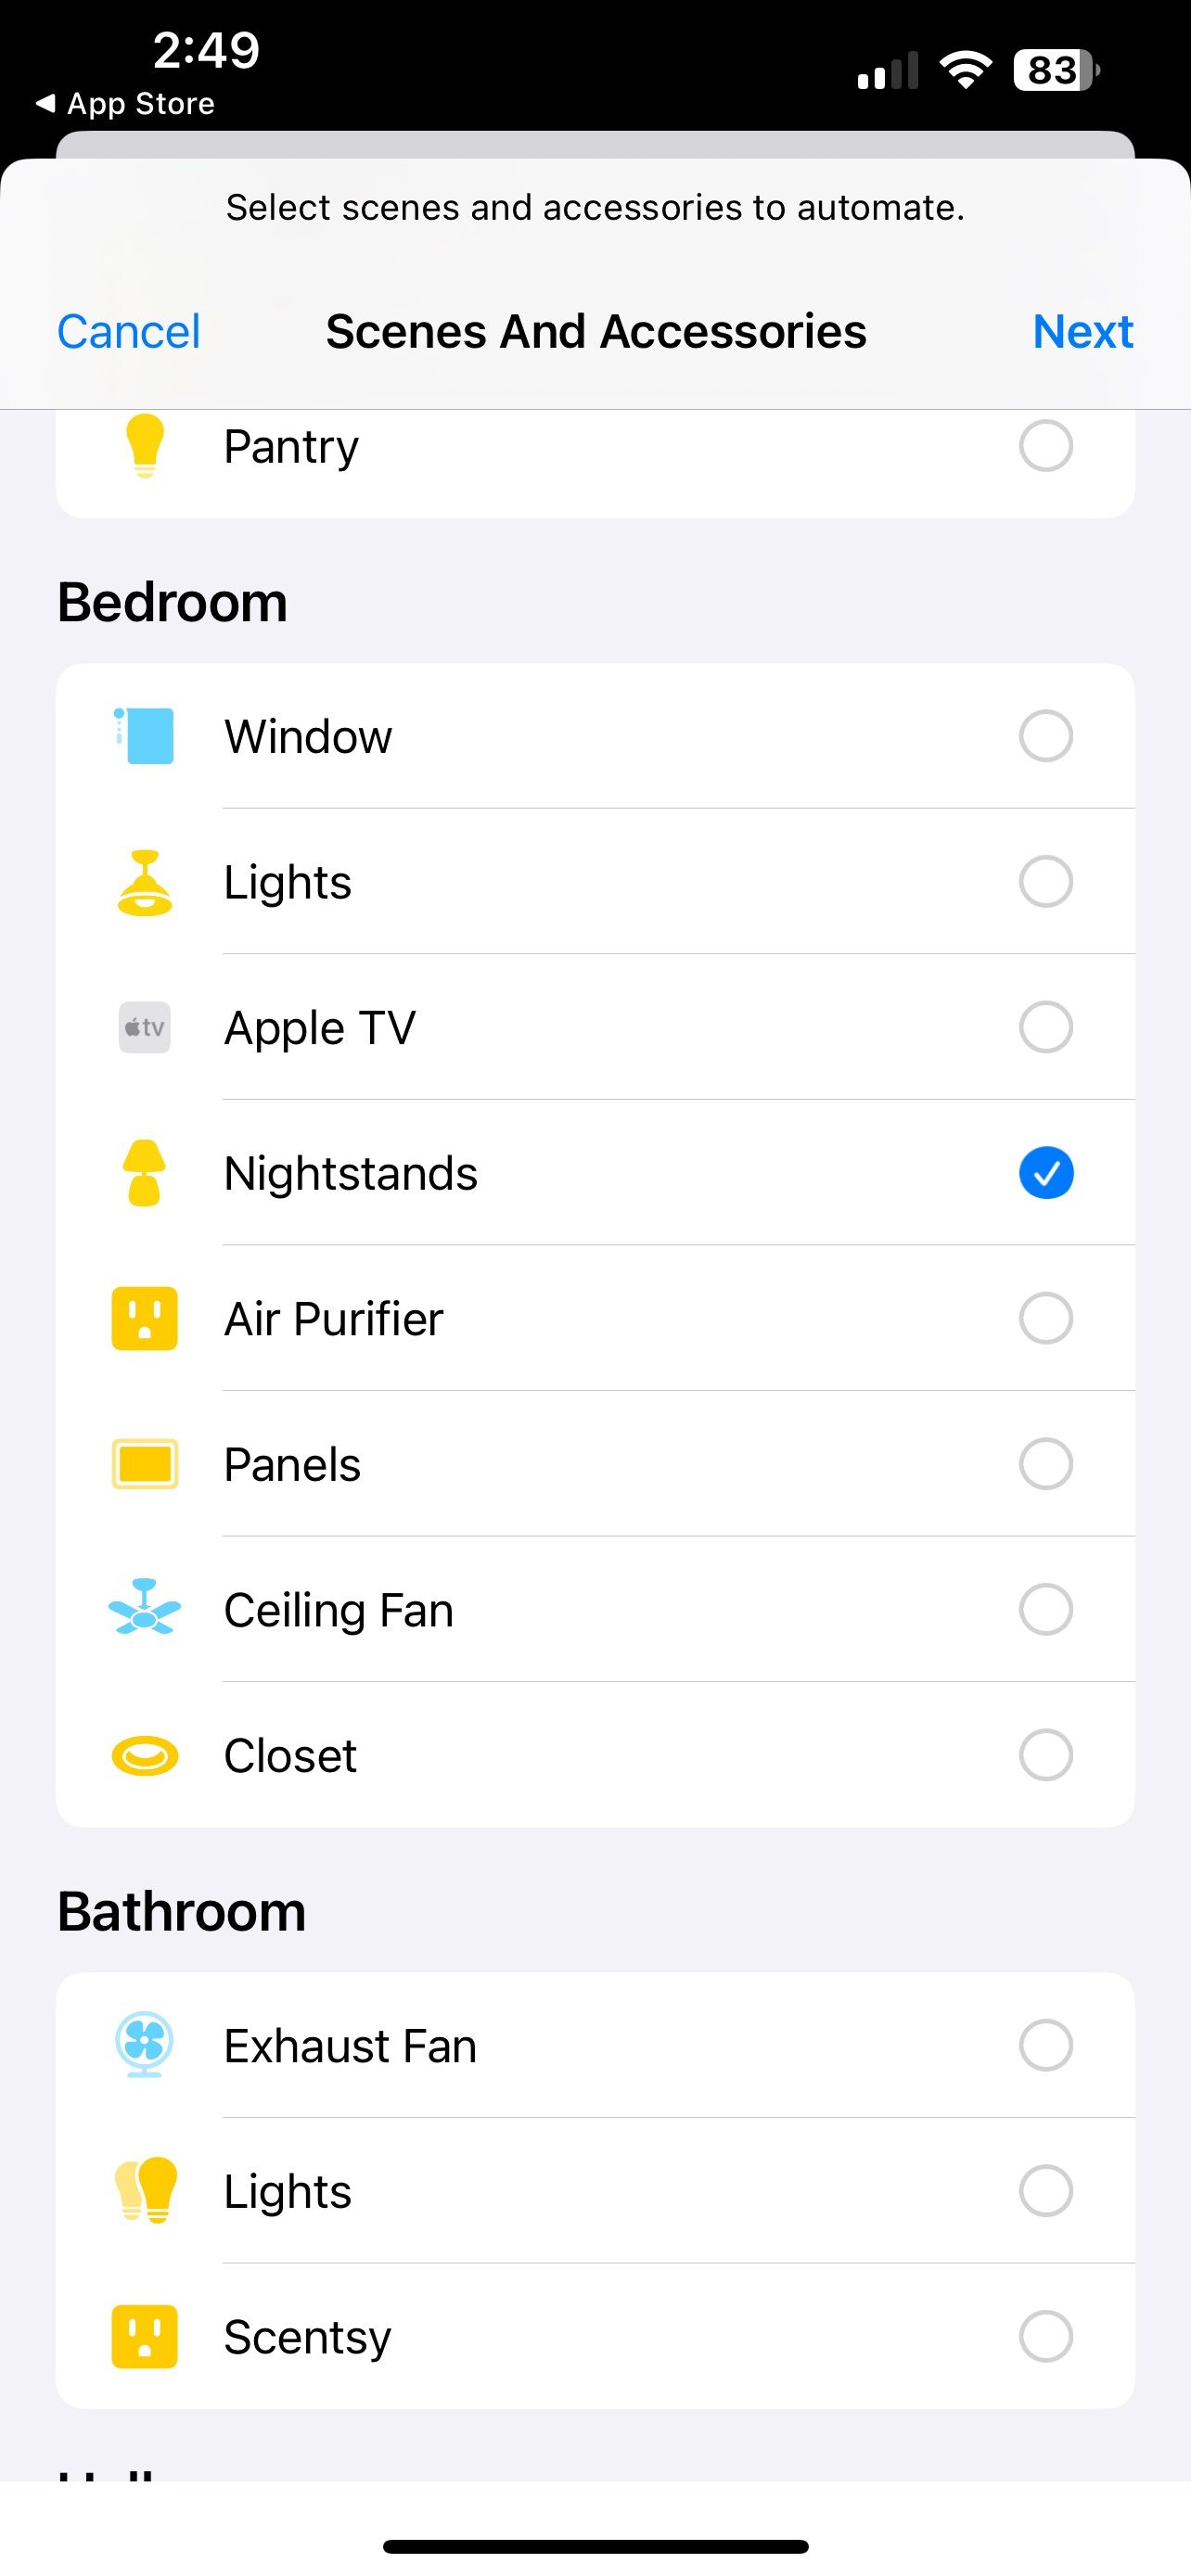
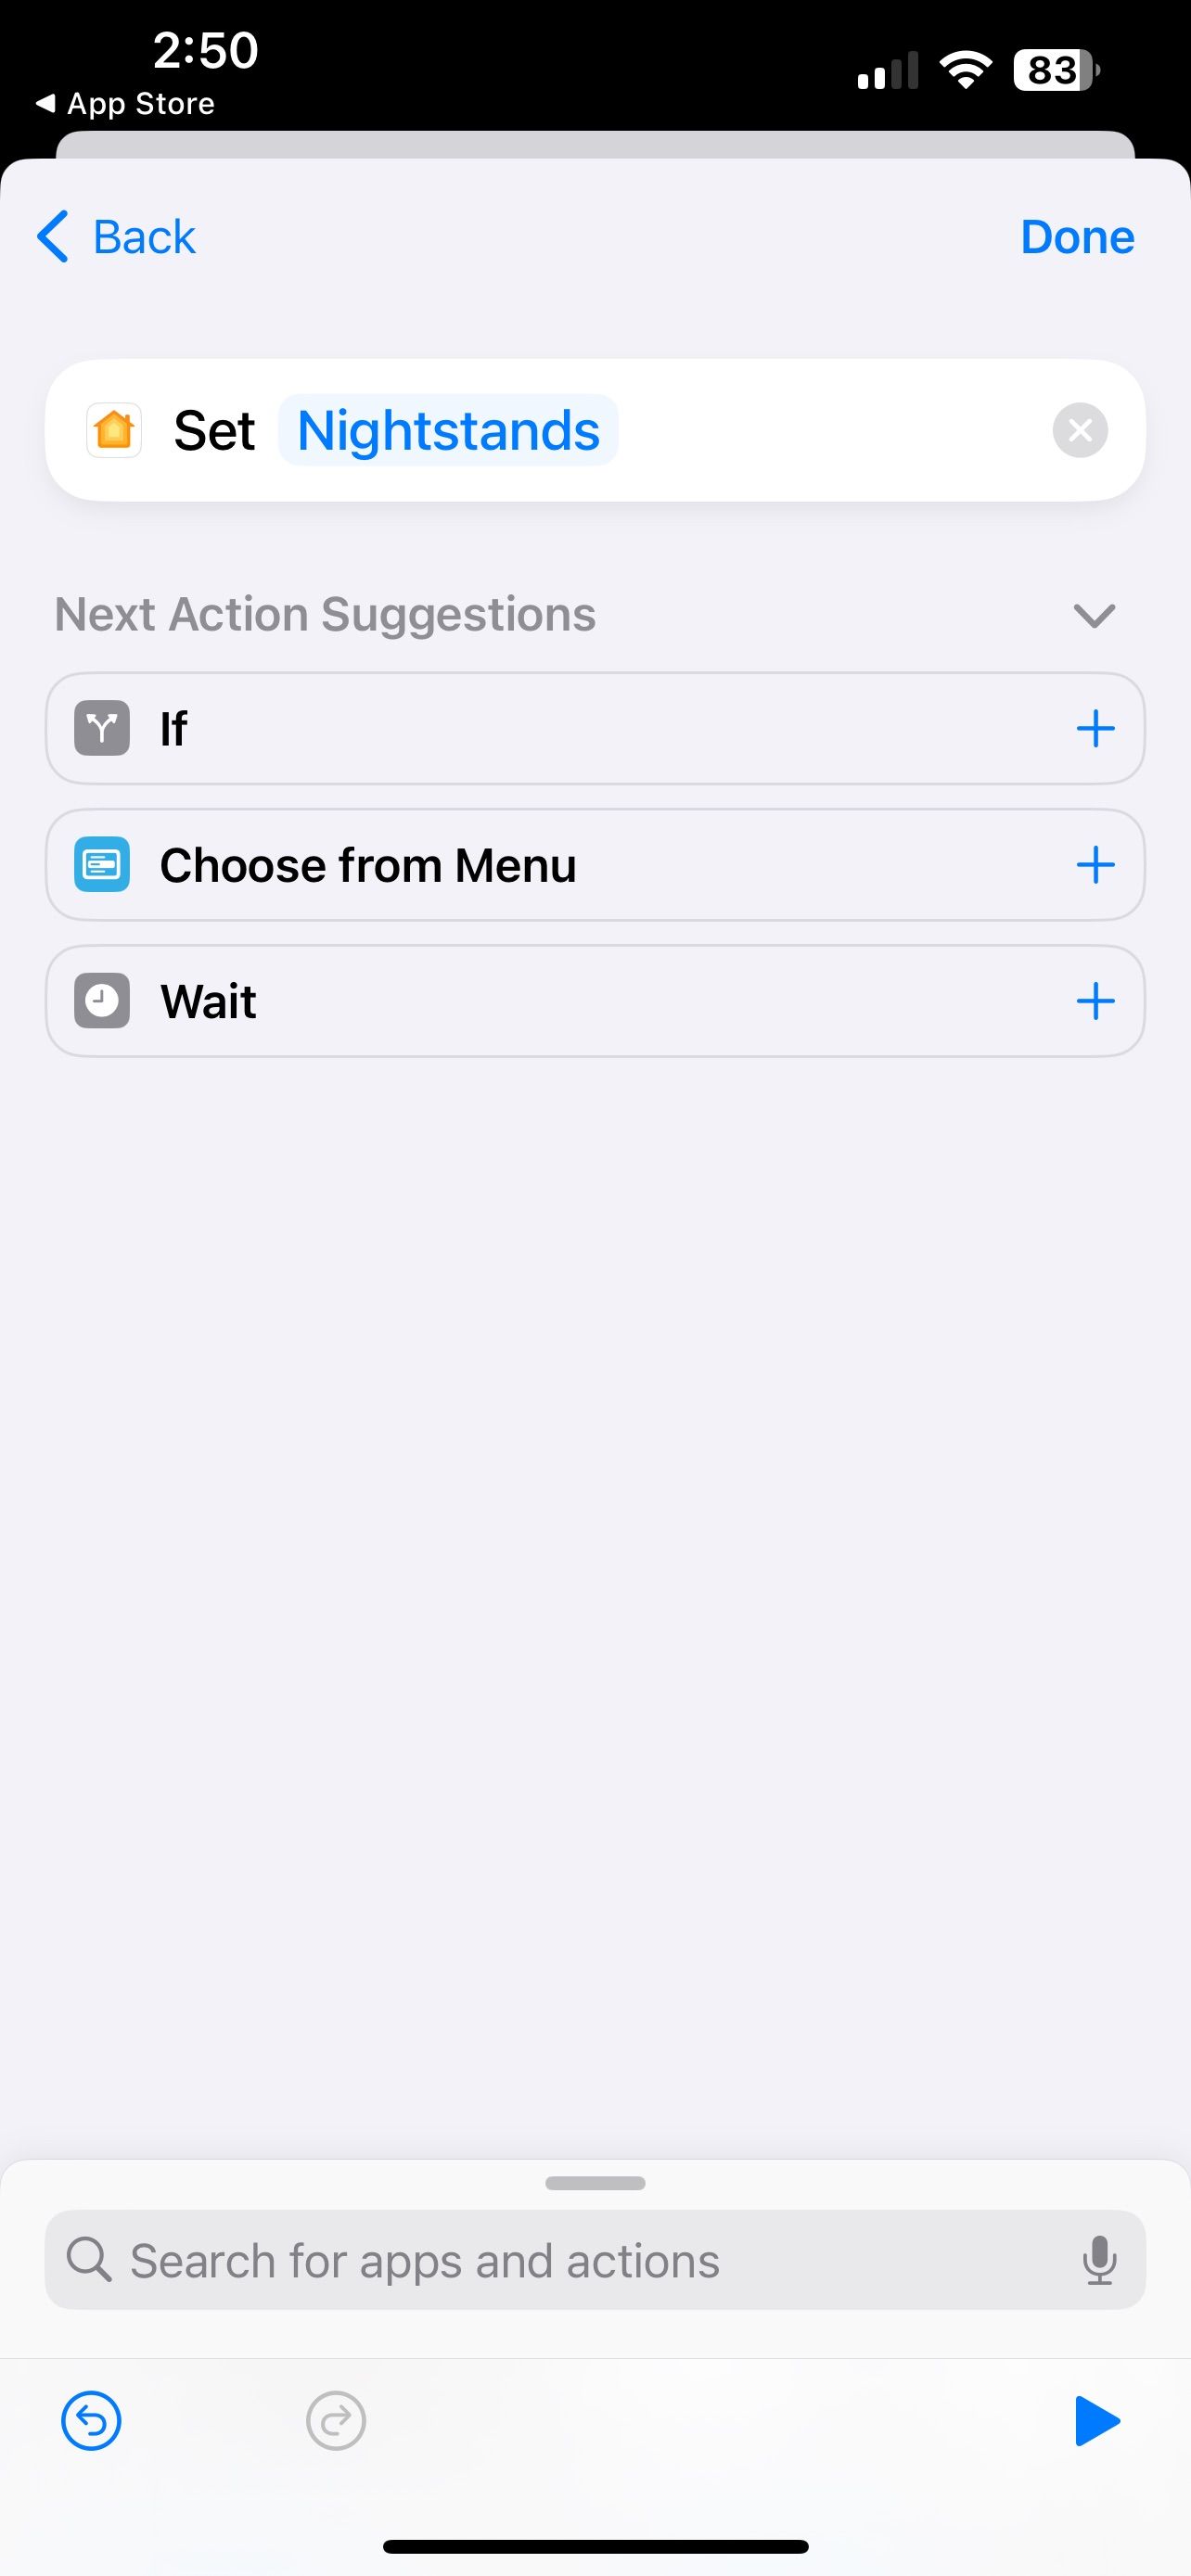
That's all there is to it. Now, when you scan your NFC tag with your iPhone, your HomeKit Scene or accessory will spring to life if you choose Run Immediately during setup.
If you choose Run After Confirmation, you'll need to authorize the Personal Automation via an alert before it will run. Whichever method you choose, you must first unlock your iPhone using FaceID or TouchID before it will recognize your NFC tag.
How to Get the State of Your HomeKit Home With NFC Tags


In addition to controlling your HomeKit Scenes and accessories, you can also scan an NFC tag to get the state of your HomeKit home. This option includes getting the current temperature of a room, checking to see if a door or window is open, or verifying the power state of a smart plug.
- Launch the Shortcuts app.
- Tap Automation on the navigation bar.
- Tap the Add button near the top right corner of your screen.
- Scroll downward and tap NFC.
- When the Ready to Scan prompt appears, tap Scan.
- Hold your NFC Tag or card near the top of your iPhone.
- Type in a name for your NFC tag, then tap OK.
- Tap either Run After Confirmation or Run Immediately, as desired.
- Tap Next.
- Tap the Search Field and type Home.
- Tap Control Home.
- Tap the Search Field at the bottom of your screen.
- Type Get the state of Home and tap it once it appears.
- Tap Accessory State.
- Choose the device you wish to get the state of with your NFC tag.
- Tap the default state that appears alongside your accessory.
- Tap a condition (Current Temperature, Contact Sensor, Power State, etc.).
- Tap Done.
- Tap Done once more to save your Personal Automation.

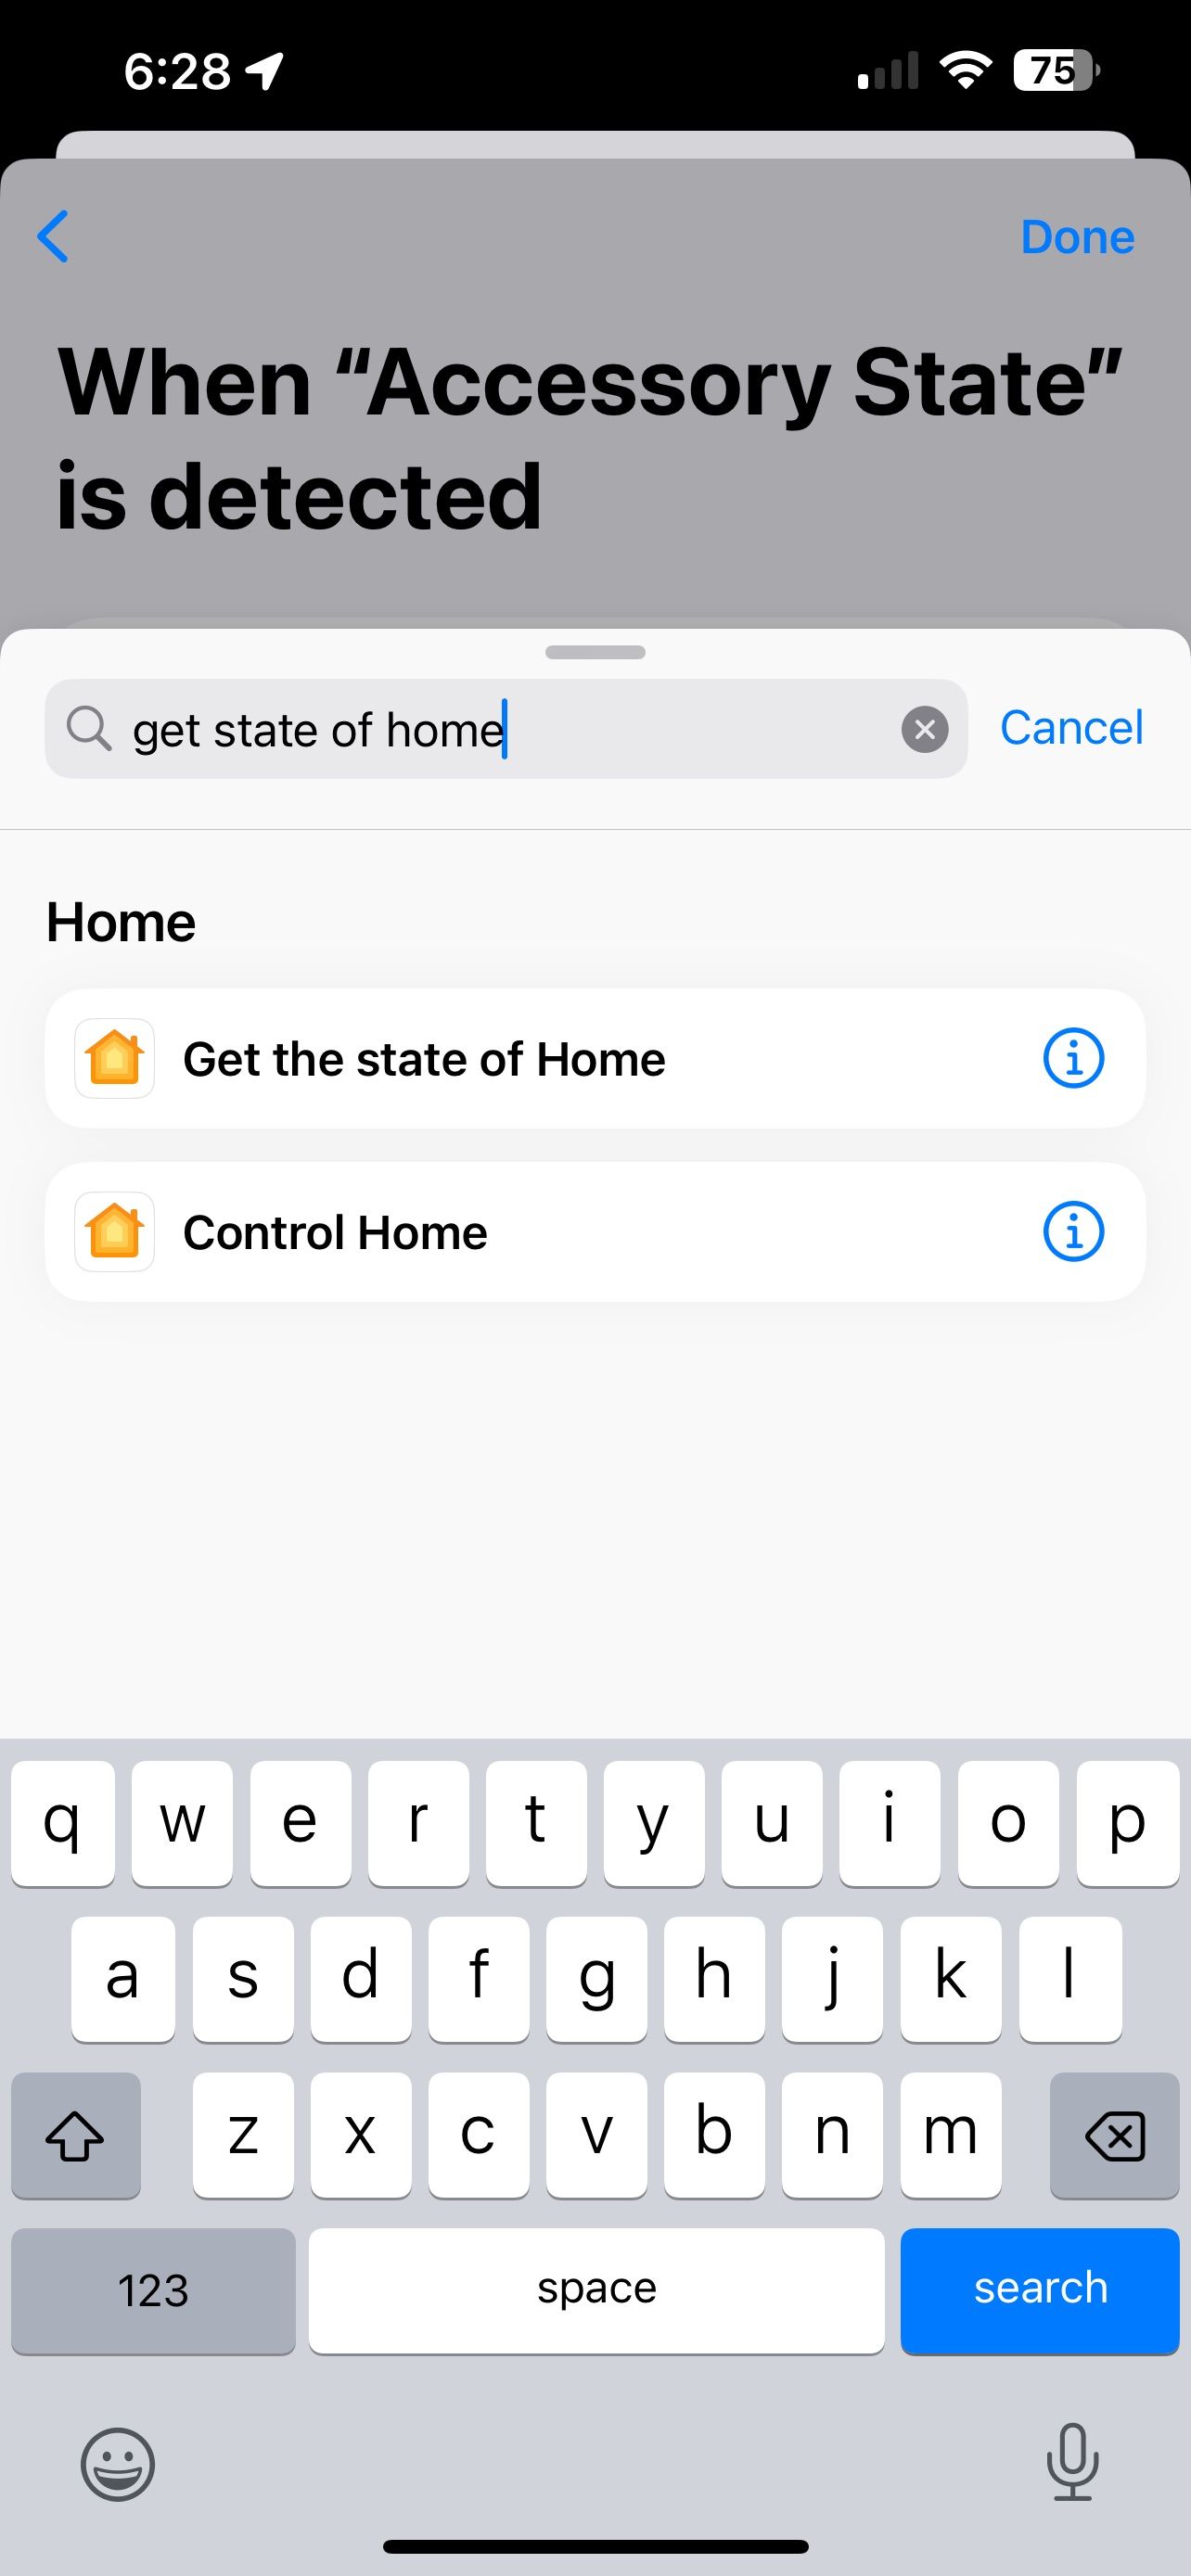
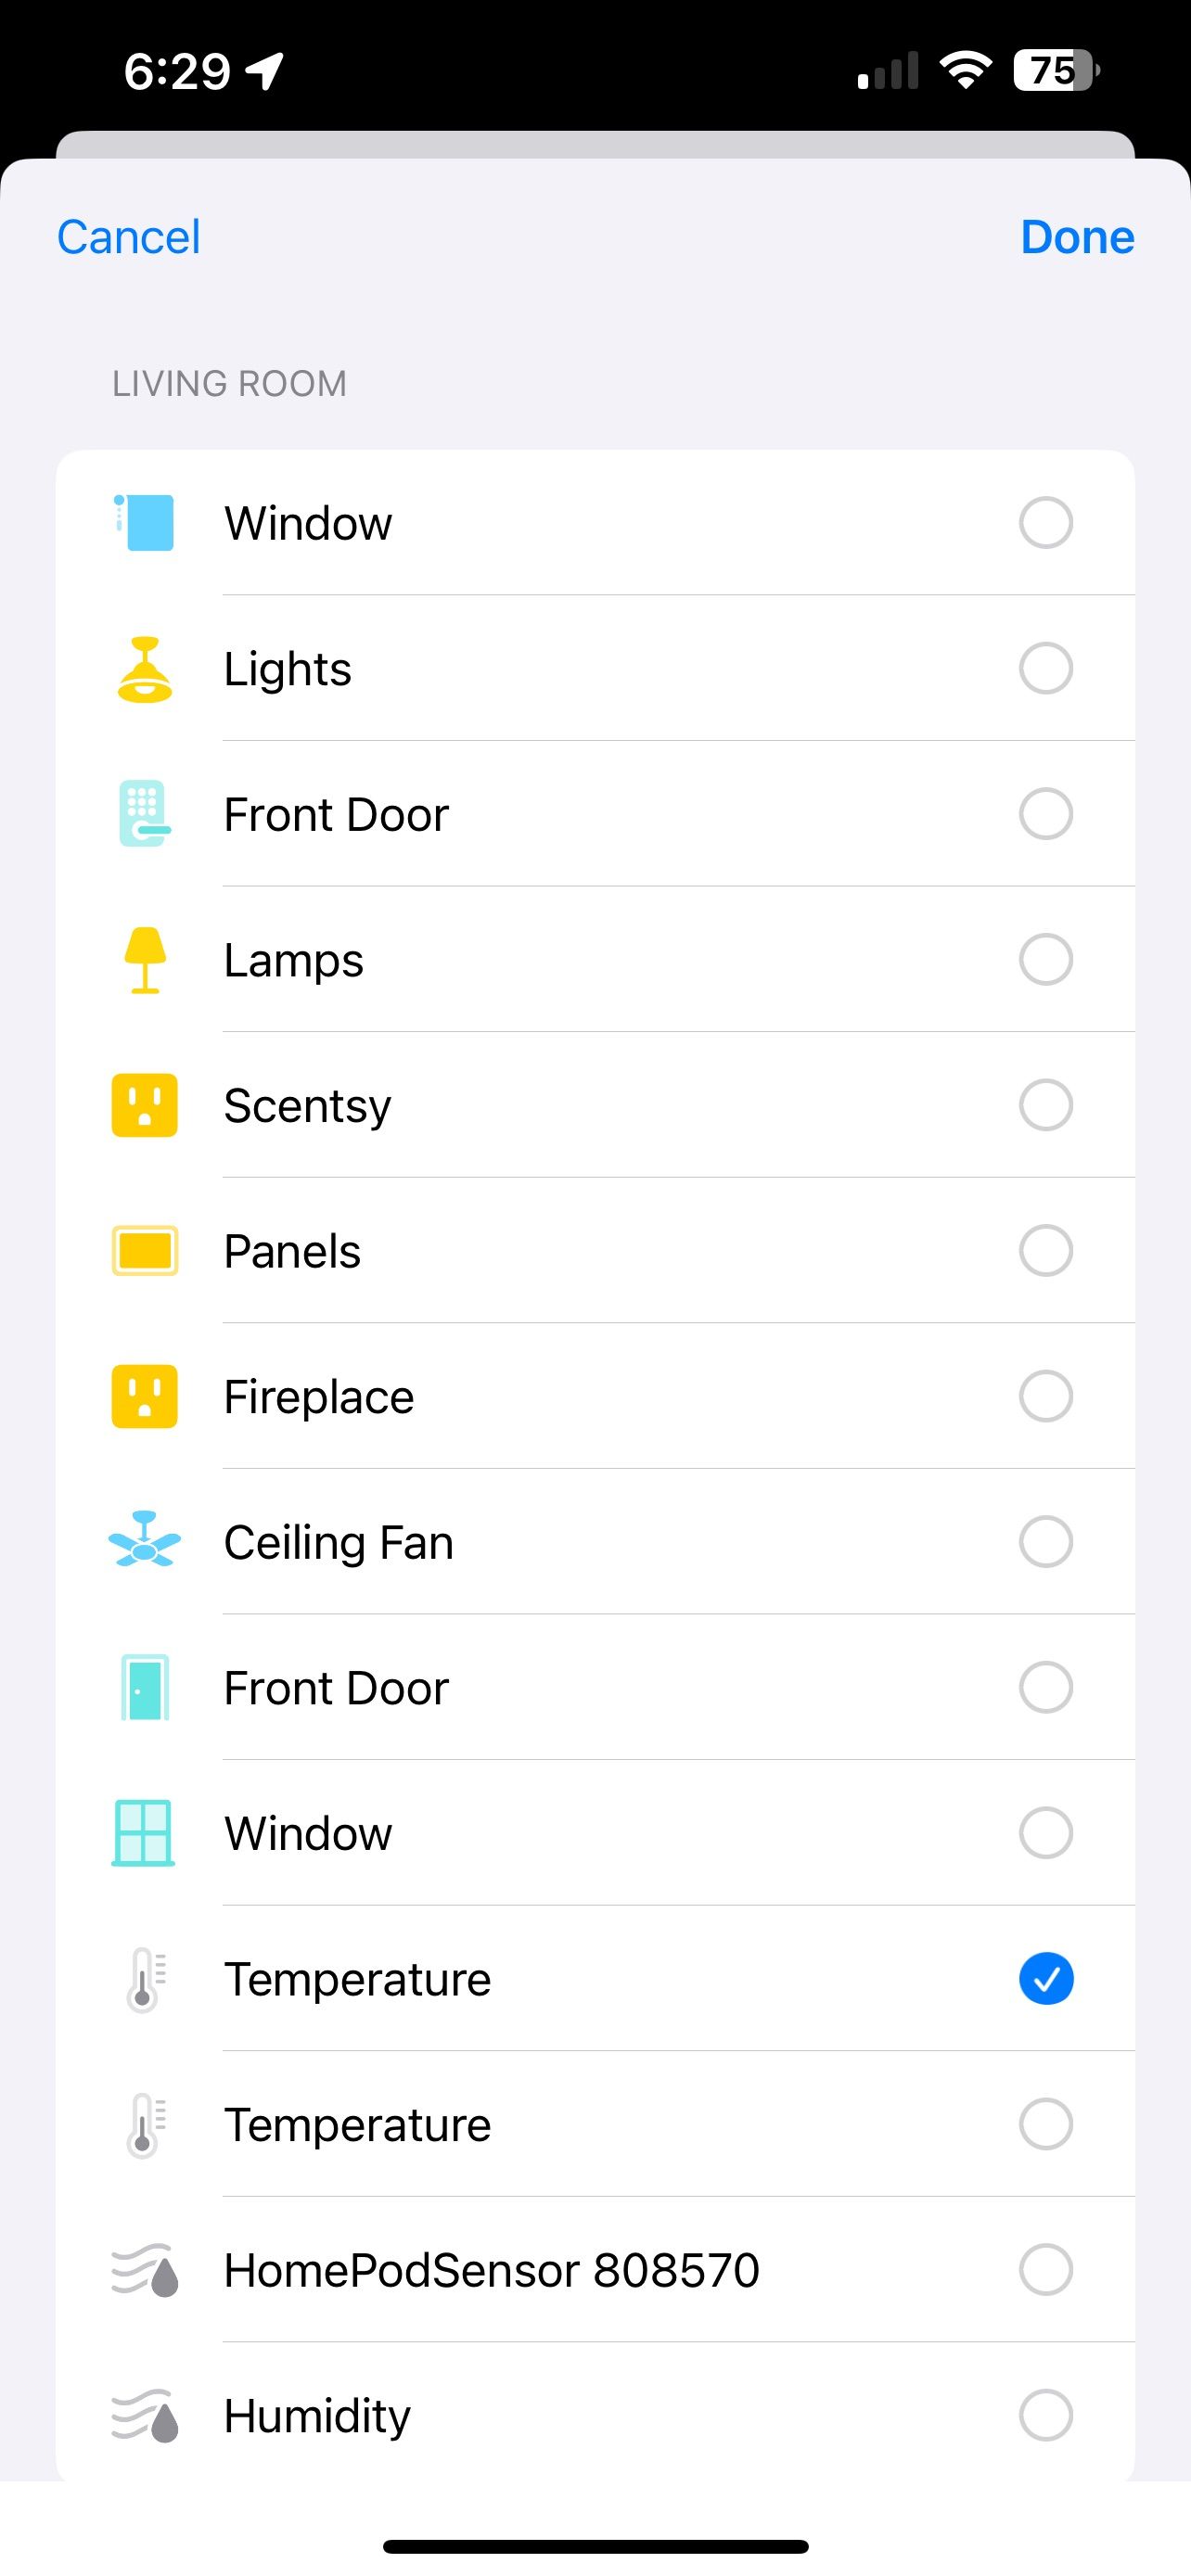
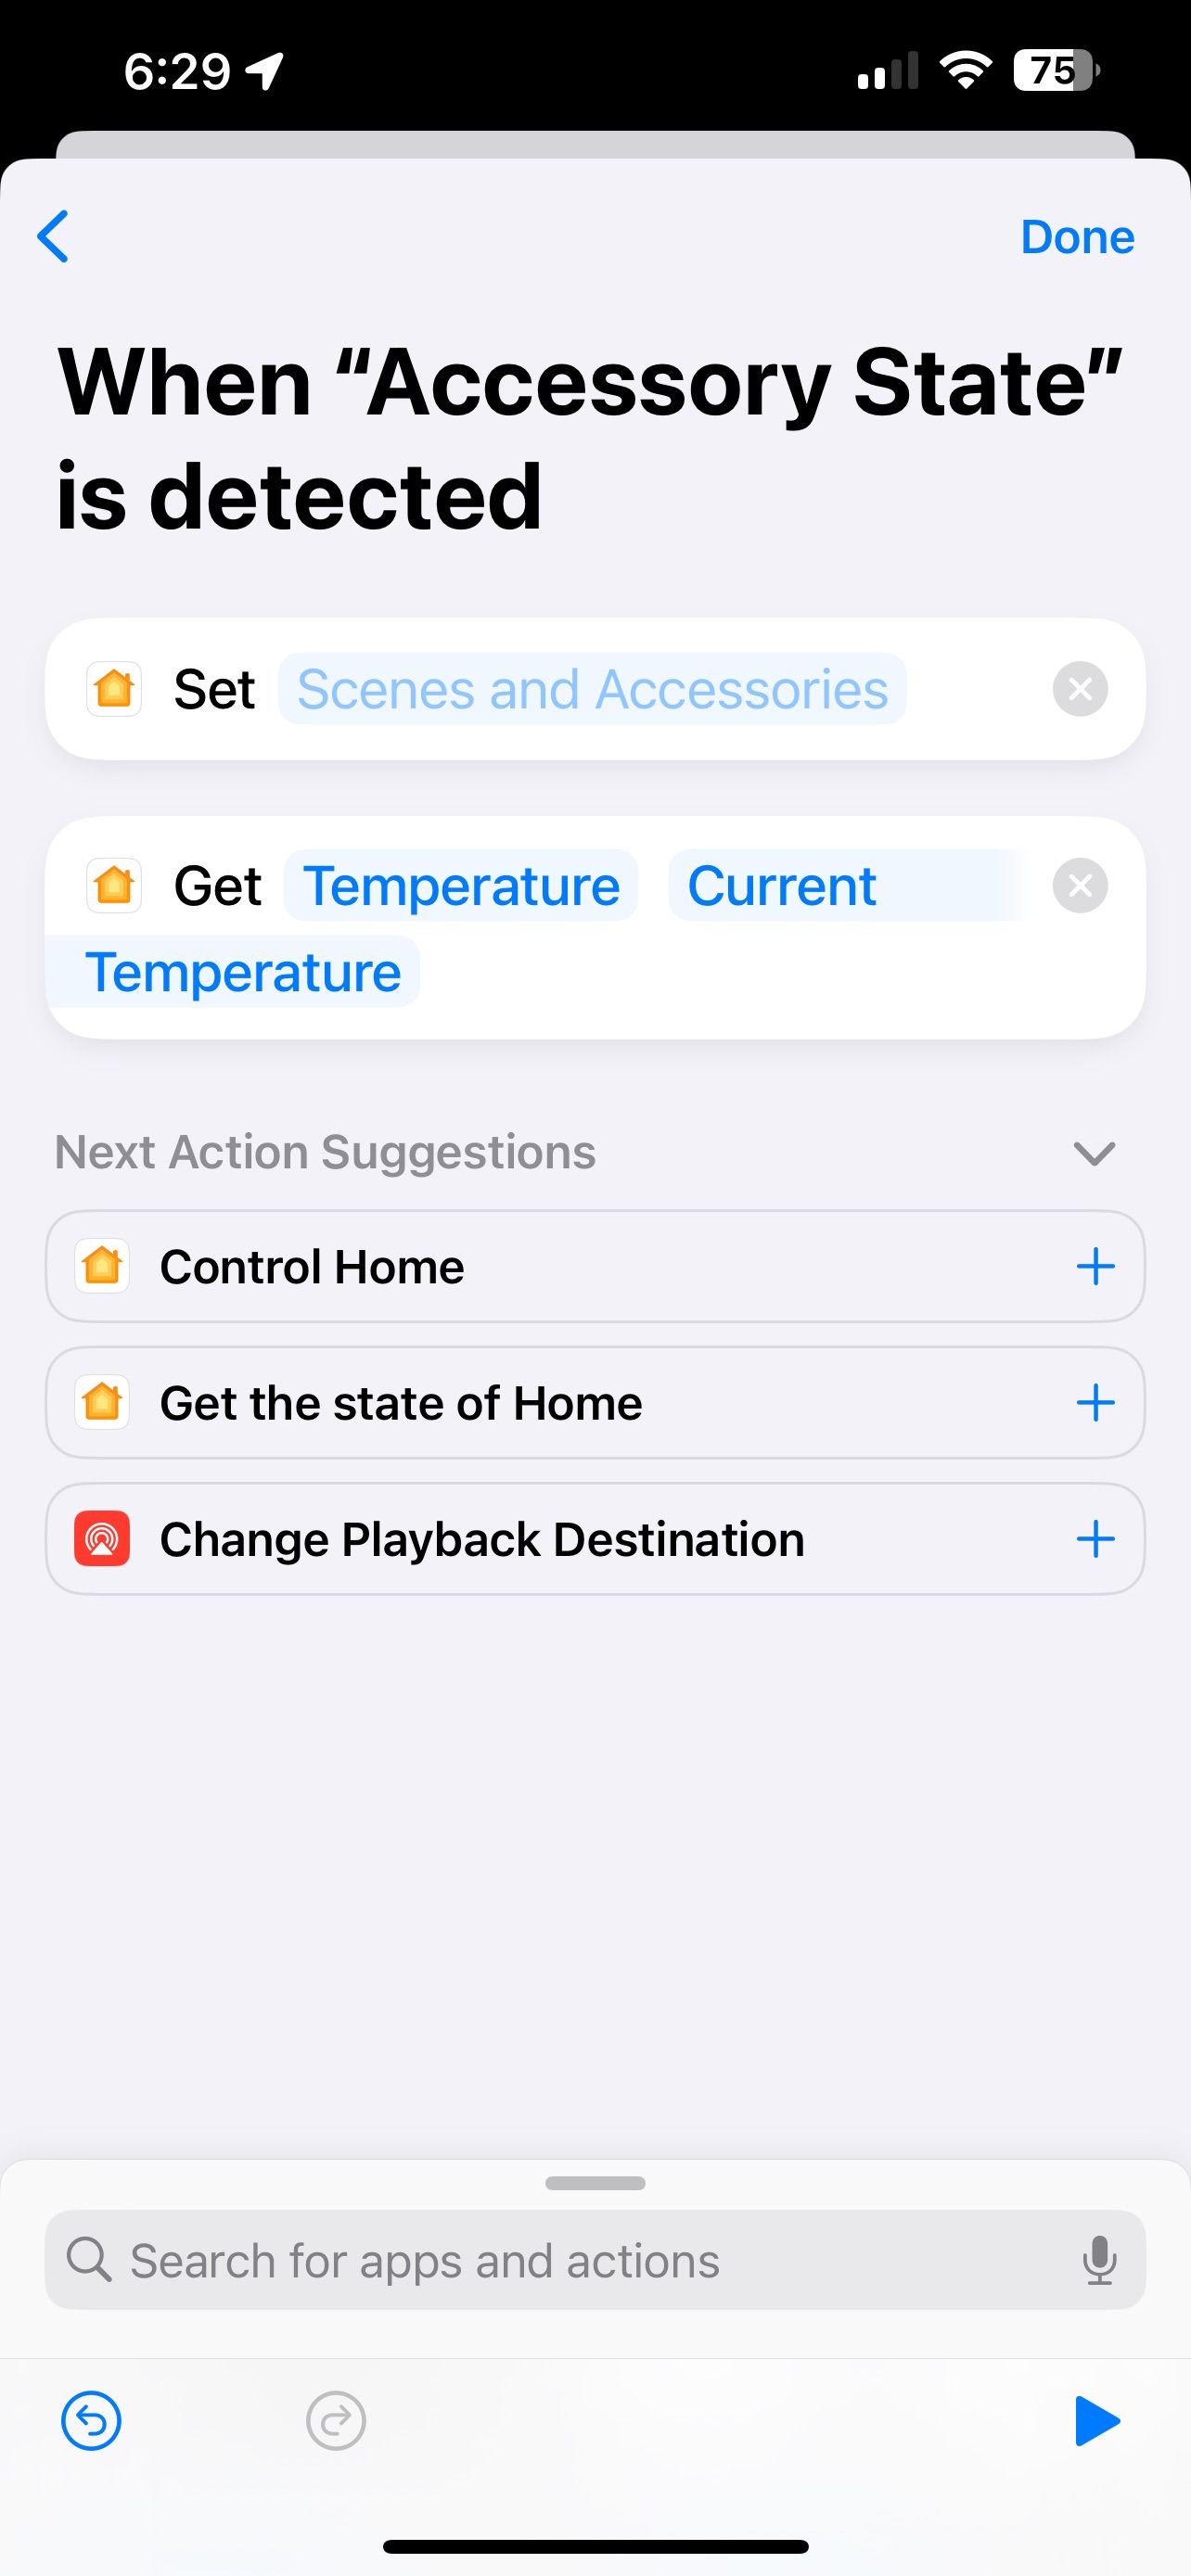
After programming your NFC tag, you will get a Shortcuts notification with your HomeKit device status immediately after scanning. Once you're comfortable with the process, you can try mixing in additional Shortcuts commands, such as having Siri speak your results or logging them in a file for record keeping.
Of course, controlling your HomeKit home is just one of many cool ways to use NFC. With the right gear, you can play your favorite tunes, share your location, and hand out Wi-Fi credentials.
Bring Your HomeKit Smart Home to Life With Just a Tap
With a quick and easy programming process and wallet-friendly prices, NFC tags are a perfect addition to any HomeKit home. Whether on a key ring, hidden behind a light switch cover, or on your nightstand, you can control or check on your home with just a tap.

