A table of contents (TOC) is considered essential in reports, but we often miss adding one in our presentations. Just like in any document, a TOC can help make your slide deck look more professional and organized. With a TOC, you can also easily navigate your slides without having to scroll up and down.
Google Slides offers an easy way to integrate such a table into your presentation. Here is a step-by-step guide on adding a table of contents to your Google Slides presentation.
1. Create a Table of Contents Slide
Once your slide deck is created, you must insert a Table of Contents slide. To do so:
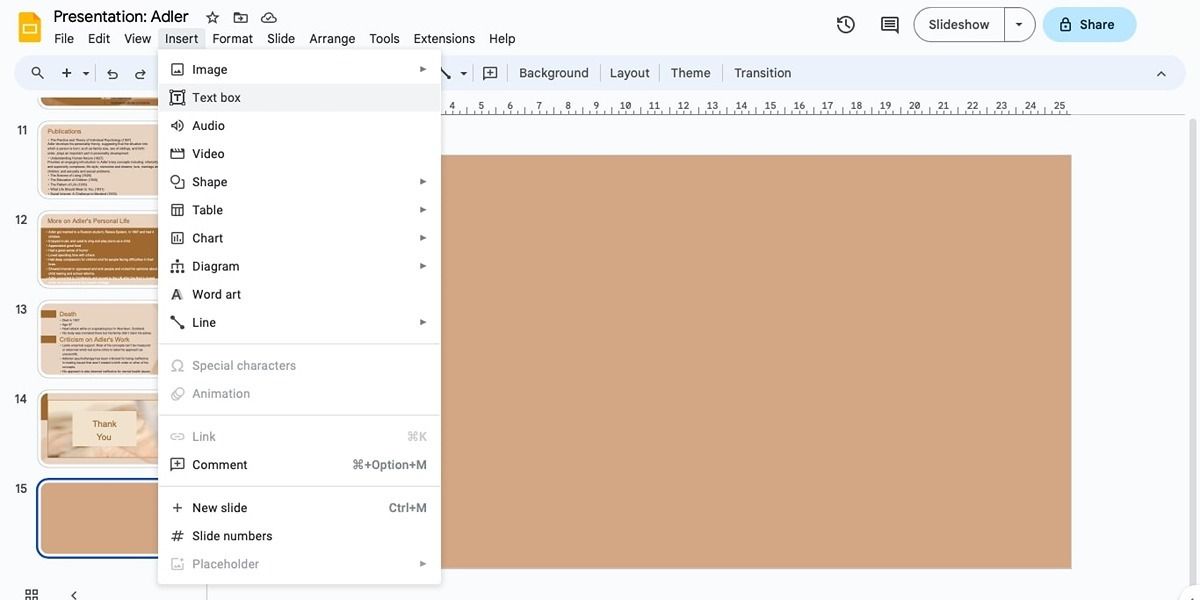
- Click Insert in the toolbar at the top and select New Slide.
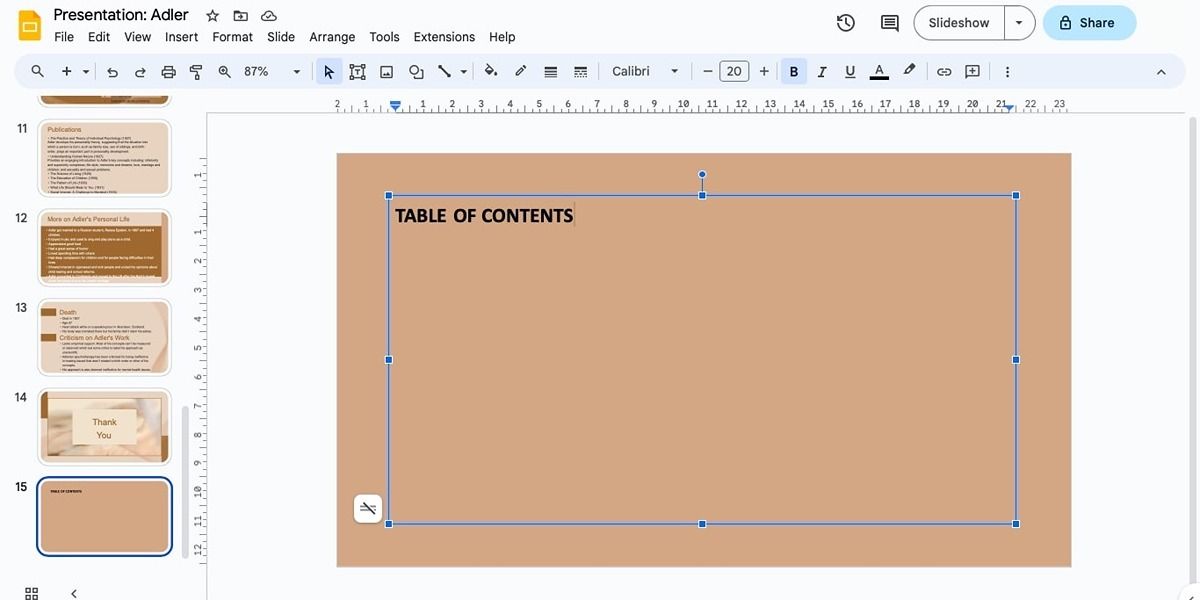
- If your slide is blank, click Insert > Text Box.
- Type the heading "Table of Contents" at the top.
After creating the table of content (TOC) slide, move it to the beginning of your presentation. Here’s how you can do that:
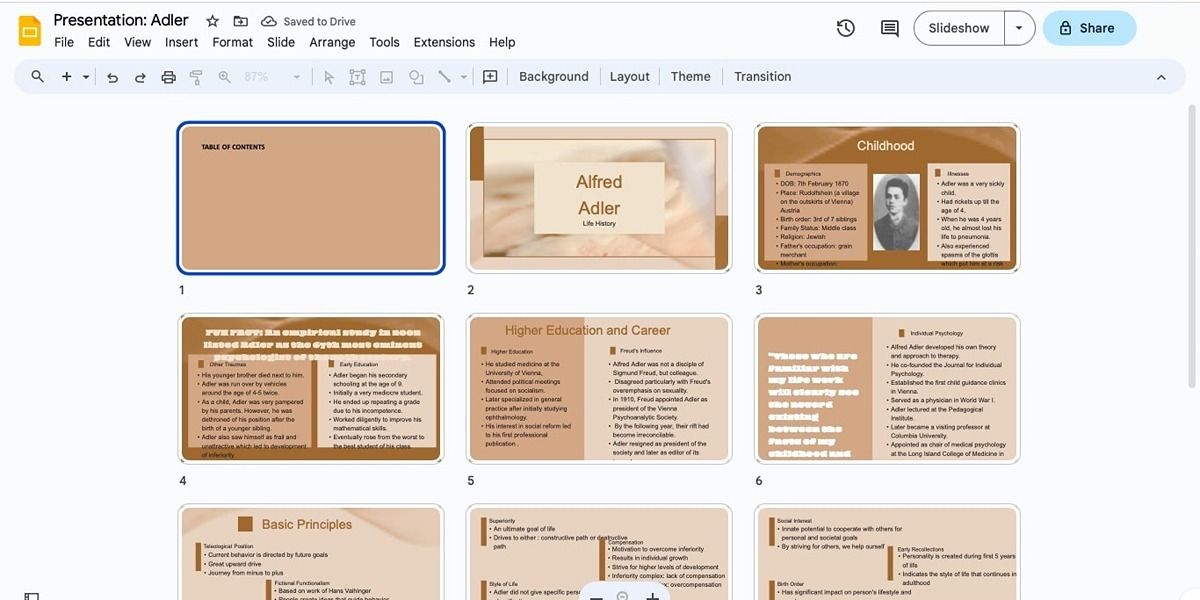
- Select View from the toolbar and click Grid View or check Show Filmstrip. Both of these options will display all your slides according to their serial numbers.
- Drag the Table of Contents slide to the top, and make it number 1.
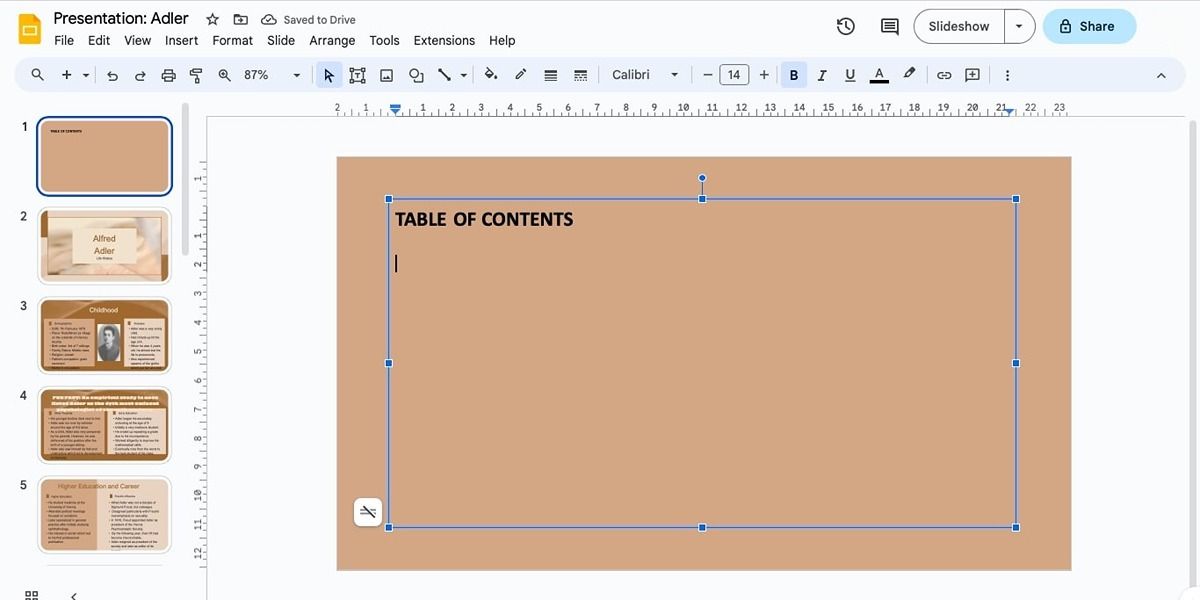
- Select the table of content slide to continue editing it.
2. Adding a Table of Contents in Google Slides
Once you’ve created a slide with the table of contents, you can do two things: insert the linked slide titles, or enter your desired text and then link it to the specific slide.
Option 1: Inserting the Linked Slide Titles
To insert linked slide titles to your Table of Contents slide, follow these steps:
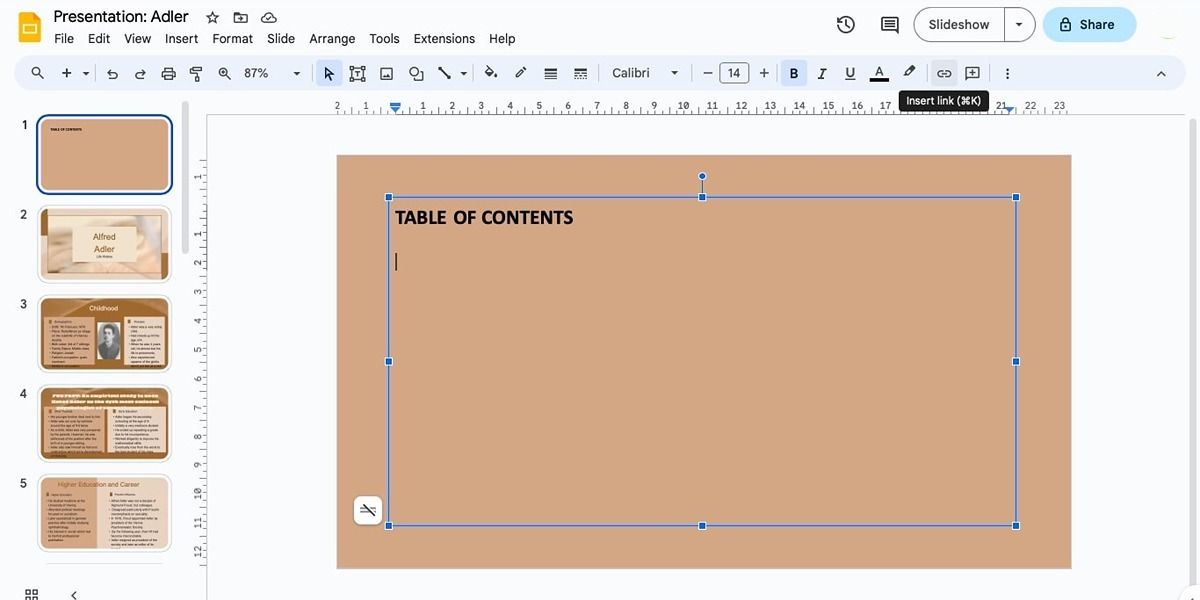
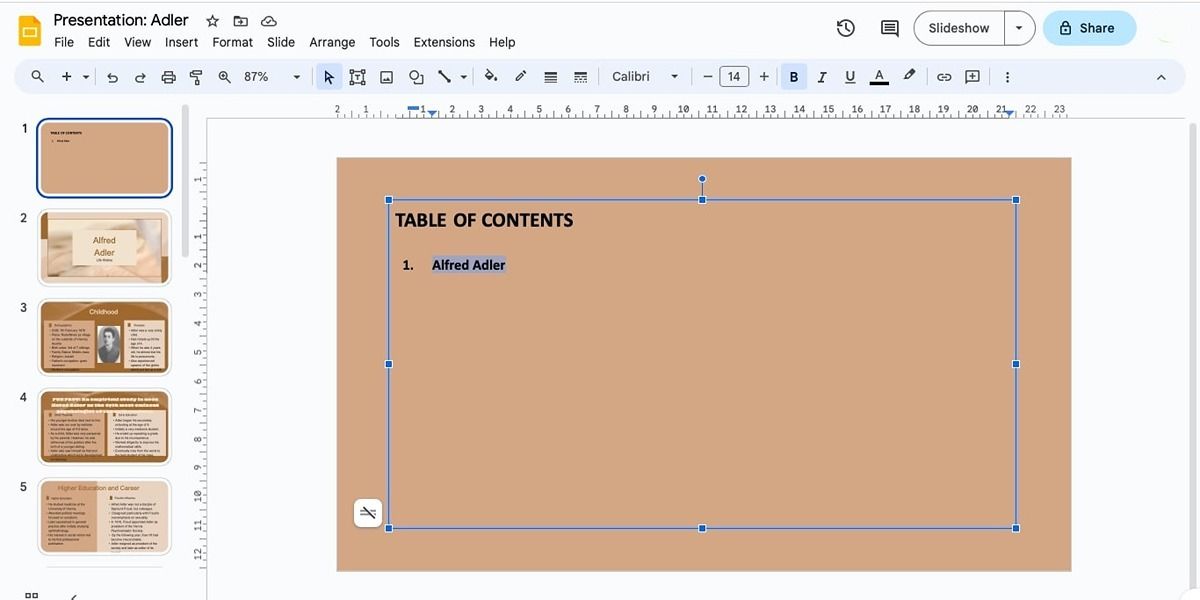
- Select the text box and place your cursor inside.
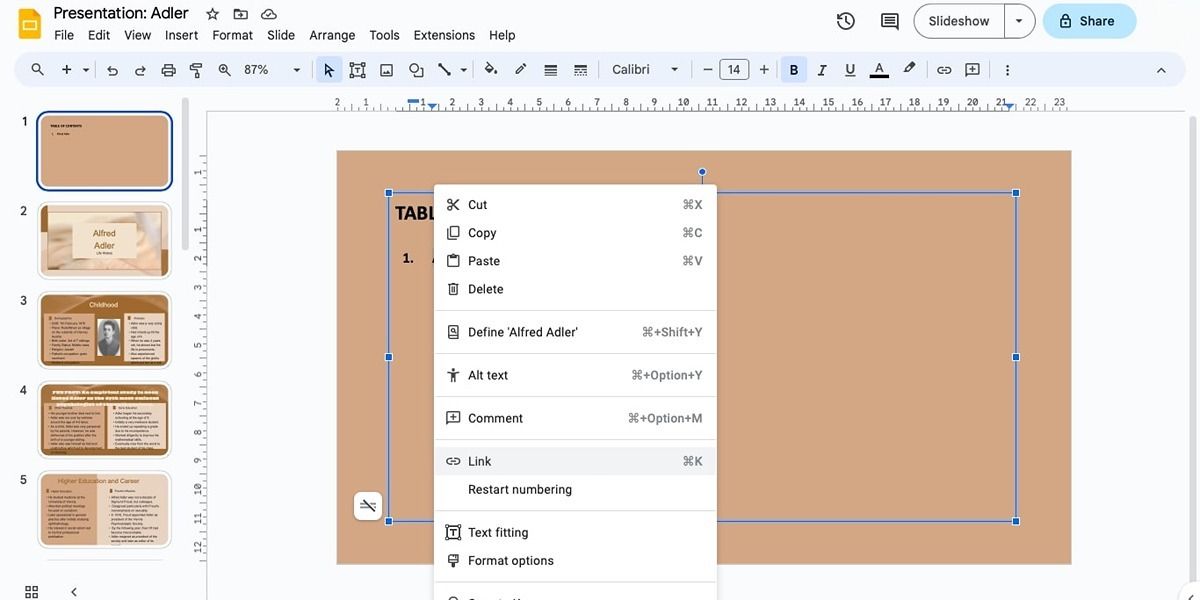
- Now you either right-click, and select Link from the options. You can also select the Insert Link icon from the toolbar. Consider using the Tool Finder on Google Slides if you're unable to find this icon.
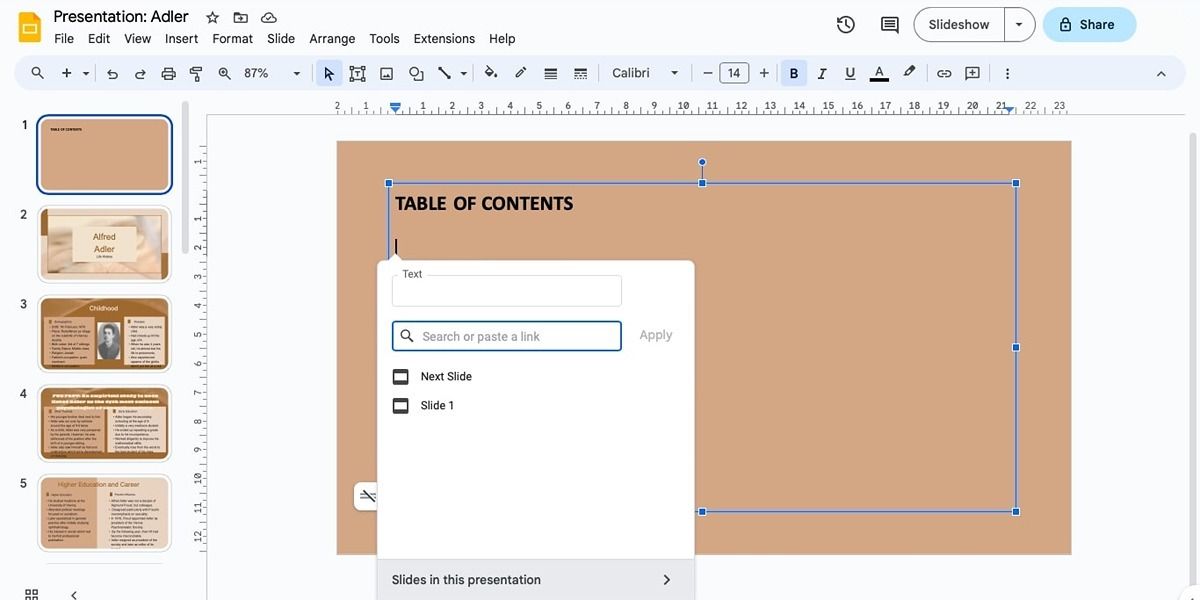
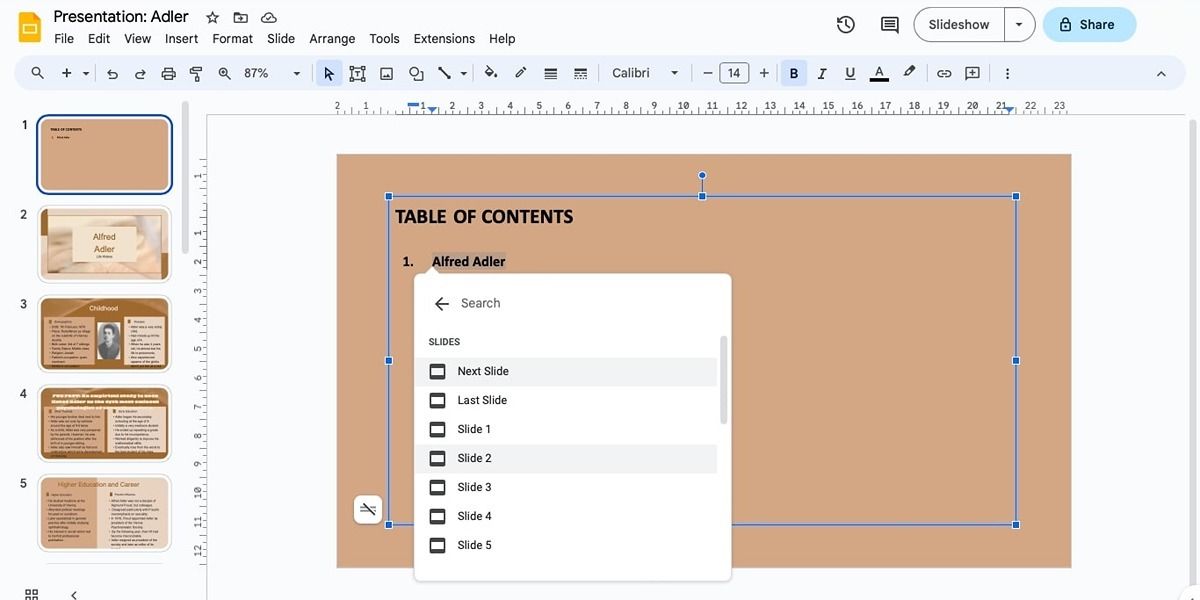
- Next, from the link box, choose Slides in this Presentation at the bottom, and then select the first slide to add to the Table of Contents slide.
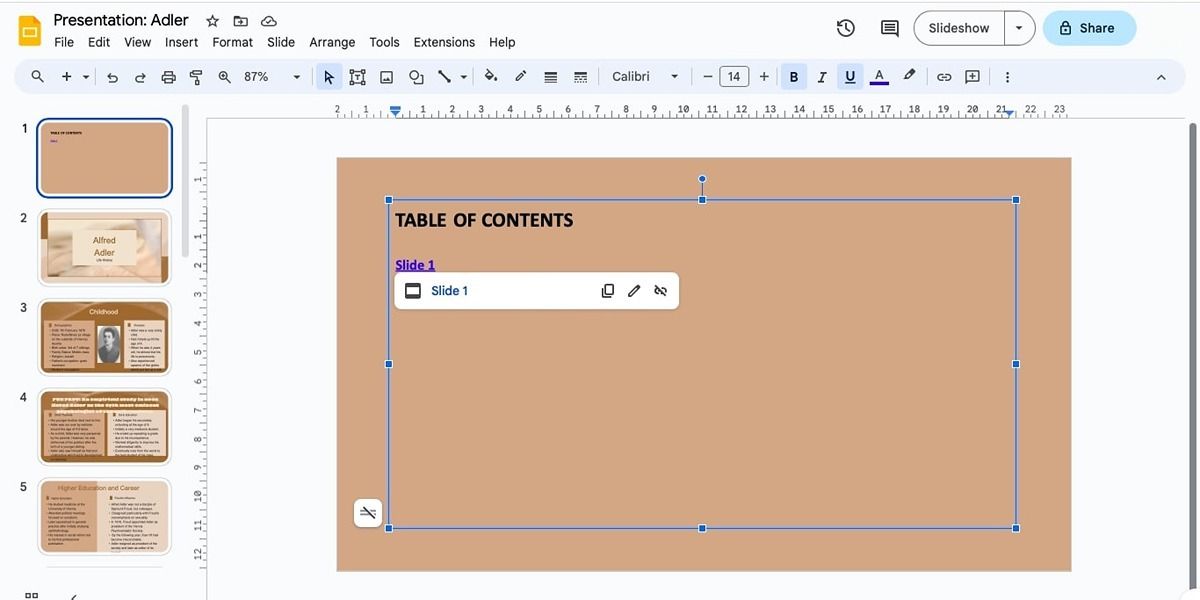
- Once done, the title of the linked slide, along with its number, will appear inside the text box. You can edit this if you want to remove the slide number.
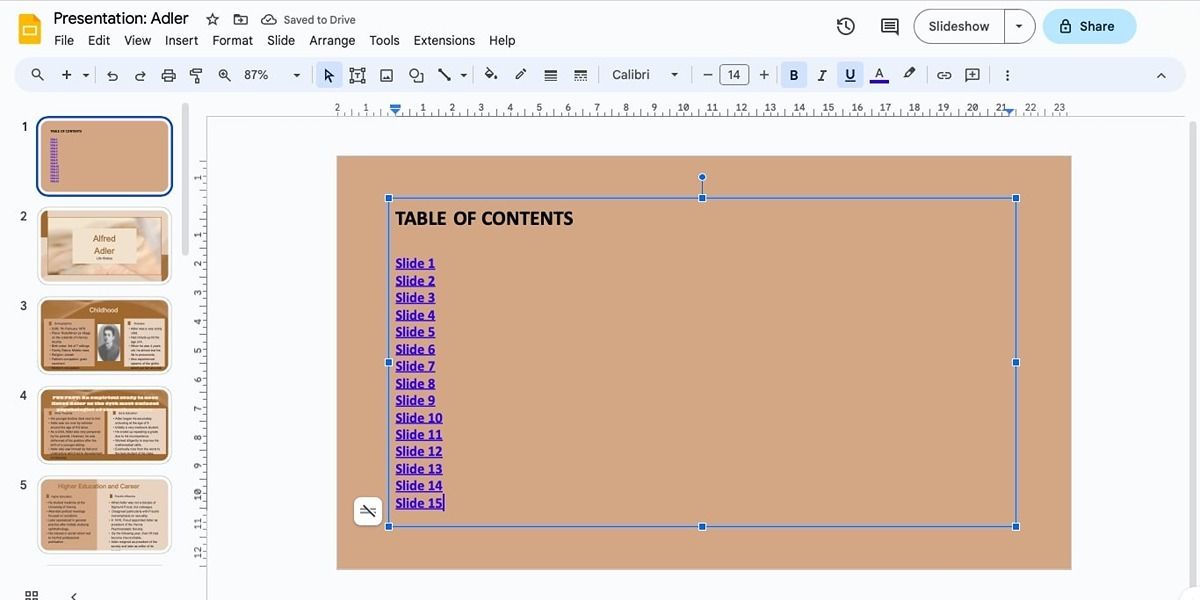
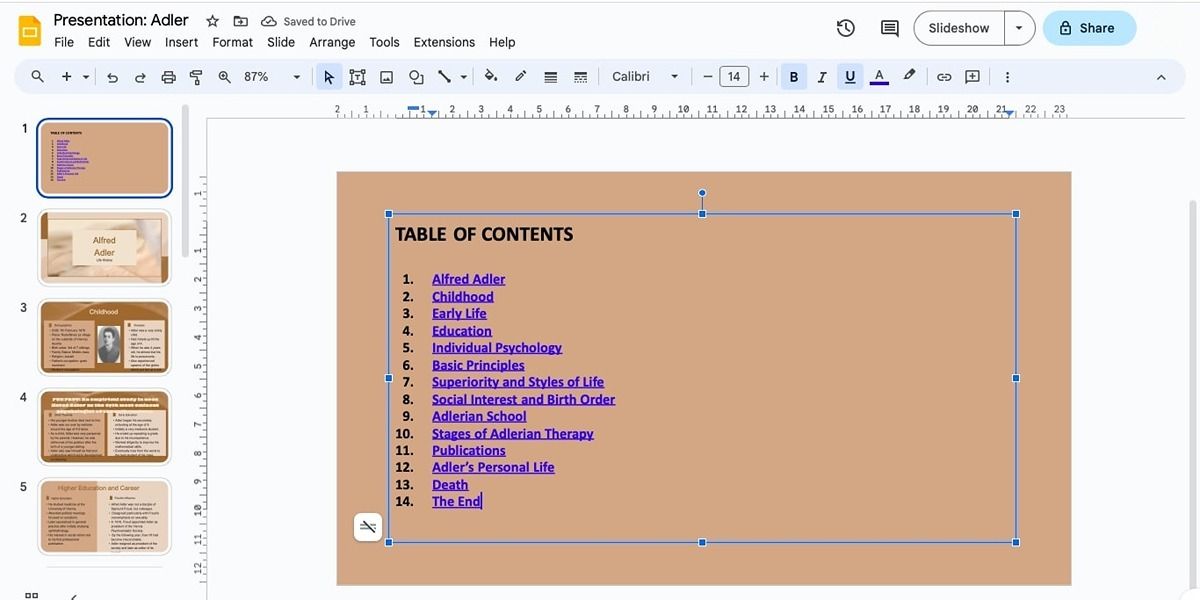
- Repeat the process and add the remaining links to the slide titles in the Table of Contents slide.
Option 2: Inserting Text and Then Linking It to the Slides
You can also give a custom title to each slide, and then insert their links. This is ideal when your slides don’t have any titles or when you'd like to name each slide according to your preferences.
Just make sure you keep these titles short since a cluttered slide is a slideshow design mistake that you should avoid. Here's how you can insert text and then link it to your slides:
- In the Table of Contents slide, enter the title or the text that you want to use for the first slide.
- Then select this text, and choose the Insert Link icon from the toolbar, or right-click and then select Link.
- The link box will open. You should choose Slides in this Presentation and select the specific slide you want to link to. You can do this by either using the search box or by choosing it from the options below.
- Repeat the steps above until you have entered the text and linked it to all the slides in the Table of Contents slide.
3. Testing Out the Table
To ensure a seamless presentation, you must test to see if your new table of contents is working properly. Simply click on the hyperlinked titles in the Table of Contents slide, and see if they correctly redirect you to the slides in question.
Enhance Your Google Slides Presentation With a Table of Contents
A table of contents will make your slide deck look more professional, and your audience will have a better idea of what to expect during the keynote. You can add a table of contents in a few simple steps, by either inserting linked slide titles or by typing the titles and linking them to the slides. Also, don't forget to test out your table of content to avoid any mishaps or errors during your presentation.


