Contact forms are a crucial component of websites, allowing users to reach out to you with inquiries, feedback, or requests.
Here you’ll learn the process of creating a basic contact form for your website. From setting up the project to adding form validation and styling, ensuring that you have a functional and pleasing contact form by the end.
Setting Up the Project
Before you start coding, ensure your development environment is set up. Open your preferred text editor or one of the recommended integrated development environments (IDEs) like Visual Studio Code or Sublime Text.
Create a project folder to keep your HTML and CSS files organized.
Within this folder, create separate files for HTML (index.html) and CSS (style.css). Lastly, link your CSS file in your HTML document's <head> section using the <link> tag.
Creating the HTML Structure
The foundation of any contact form is its HTML structure. Here's how you can create the necessary HTML elements for your contact form.
 <main>
     <h1>Welcome to my Form</h1>
     <form id="form">
       <div class="input__container">
         <label for="name">Name</label>
           <!-- The 'required' prop ensures a filled field before submission -->
         <input type="text" id="name" name="name" required />
       </div>
       <div class="input__container">
         <label for="email">Email</label>
         <input type="email" id="email" name="email" required />
       </div>
       <div class="input__container">
         <label for="message">Message</label>
         <textarea id="message" name="message" rows="4" required></textarea>
       </div>
       <button>Submit</button>
     </form>
</main>
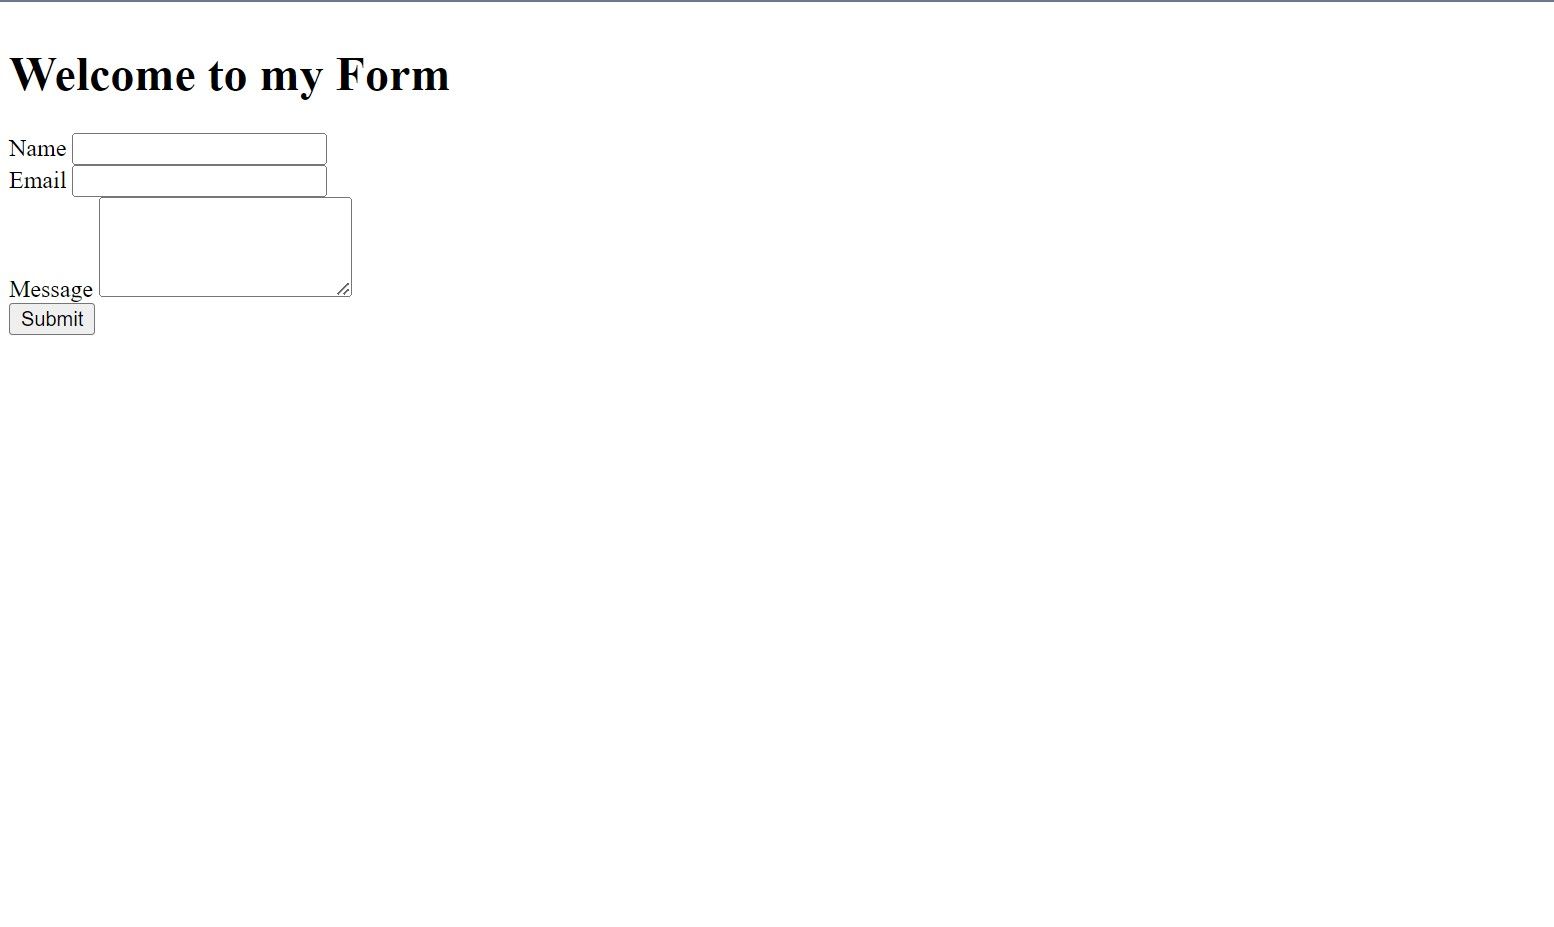
The HTML code above creates a form element and nests multiple input fields in order to receive user inputs for the contact form.
At the moment, your contact form looks like this:
Styling the Contact Form
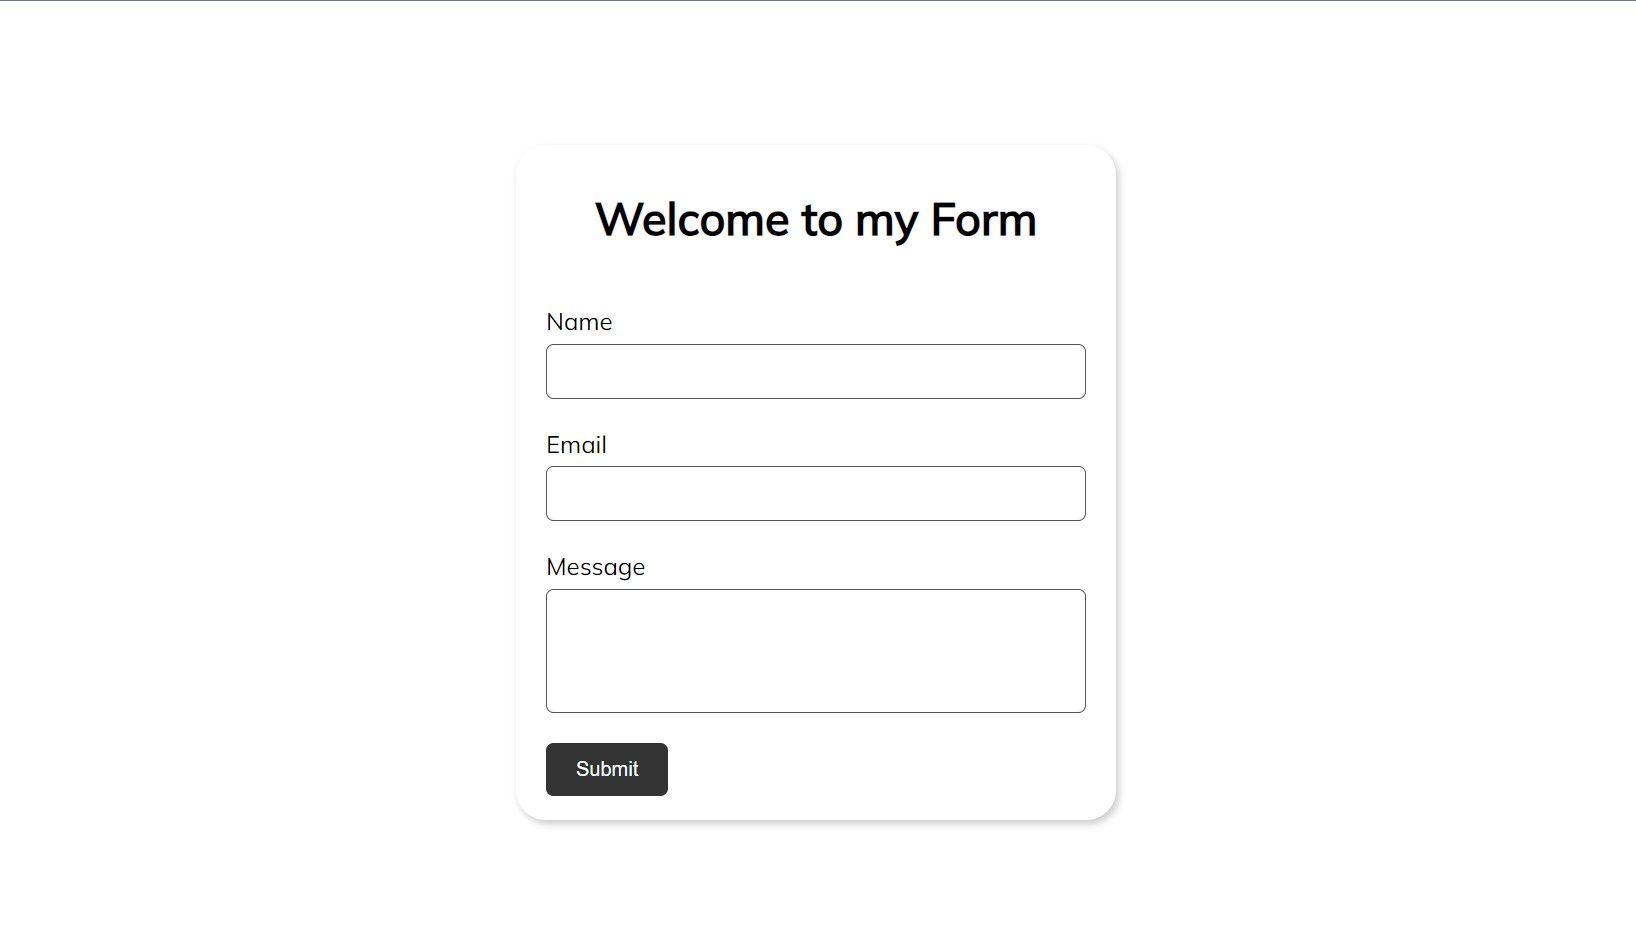
An attractive and user-friendly contact form enhances the overall user experience. The CSS code below uses flexbox and CSS box model properties like padding and margin to style the contact form for a better appearance.
 * {
 margin: 0;
 padding: 0;
 box-sizing: border-box;
}

html {
 font-size: 62.5%;
}

body {
 font-family: "Mulish", sans-serif;
 height: 100vh;
 display: flex;
 justify-content: center;
 align-items: center;
}

main {
 width: 40rem;
 box-shadow: 2px 3px 5px rgba(0, 0, 0, 0.2);
 margin: 0 auto;
 height: 45rem;
 border-radius: 2rem;
 padding: 2rem;
}

h1 {
 text-align: center;
 font-size: 3rem;
 padding: 1rem 2rem;
}

form {
 margin: 3rem 0;
 display: flex;
 flex-direction: column;
 row-gap: 2rem;
}

.input__container {
 display: flex;
 flex-direction: column;
 row-gap: 0.5rem;
}

.input__container label { font-size: 1.6rem; }

.input__container input,
textarea {
 padding: 1rem 2rem;
 border-radius: 5px;
 border: 1px solid #555;
 resize: none;
}

button {
 align-self: flex-start;
 padding: 1rem 2rem;
 border-radius: 5px;
 border: none;
 background: #333;
 color: #fff;
 cursor: pointer;
}
Your contact form now looks like this:
Implementing Form Validation
Ensuring the accuracy and completeness of user-provided information is paramount. One effective approach involves using JavaScript for client-side form validation. To get started, create a script tag at the end of your HTML file and target the form element.
 <script>
 "use strict";
    const form = document.getElementById("form");
</script>
Then attach an event listener to the form for submissions by the user.
form.addEventListener("submit", function (event) { });
Next, prevent the default page reload action by forms and select the value in the email field.
 form.addEventListener("submit", function (event) {
    // Prevent page reload on submit
    event.preventDefault();
    // Selecting the email value filled by the user
    const email = document.getElementById("email").value;
});
Finally, use regular expressions to test the user email for validity and show a message according to the email value.
 form.addEventListener("submit", function (event) {
    // Preventing page reload on submit
    event.preventDefault();

    // Selecting the email value filled by the user
    const email = document.getElementById("email").value;

    // Checking for valid email using a simple regex pattern
    const emailPattern = /^[^\s@]+@[^\s@]+\.[^\s@]+$/;

    if (!emailPattern.test(email)) {
      alert("Wrong email format");
      return;
    }

    // If everything passes, show success message
    alert("Form submitted successfully");
});
This step will help prevent common errors and ensure the user submits only valid data.
Testing and Troubleshooting of Final Contact Form
No project is complete without thorough testing. In order to ensure your form works correctly, input the necessary values, submit the form, and verify that it produces the intended results.
Customize Your Contact Form
You've built a basic contact form for your website. You've mastered project setup, HTML structure, CSS styling, JavaScript form validation, and thorough testing.
A well-crafted contact form enhances user interaction, making it easier for visitors to connect with you. Feel free to customize and expand its functionality to meet your specific needs.


