In today's world of digital entertainment, sound plays a vital role in enhancing user experience. Whether you're an audiophile, a musician, or a gamer, high-quality audio can make all the difference in your computer experience.
Many motherboards come with built-in sound cards, and nowadays, the built-in sound cards are more than enough for casual users. Despite this, there are times when you might want to take your audio experience to the next level. In such cases, a dedicated sound card becomes essential.
What Is an Internal Sound Card?
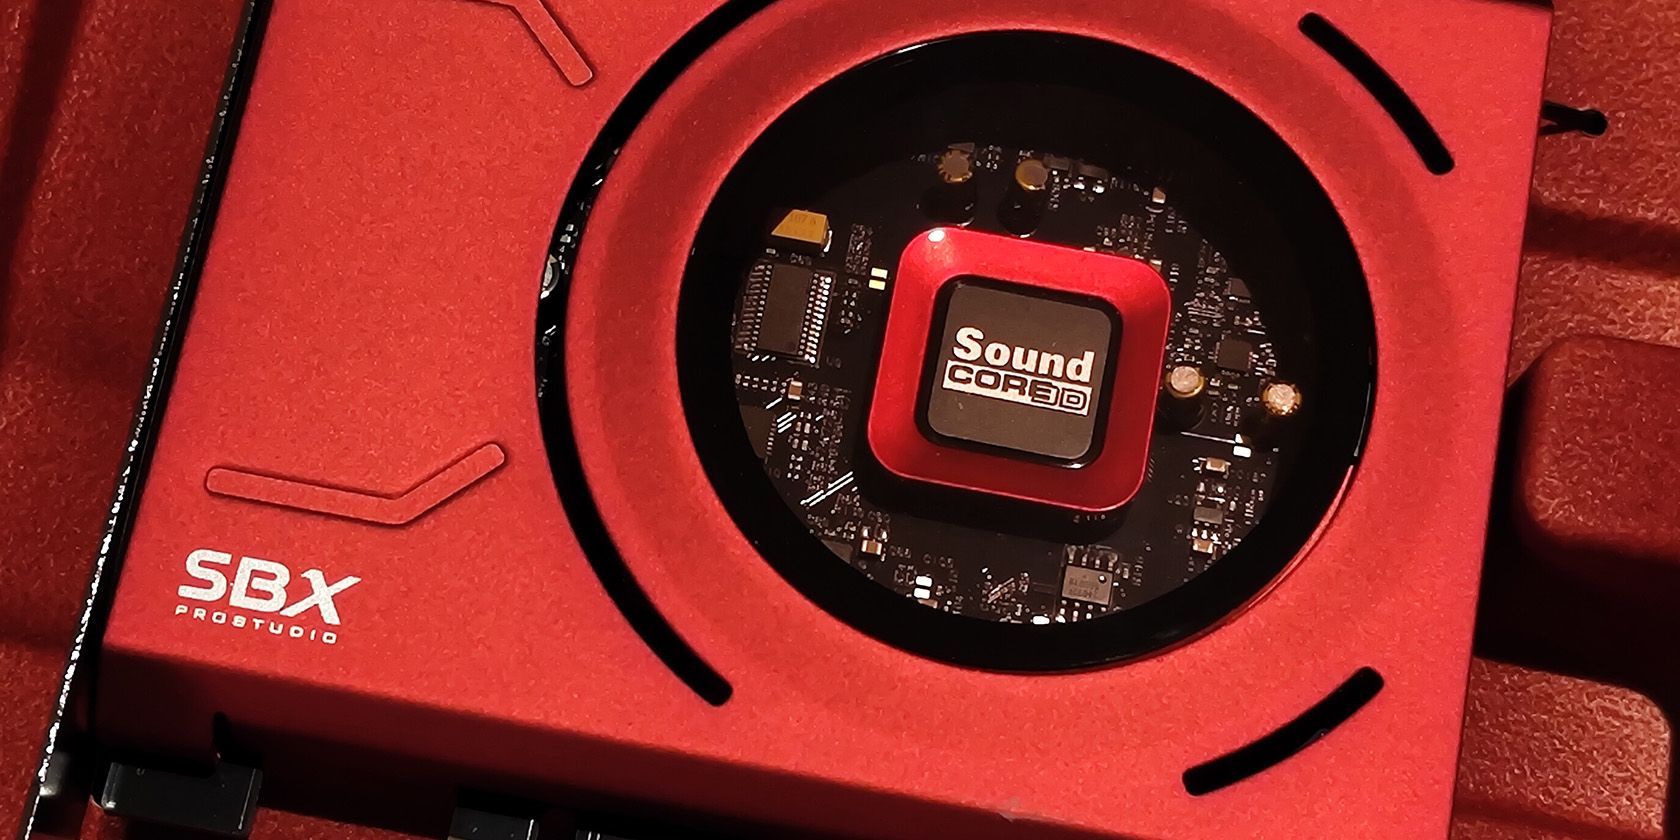
A sound card enables your computer to decode and transmit audio. Like graphics cards, sound cards can be integrated into your motherboard or a separate dedicated piece. Not long ago, many motherboards didn't have onboard sound cards. As a result, you had to install a sound card just so you could get sound from your computer.
Things are different now, as almost all motherboards have sound cards integrated into them. This hasn't made dedicated sound cards obsolete, but rather turned them from a necessity to an upgrade.
Internal sound cards are dedicated cards that provide higher-fidelity audio and expand the available audio connections on your computer. The typical onboard sound card usually doesn't come with optical audio inputs, but an internal sound card can add this functionality to your computer.
The superior signal-to-noise ratio, higher fidelity, surround sound support, and better connections make internal sound cards all the more attractive for audiophiles.
How to Install an Internal Sound Card on Your Computer
Installing an internal sound card is pretty straightforward. Just like graphics cards, sound cards connect to your computer through a PCIe (Peripheral Component Interconnect Express) port. There aren't any wires involved, and all you need to do is to install and mount the card on your motherboard.
If you've ever installed a graphics card before, the steps below should be a cinch. Even if you're a first-timer, the steps are pretty straightforward. Just remember to be gentle with your equipment!
Step 1: Disconnect All Connections From Your PC Tower
First things first. Ensure that your computer is shut down, and then turn off the power switch behind it and unplug the power supply. Carefully disconnect all cables, including the power cable, monitor HDMI, keyboard, mouse, and any other peripherals connected to your PC tower. This will provide you with a safe and clear workspace to perform the installation.
Step 2: Open the Side Panel
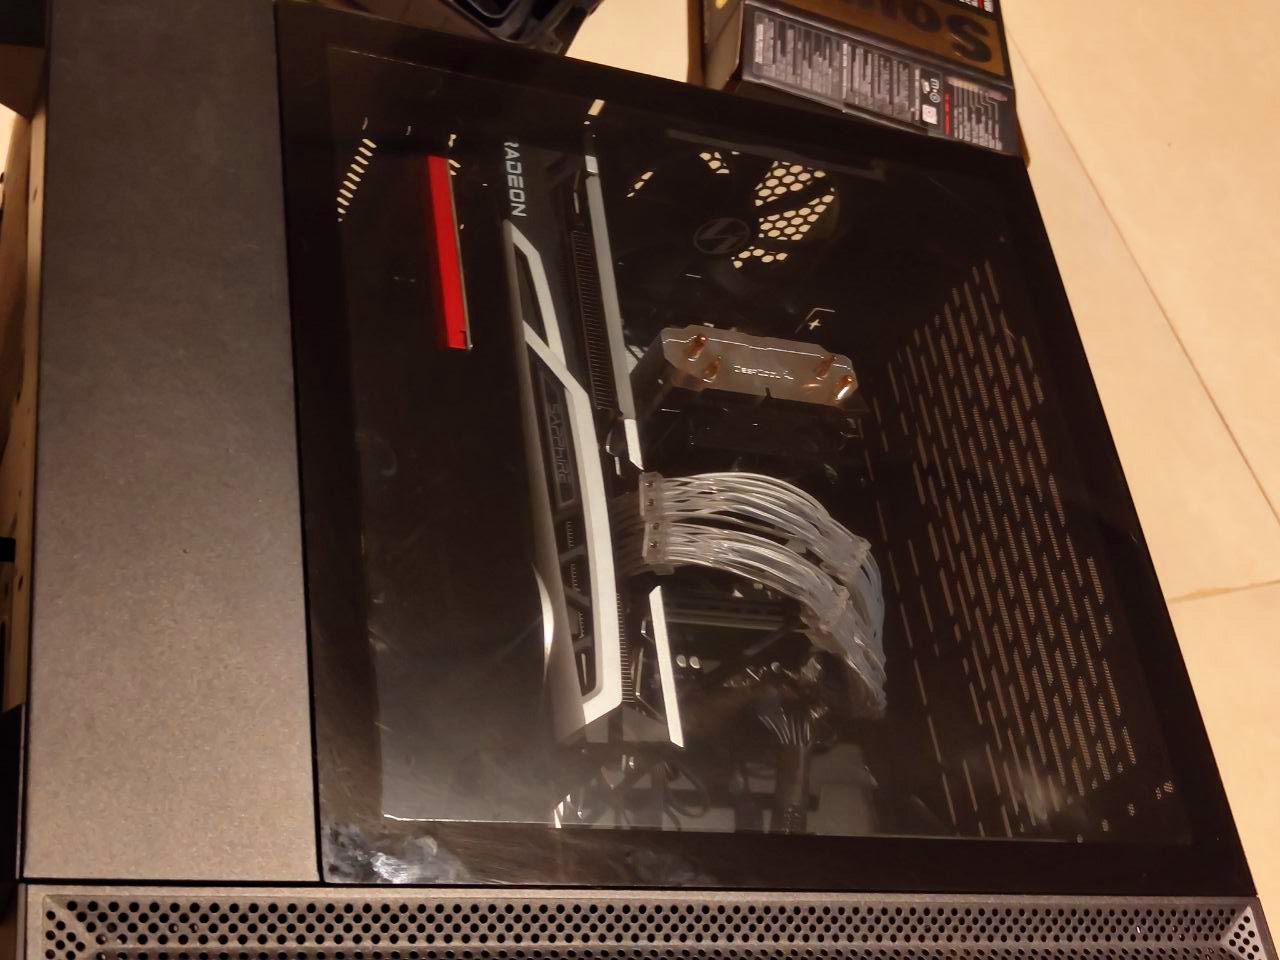
It's time to open up your computer. Grab your PC tower and place it sideways, with the side panel facing upwards, on your workbench. Open the side panel by unscrewing the screws that lodge it into the chassis. In most cases, you should be able to undo the screws with your hands. If your tower's side panel uses traditional screws, grab a screwdriver and unscrew them.
Once you've opened the screws, grab the side panel and gently slide it off the PC tower's chassis. You should now be able to see the inside of your computer.
Step 3: Identify the PCIe Slot
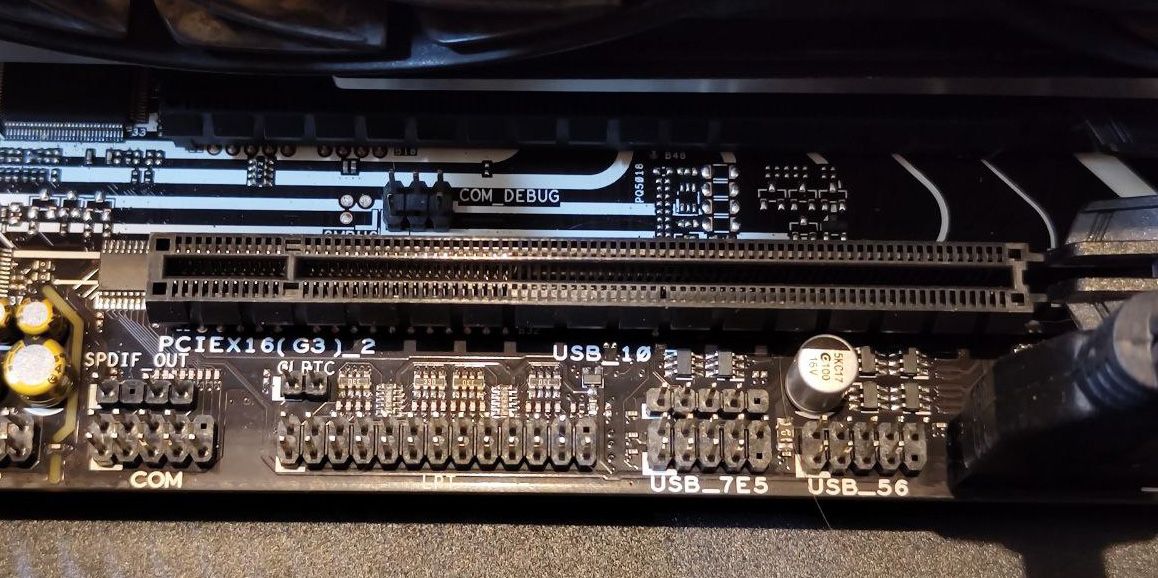
Take a good look at your motherboard and identify the PCIe slot where you'll install the sound card. Make sure to read the specifications on both your motherboard and sound card to see whether the PCIe slot can house the sound card.
PCIe slots are similar to RAM slots in looks, and they're usually situated perpendicular to RAM slots on the motherboard.
Step 4: Remove the PCIe Shield
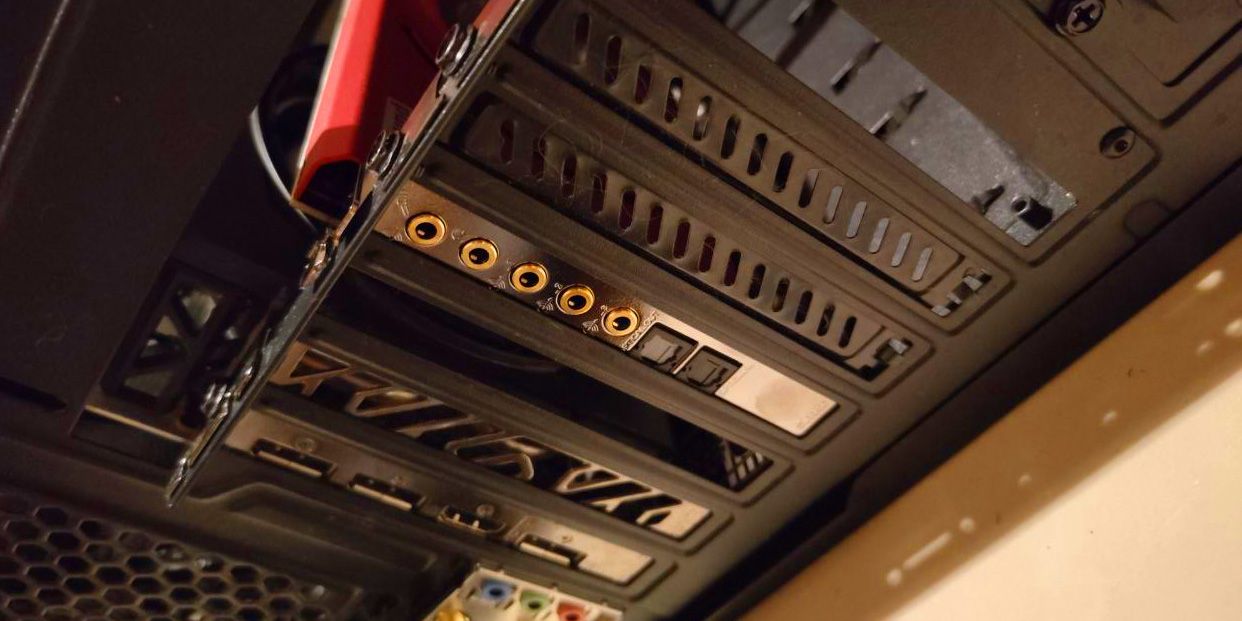
Your sound card comes with a panel that will protrude outside the PC tower. This panel has all the jacks and ports on it, much like a graphics card.
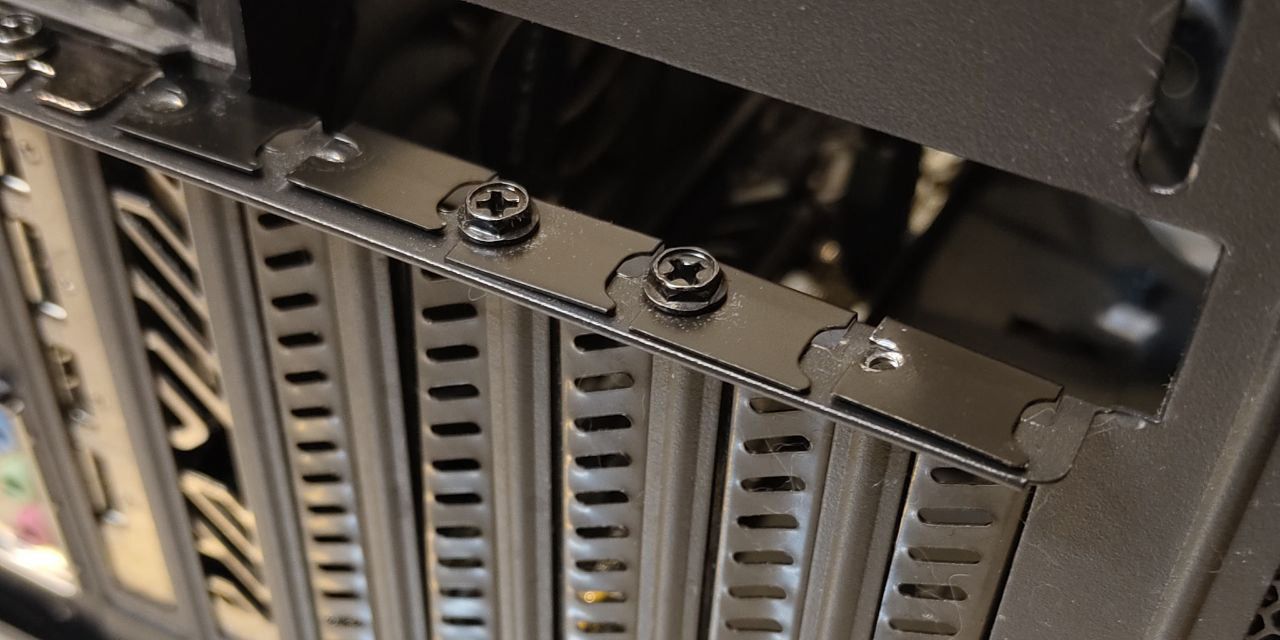
If you look at the rear panel of your PC tower, you'll notice that the place where the sound card's panel is supposed to peek out is covered by a PCIe shield. The shields protect against dust, but since the sound card will fill in the space, you need to take them off before installing the sound card.
Carefully hover your sound card on the PCIe slot to get an image of where the panel will be, and find the PCIe shield you need to remove.
There should be screws holding the PCIe shield in place. In some towers, a metal strip covers the PCIe shield screws. In either case, the PCIe shield and the metal strip are both held in place by screws. Unscrew these and slide out the PCIe shield. Don't put the screws back, as the audio card will anchor on the chassis with the same screw holes.
Step 5: Install the Sound Card
Now comes the primary step. Align the sound card with the PCIe slot to ensure you have the correct angle. The gold connectors on your audio card should face the motherboard, and the outer panel should face the PC tower's rear panel.
Some PCIe slots have locks, like the ones on RAM slots. You should open these before you attempt to install the expansion card. The locks will snap into place and lock themselves after you insert the sound card.
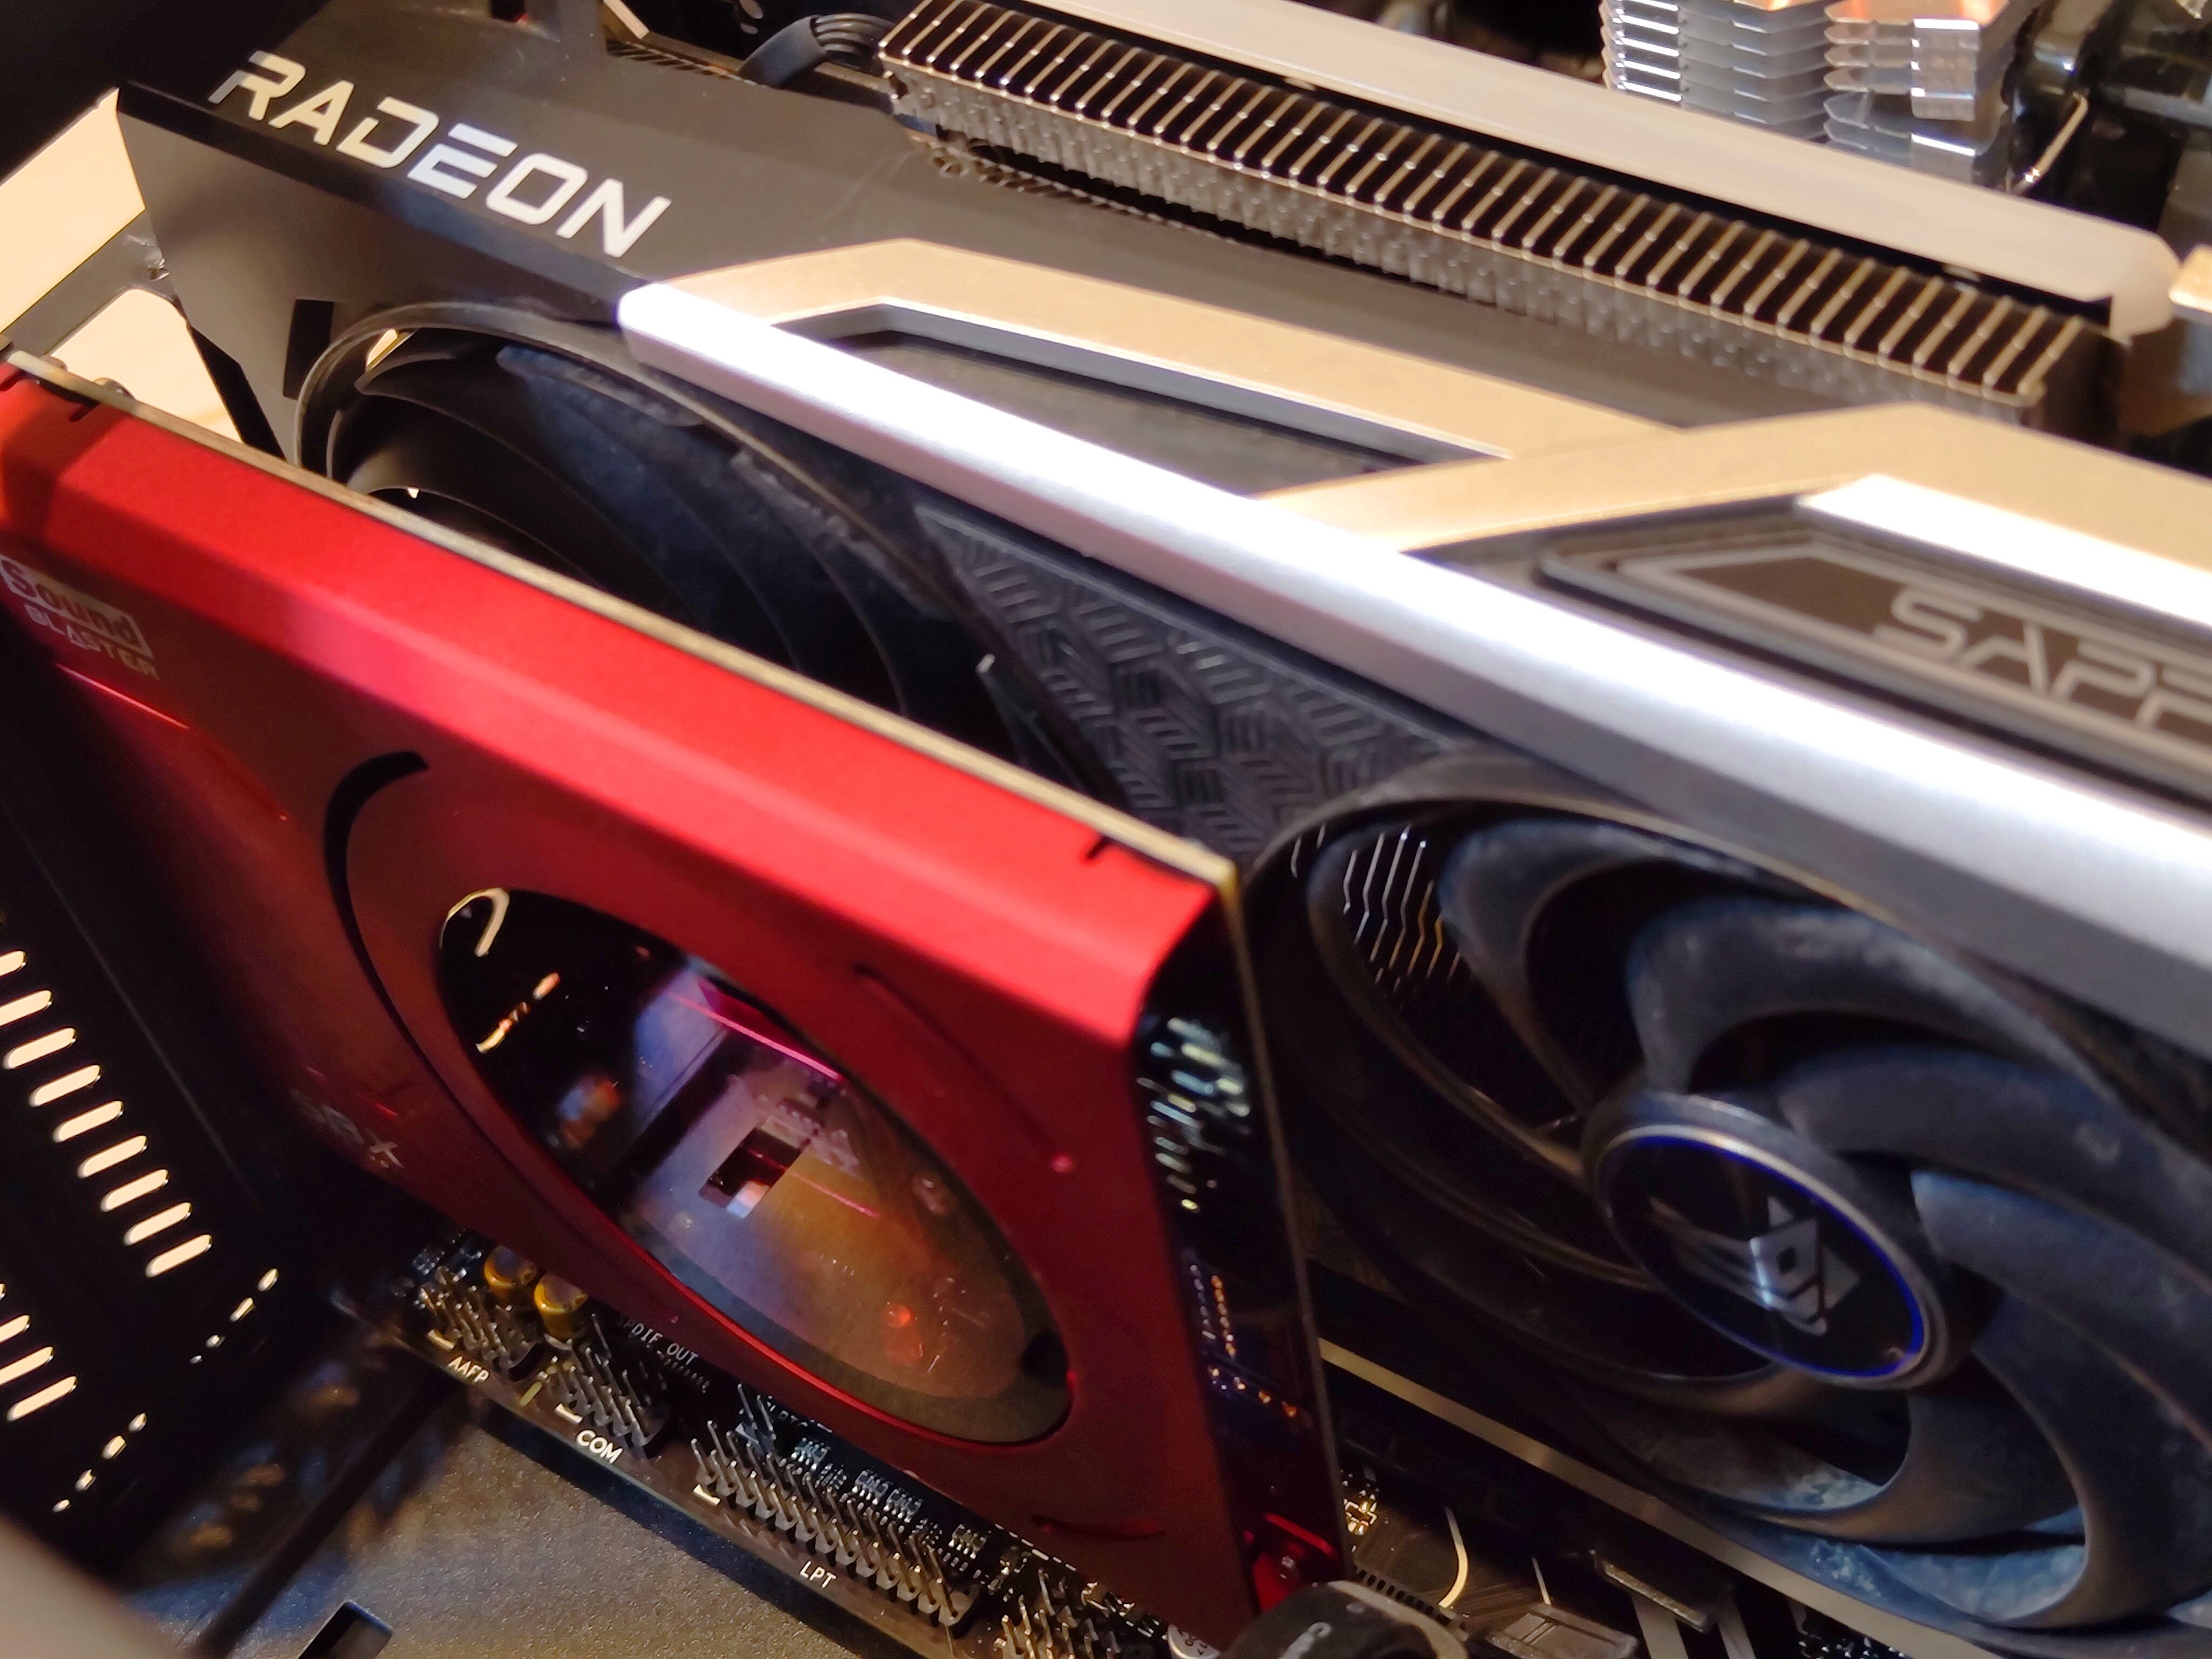
Open the locks, check the alignment, and gently press the sound card into the PCIe slot until you hear a click. Voilà! You now have a dedicated internal sound card. Check the card to make sure that the connection is established securely. None of the gold connectors should be visible.
Step 6: Mount the Sound Card
Once you've securely installed the sound card, it's time to strengthen the anchor by screwing it to the chassis. The same screw and screw-hole that held the PCIe shield in place will now hold the sound card.
Screw the sound card to the chassis using the hole on its panel. Then, give the sound card a gentle tug to make sure it's safely mounted.
Step 7: Install Side Panel and Connect Peripherals
Now that you've installed and mounted the sound card, it's time to reassemble the PC tower. Slide the side panel back where it was, straighten your PC tower, and then connect the peripherals and power supply.
When everything's set, start your computer and try your new sound card! You'll likely need to install the audio drivers separately to get the most out of your device, but you should be able to see it in your audio outputs immediately.
Go Beyond Integrated Audio
Installing an internal sound card is an easy DIY project that can significantly improve your computer's audio output. With your newly installed sound card, you're now ready to enjoy high-quality audio along with an arsenal of new audio features on your computer.
Remember that most sound cards require their specific drivers. Make sure to visit the manufacturer's webpage to get the latest drivers for your device installed.

