There's no shortage of ways to get Linux onto your PC hardware, but with Ubuntu, you've long needed to download a bulky multi-gigabyte ISO file in one go.
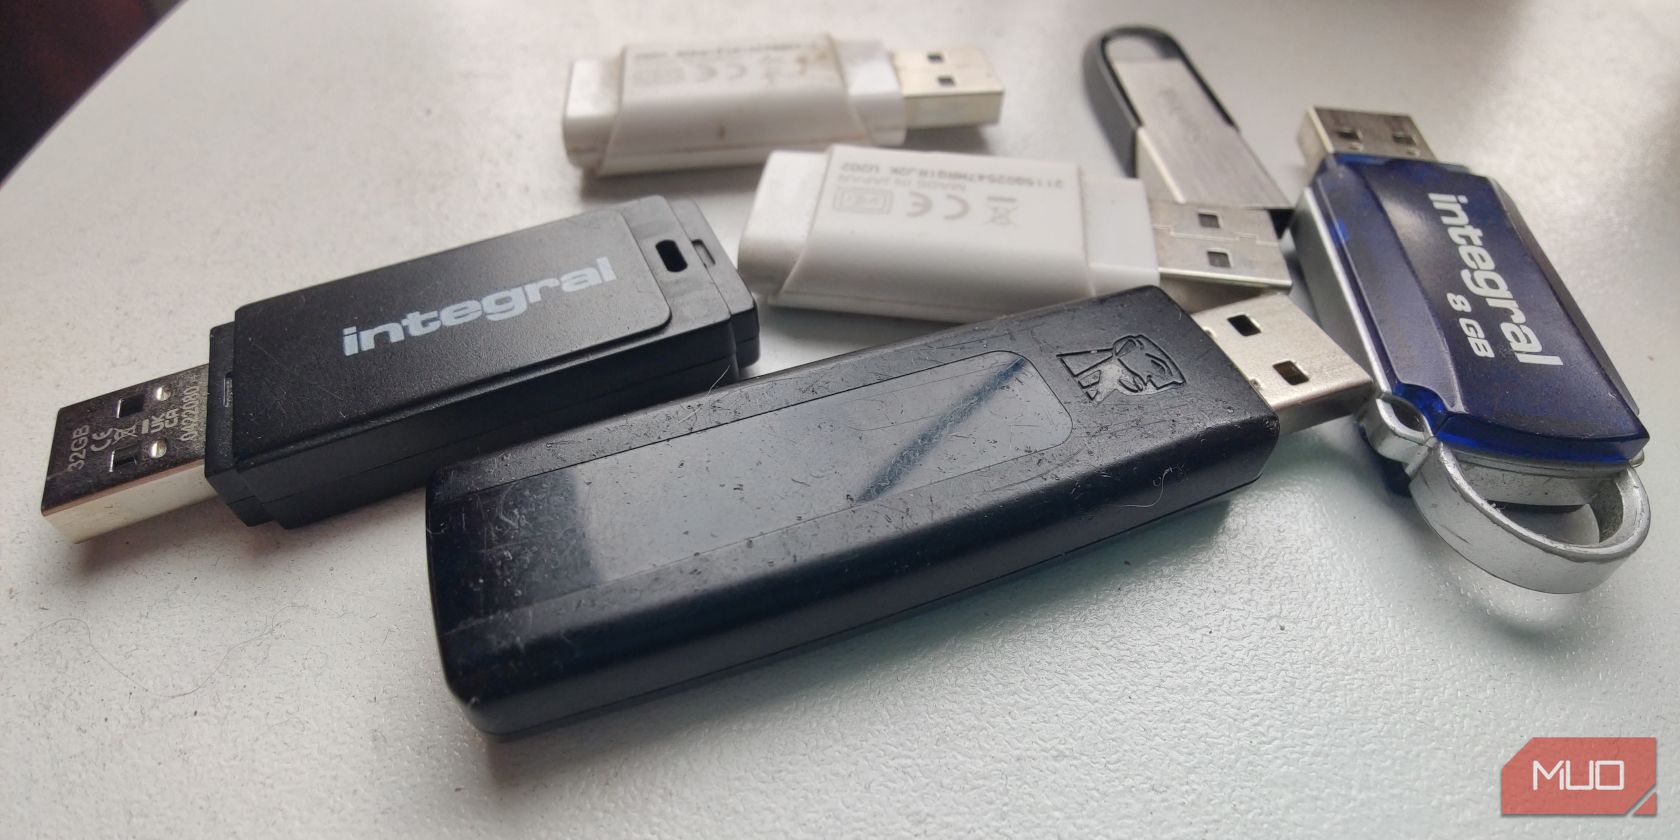
If you're suffering from a shortage of large USB sticks, the Ubuntu mini ISO takes up only around 100MB. Here's how to get the Mini ISO and use it to install Ubuntu.
Why Use a Mini ISO to Install Ubuntu
One of the greatest virtues of Ubuntu is that it's free. You're free to view and modify the source code, and free to redistribute it to anyone who wants it.
A decade ago, Linux distros were typically distributed on DVDs which would cost you under a dollar each. More recently, USB thumb drives have become the norm, and high-capacity USB drives often have more storage than you'd get with most budget laptops. They're not cheap, making the job of a Linux evangelist that much more difficult.
The Ubuntu Mini ISO provides the absolute bare minimum you need to boot, connect to the internet, and download the rest of the OS components. You can use old USB sticks from behind the couch, or cheap ones bought in bulk on eBay or Amazon.
How to Install Ubuntu Using the Mini ISO
Before you start, make sure that you have a USB thumb drive. The exact size of the ISO will vary, but it's usually around 100MB, so anything manufactured in the last decade should do the job. You will also need to download the latest Ubuntu Mini ISO image first.
Download: Ubuntu Mini ISO (Free)
An important thing to note is that the Ubuntu Mini ISO doesn't seem to detect wireless cards until after you complete the installation (at least it didn't on our three test machines). You'll need to have an Ethernet cable to connect to your router.
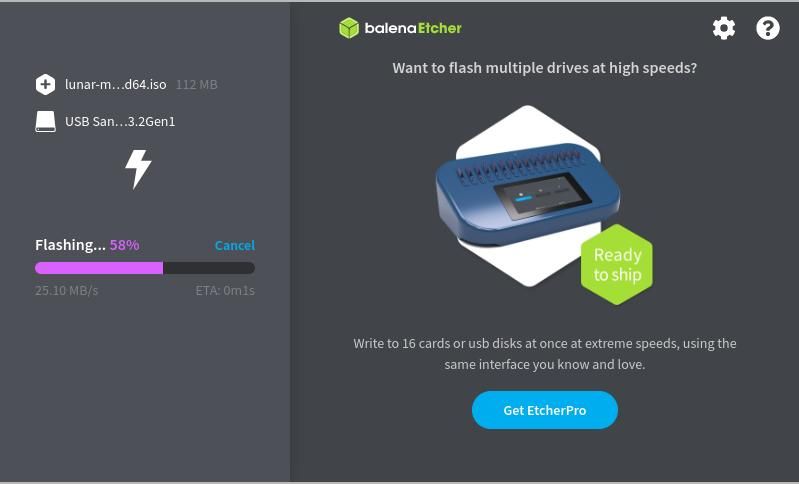
To write the ISO image to a USB, use Balena Etcher.
Plug the thumb drive into an available USB port, then open a terminal, and make Etcher executable with:
sudo chmod +x balenaEtcher*
You can now launch Etcher with:
./balenaEtcher-x.xx.x-x64.AppImage
You can also click the AppImage icon from your file manager, or from your system menu if you installed the AppImage with AppImageLauncher.
Choose "Flash From File", and ensure your USB drive is selected as the target. Press the "Flash!" button to start writing the Mini ISO to USB. Enter your user password when requested to start the writing process.
Enter the target computer's BIOS, and set it to boot from USB. Save and exit to reboot, and start the installation.
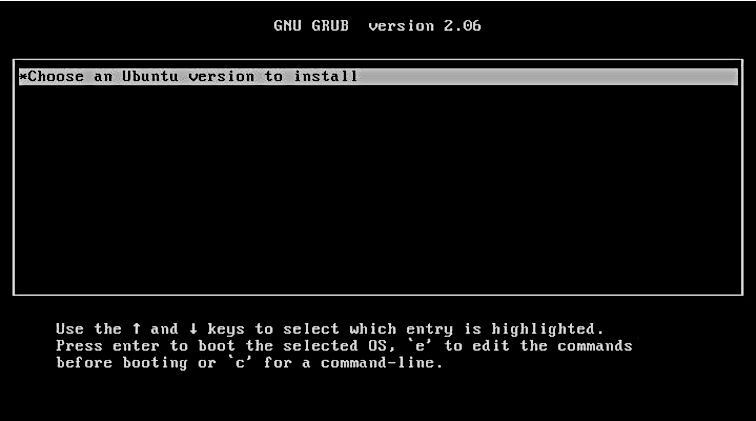
At the GRUB menu, you'll see only one option: "Choose an Ubuntu version to install". Hit Enter to begin.
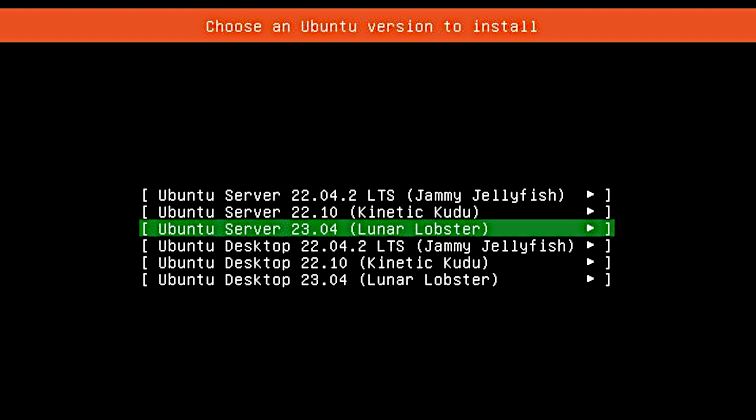
Ubuntu will connect to Canonical servers and check what distros are available to download. After a few minutes, you'll be given a genuine choice of Ubuntu versions: 22.04 (Jammy Jellyfish), 22.10, or 23.04 (Lunar Lobster). You'll have the option of installing either the desktop or server edition of each of these.
You should be aware that the Mini installer won't work with all releases, and at the time of writing, we haven't managed to get Lunar Lobster to work using this method. For stability and long-term support, you should choose Ubuntu 22.04.3 LTS (Jammy Jellyfish).
Use the Up and Down keys to highlight the Ubuntu version you want to install, then press Enter.
The installer will start to download OS components. In total, you'll download around 4.8GB. The full ISO download is 4.7GB in comparison.
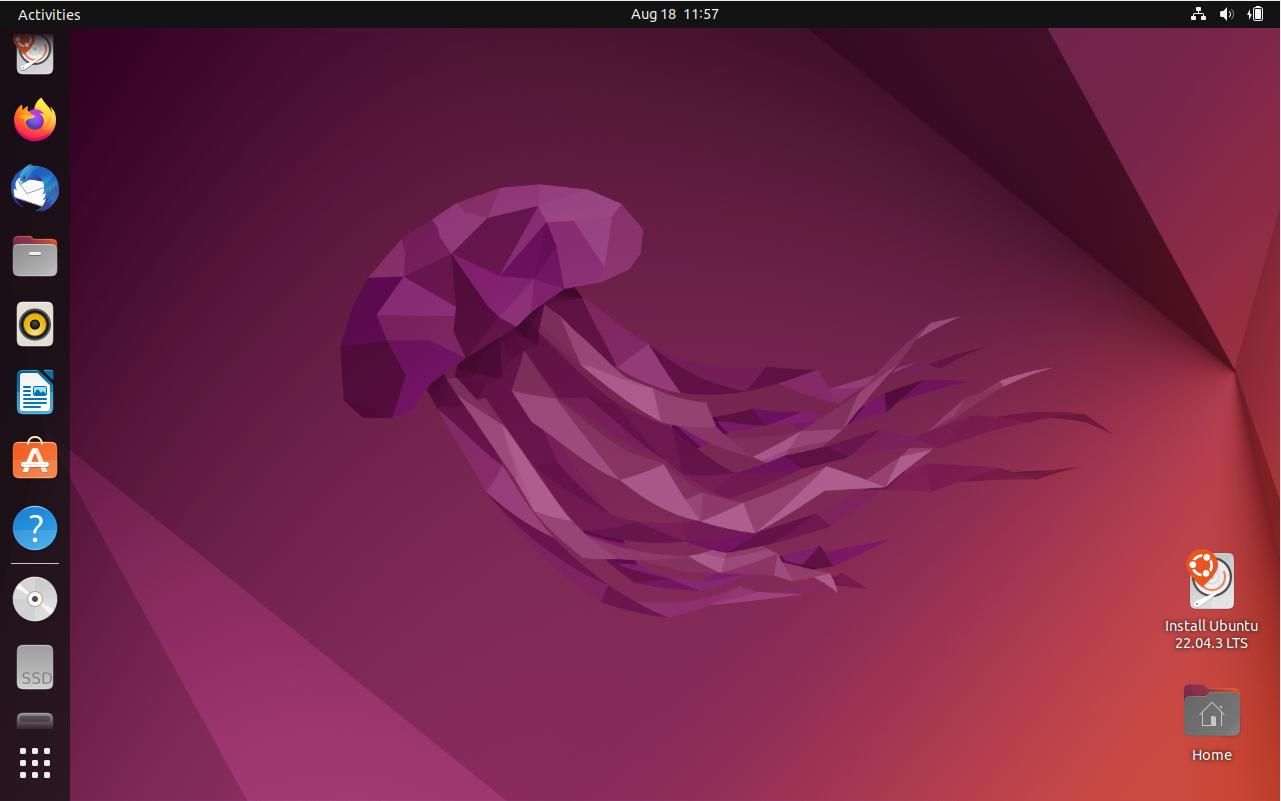
Once the download is complete, you'll find yourself on the familiar Ubuntu desktop. You haven't yet installed Ubuntu, so double-click on the Install Ubuntu icon to get started.
Select your language, click Continue, and choose your keyboard layout. You'll then be faced with a choice of whether to install the minimal version of Ubuntu or the normal version. Either version is fine; you can always add or remove components after installation.
Choose to download updates during installation and decide whether your commitment to open-source is absolute, or if you'd prefer to use third-party software for graphics and Wi-Fi hardware. When you're happy, click Continue.
On the next screen, you'll have the option of erasing the entire disk, or "Something else". The second option will allow you to create and resize partitions.
Once you've allocated disk space, click Install Now, then Continue to confirm your choices.
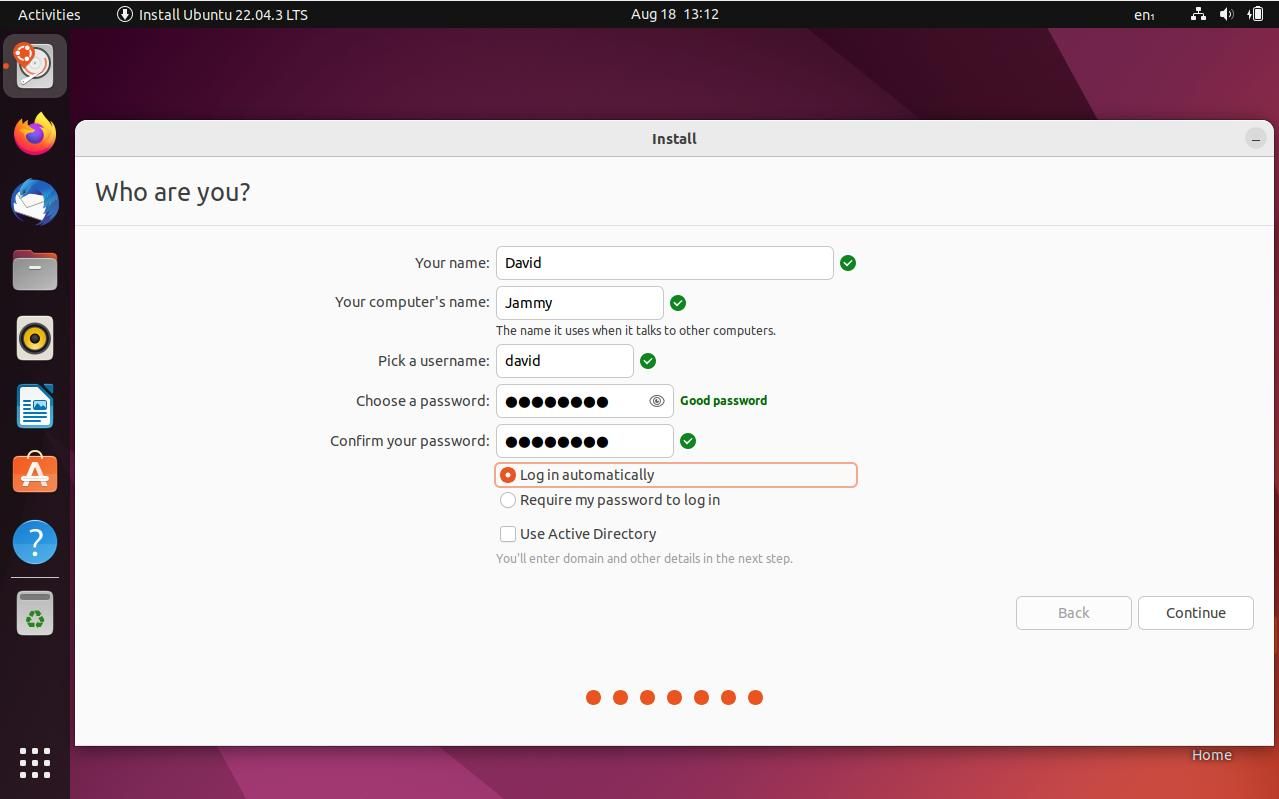
Before the installation finally begins, you will need to select your location on a world map, before providing your name, your PC's name, a username, and a password. You should always choose a strong, unguessable password.
Press Continue one more time and installation will begin. Once it completes, click Restart Now, and remove your USB stick.
Your PC will reboot to the Ubuntu desktop.
Use Windows Software on Ubuntu
If you're new to the wonderful world of Linux and coming from another operating system, you may miss specific software to which you've become accustomed.
Just because you're now invested in the open-source ecosystem doesn't mean you can't use software designed for Windows. Wine (Wine Is Not an Emulator) provides a compatibility layer that will assist you in running Windows apps and games.


